It is no secret that I am a huge Mexican food. And what is more Mexican than corn flour tortillas?
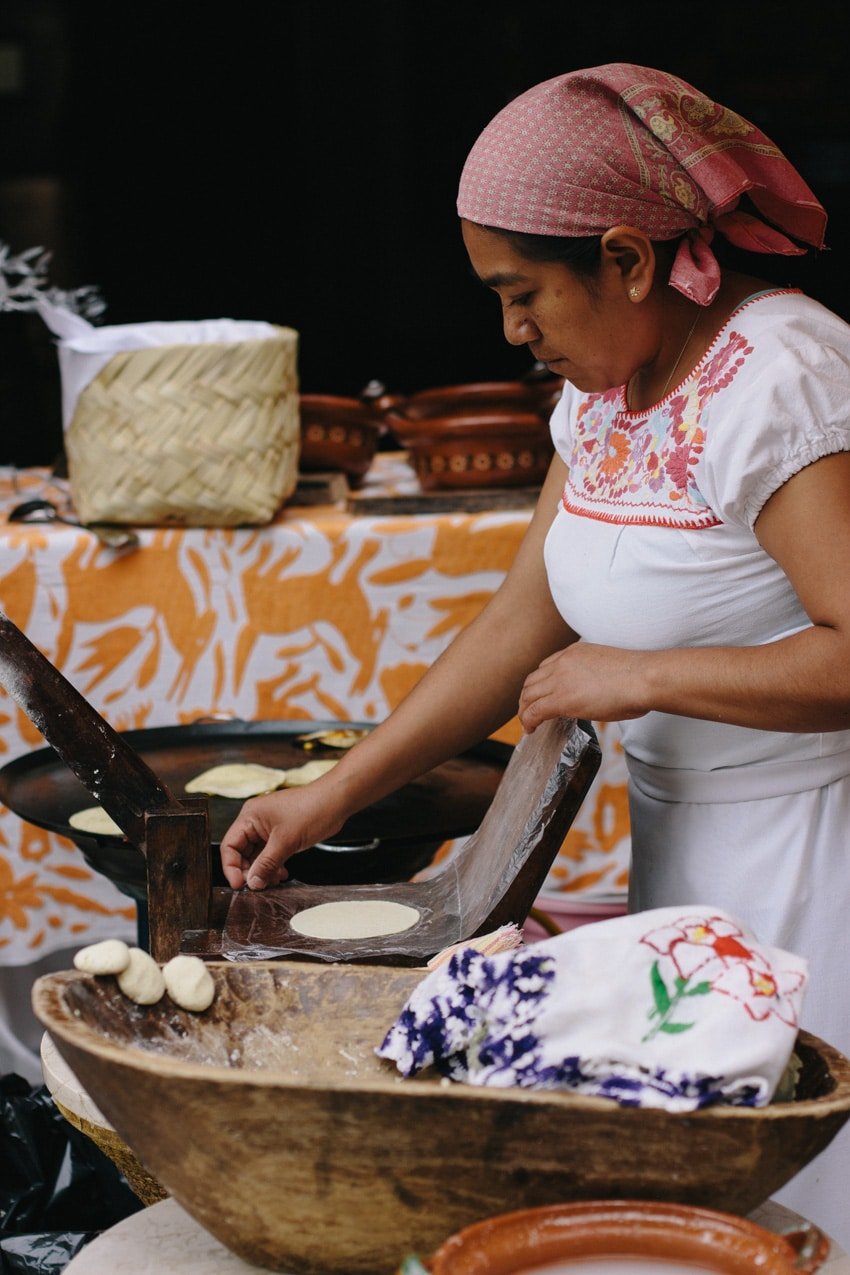
I first learned how to make homemade corn tortillas when on my very first visit to Mexico. The hotel we were staying at had a wonderful restaurant with young ladies making fresh corn tortillas outside. Watching them make hundreds of fresh corn tortillas was almost therapeutic.
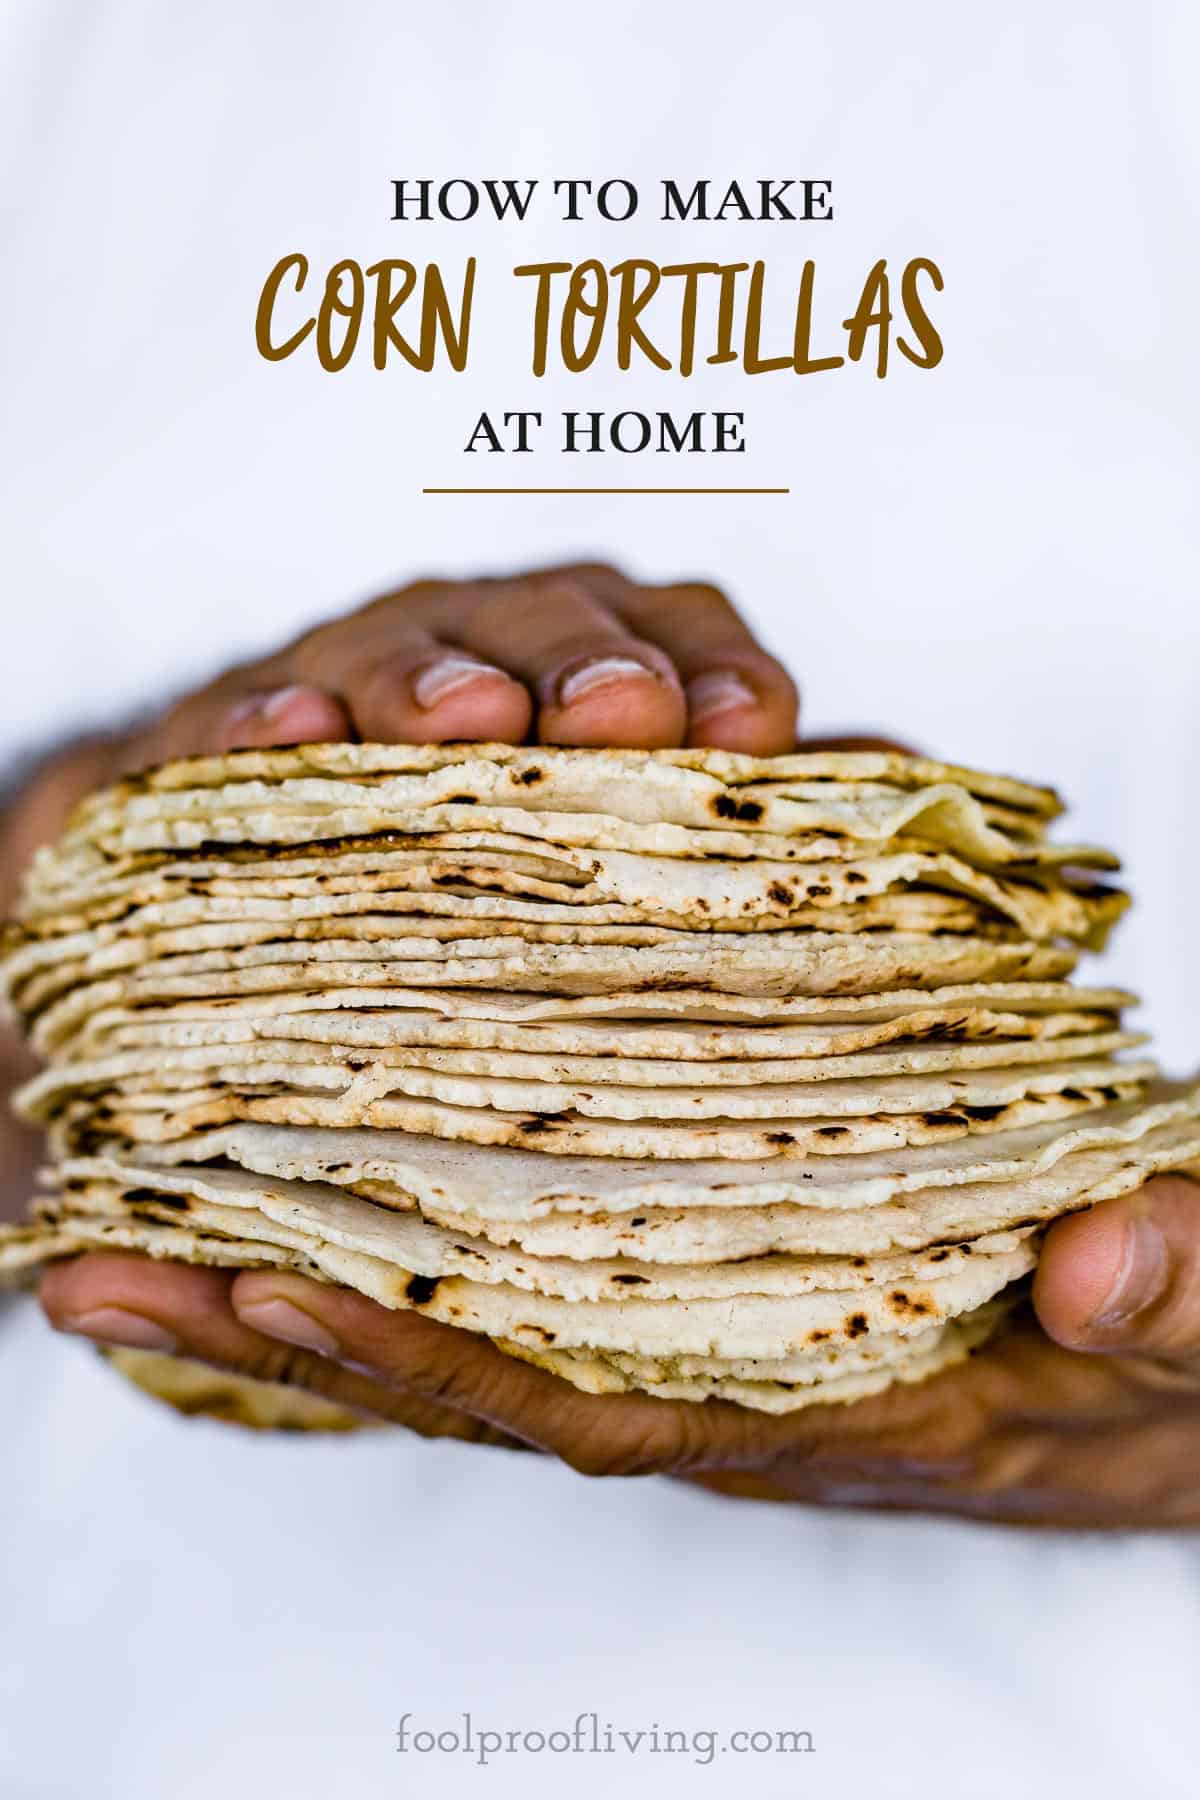
On our way back we stopped by the local market and bought a wooden tortilla press (like this one – affiliate link) similar to the one that they use in the hotel. Ever since that visit, I have been making my own corn tortillas.
If you have never tried your hand at making your own tortillas, consider this your how-to guide. Made with two simple ingredients, making corn tortillas from scratch is easier than you think. Below you will find a detailed explanation for everything you need to know including ingredients, equipment, technique, and storage to make the best corn tortilla recipe at home.
Recipe Ingredients
To make homemade corn tortillas, you can use either fresh masa (which is why some people call these corn masa tortillas) or masa harina and water. Some people prefer to use a little bit of salt as well.
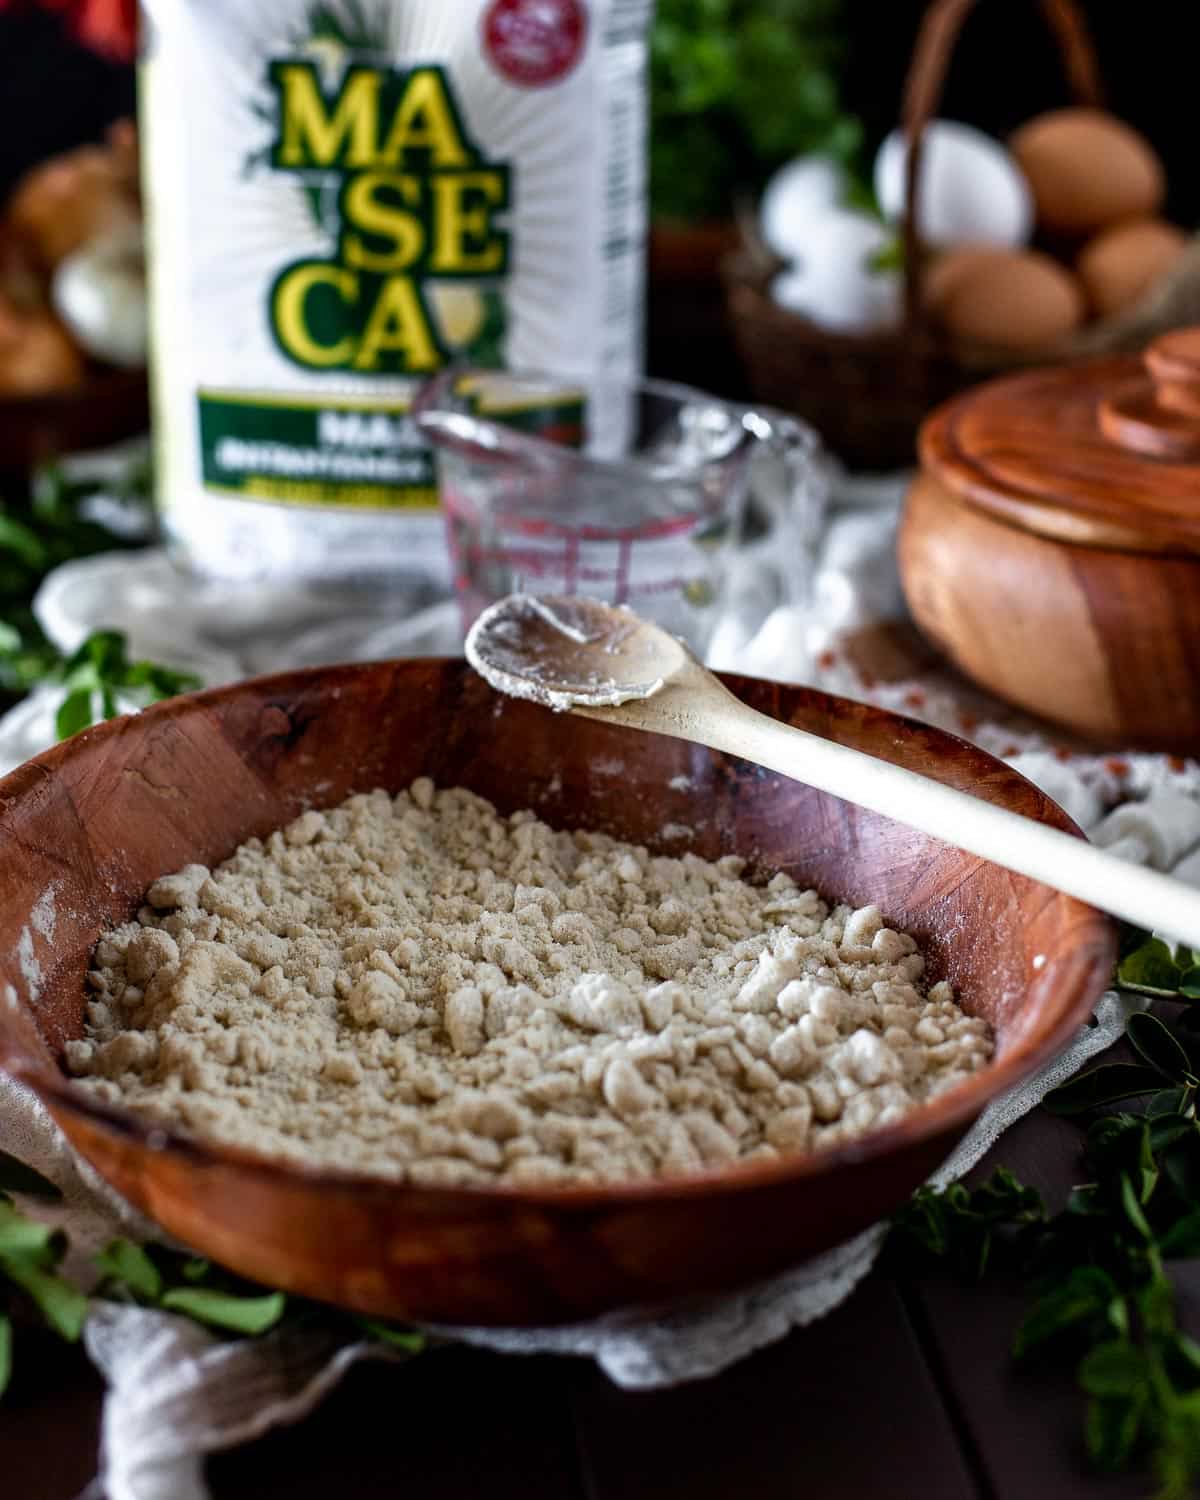
You can find fresh masa at your local Latin grocery store (or Mexican markets) in their refrigerated section. While most people say that using fresh masa is the best, if you are not living in an area where you can get your hands on it, you can make your own tortillas using masa harina and water. I like Maseca brand (this White Maseca Corn Flour, in particular) and buy it from our local grocery store in their international food aisle.
If you are living in the United States, Bob’s Red Mills sells masa harina as well. I have tried this recipe with that brand and it worked very well.
Do I Need A Tortilla Press?
The answer is yes and no.
While I was reading through different sources, I saw that some people press out the dough in between two flat surfaces like dinner plates or large and heavy books. Some even feel comfortable patting out tortillas in between their two hands. Though from what I understand, getting a thin corn tortilla by using your hands requires quite a bit of experience.
I personally think that it is much easier to use a tortilla press. If you do not have access to wood and heavy one like the one we have (or a similar one like this one – affiliate link), most kitchen equipment stores and various online sources sell aluminum or cast-iron corn tortilla press (like this Tortilla Press) for less than $20. Therefore, if you are serious about making corn tortillas at home, I think it is a good investment.
How To Make Corn Tortillas
Make The Dough
To make the masa dough, mix masa harina with warm water (tap water is fine)in a large bowl using a wooden spoon. Or, you can knead the dough by hand as well. Cover it with a damp towel, and let it rest for 20-30 minutes on the kitchen counter.
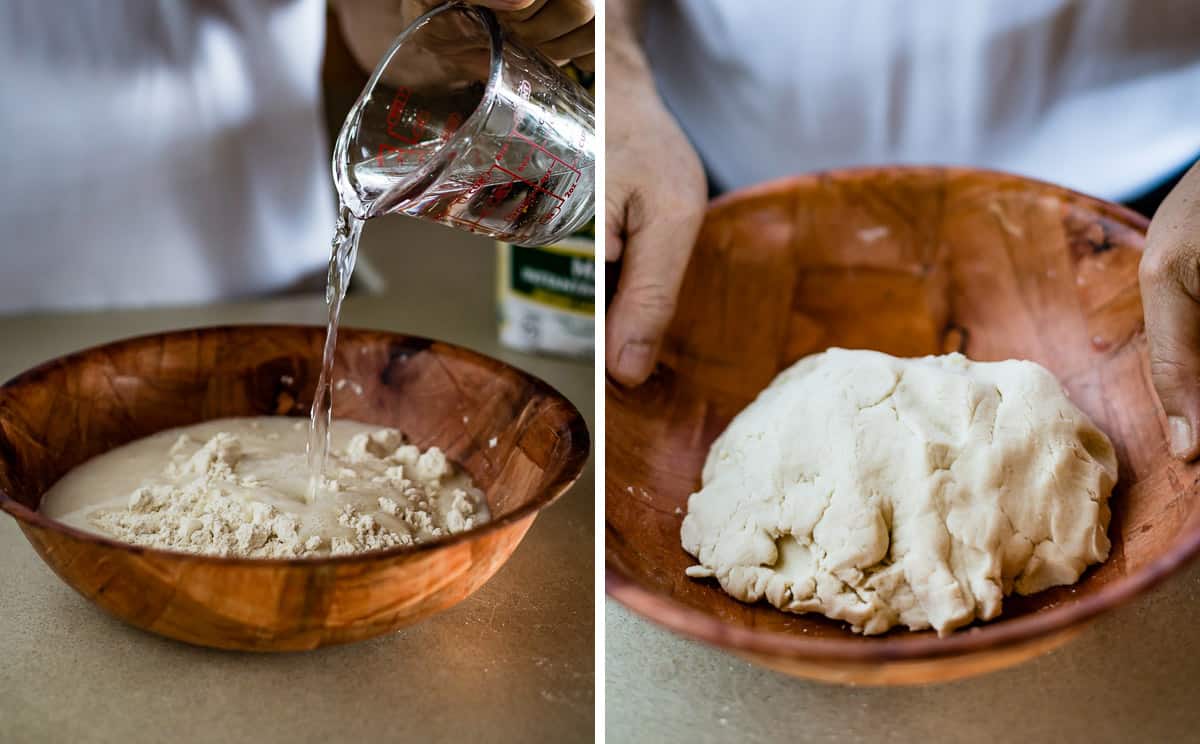
When ready, add in some cool water, one tablespoon at a time, until it has a soft texture without being sticky. Here, keep in mind that the dough for corn tortilla is a very forgiving one. If it gets too dry, you can add a little more water. And if it gets too wet, you can add a little more masa. The “right consistency” should feel similar to Play-doh.
Before pressing and cooking the tortillas, make sure to cover the dough with a clean kitchen towel to prevent them from drying.
How To Use a Tortilla Press
Next, we press the dough balls into and make tortilla.
First, you will need a medium-heavy plastic bag to fit over the plates of the press. I used a large (gallon-size) Ziploc bag. I trimmed the zipper top so that it is a large rectangular piece. With that being said, you can use two pieces of plastic as well.
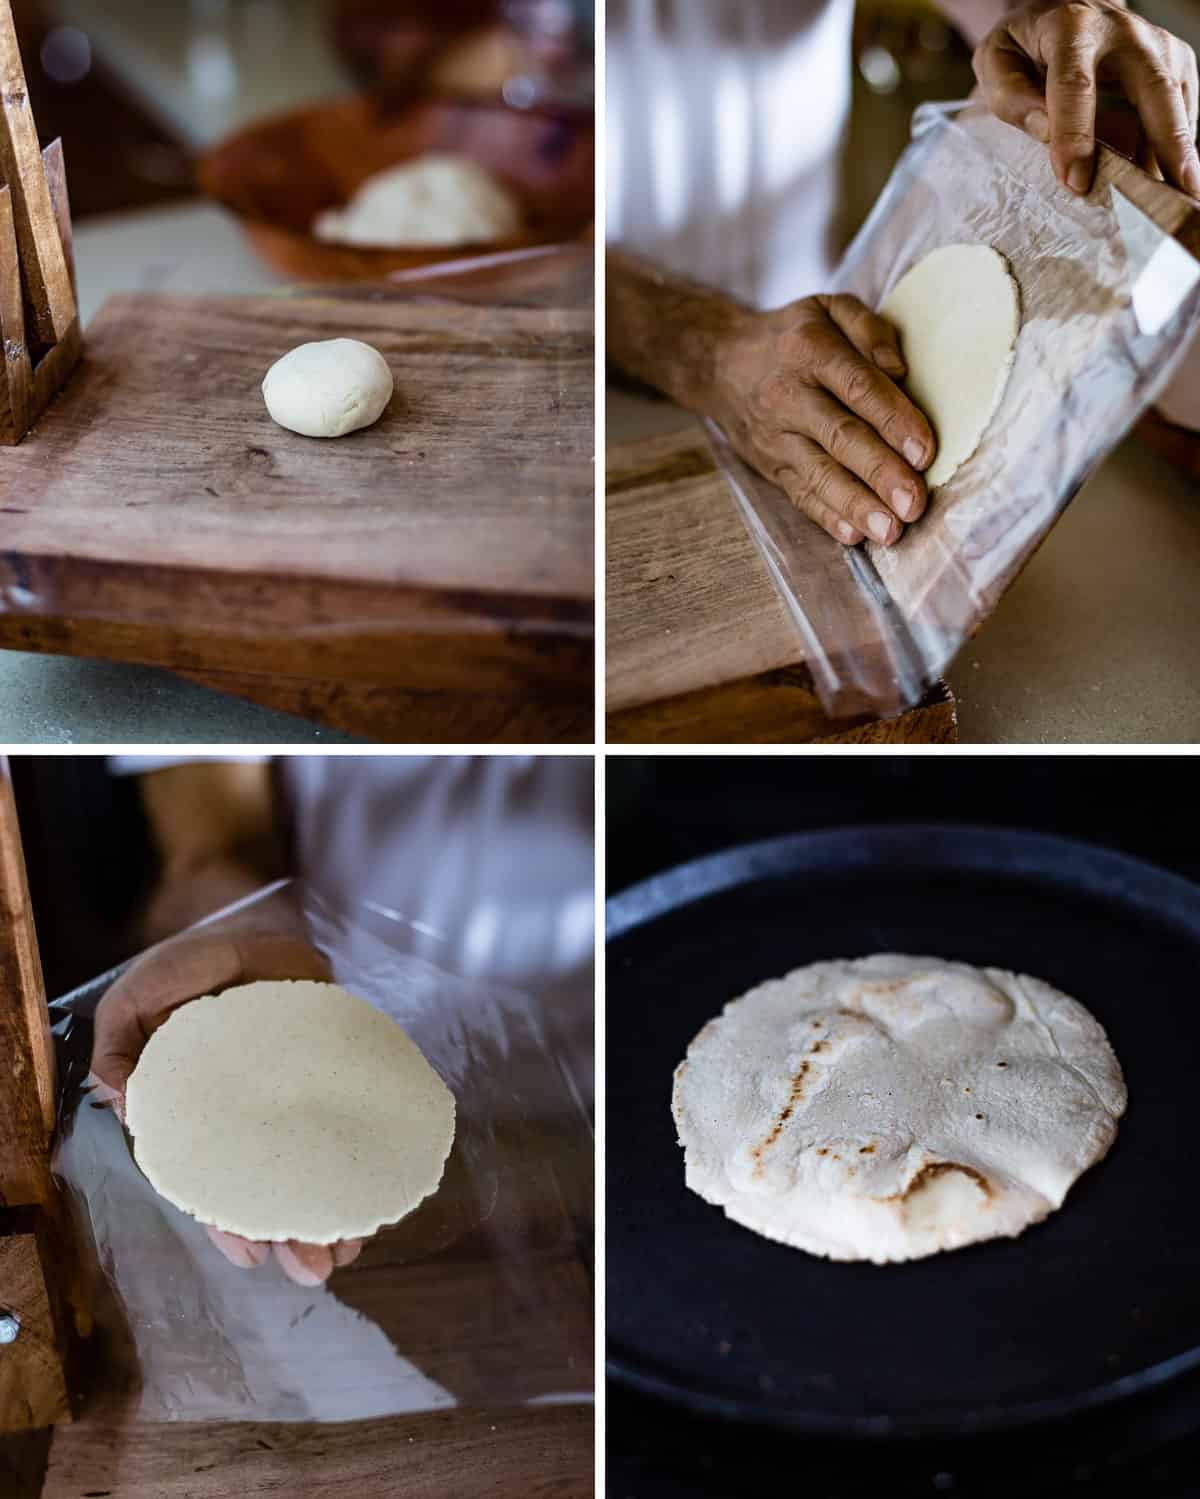
Second, you lay the plastic bag on the tortilla press, making sure that it covers both the upper and bottom parts of the press.
Third, divide the dough into smaller 14 to 15 equal pieces. You can eyeball it or use a small cookie scoop to make it easier on yourself.
Roll each piece into small dough balls (each piece should be similar to a golf ball). Working one piece at a time, place one dough ball on the bottom part of the press, cover it with the top of the Ziploc bag, close the press, and push it down (while applying gentle pressure).
Then, gently peel back the tortilla from the plastic and transfer it to your hand.
How Do You Cook Corn Tortillas
To cook corn tortillas, you can either use a griddle or a cast iron skillet.
The important thing here is to make sure that the skillet is very hot before starting the cooking process. I usually let it heat up over medium high-heat for 5 minutes or so.
Once fully warm, place the first tortilla on the pan. It will first stick and that is normal. But then in 15 seconds or so it will release itself and that is when it is time to flip it. After that, it should take around 30 to 45 seconds for it to fully cook. You will know that it is good to go when you start seeing brown spots on top.
Keep an eye on it as it is cooking and adjust the temperature as necessary to prevent it from drying.
According to Rick Bayless, a perfect tortilla is one that balloons up like pita bread after the second flip.
Here, one thing most resources suggest is to use your fingers to flip instead of a spatula, because the edges will curl up as the heat cooks the tortillas. At first, I didn’t feel comfortable flipping it with my hands, but towards the end, with a little practice, I was more comfortable with it. Still, if you don’t feel comfortable, a spatula works just fine.
How Do You Get Soft Tortillas
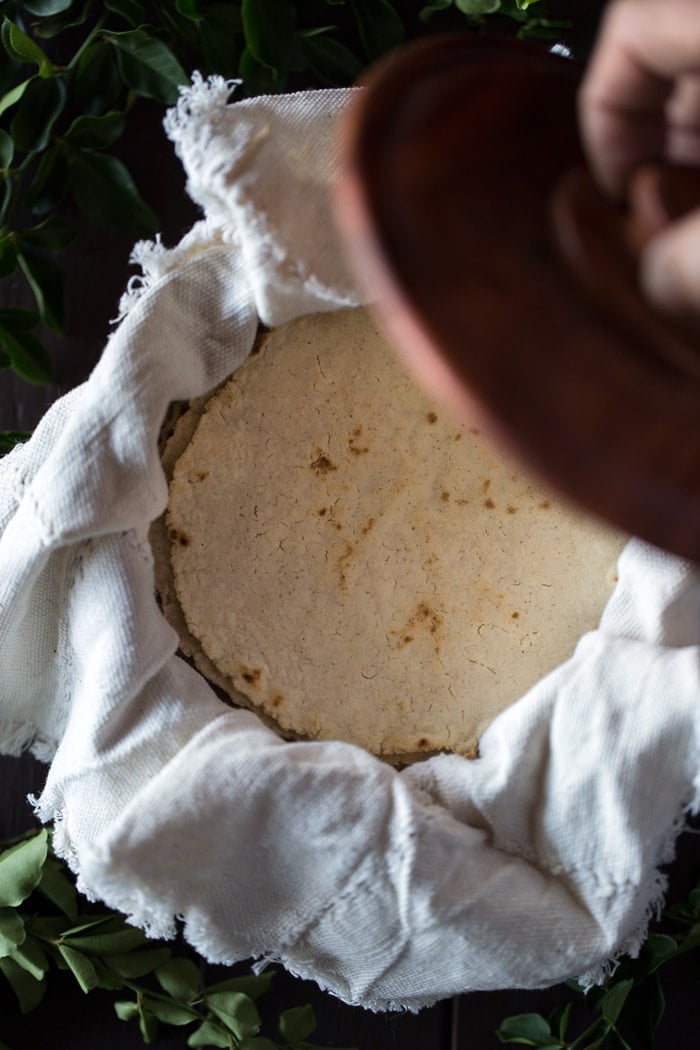
One thing that is so important to note here is that the cast iron skillet (or griddle) only cooks the outside of the tortilla. In order for it to cook thoroughly, you need to cover them with a clean kitchen towel and place it in a bowl with a lid. As it sits, the heat from the growing sack will continue the cooking process resulting in softer and completely cooked corn tortillas.
So, as you can imagine, the softest one is the one at the very bottom. Therefore, when you are ready to serve, it is best to start from the very bottom of the stack.
Storage Instructions
I think these DIY corn tortillas are best on the day that they are made. That is why, I usually make just the amount that I plan to serve.
However, to find out the best way to store tortillas, we made two batches of this recipe. You have two options when it comes to storing corn flour tortillas. They both work with a caveat:
- At room temperature: Keep them wrapped with a clean kitchen towel and let them sit on the kitchen counter. It will be fresh for up to two days but if you leave it longer it will start developing mold.
- In the fridge: Bring them to room temperature, wrap them tightly with a kitchen towel, and store them in the fridge. They should keep fresh for up to 4 days. However, as they sit in the fridge they get hard so I recommend a quick warm-up on the skillet before serving.
Once you get a hang of the process, you can make the most delicious corn tortilla bread in your very own kitchen in less than 20 minutes. And after that, I can almost guarantee you that you will never want to go back to buying them from the supermarket.
How To Serve
You can use these corn tortilla shells in so many ways. Here are a few ways to get you started:
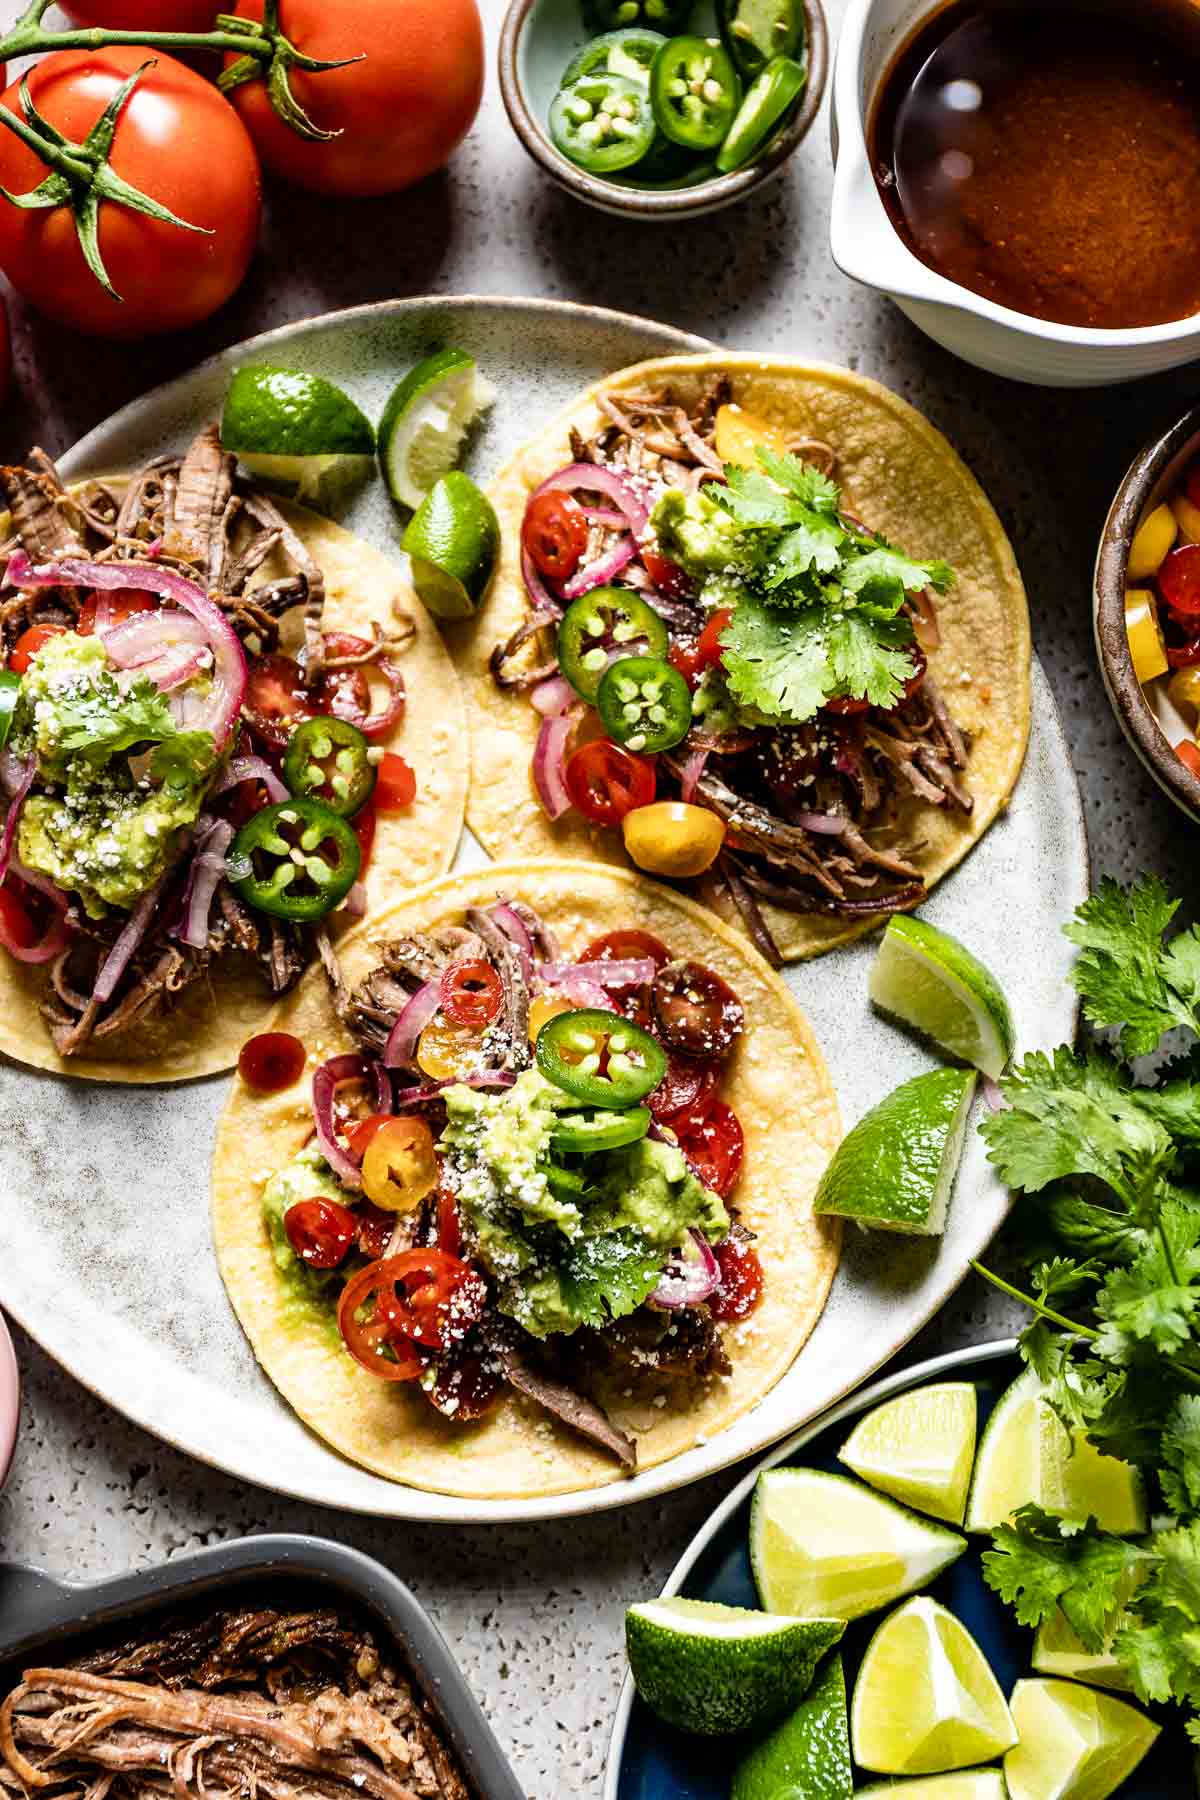
- Make a taco: Try my Quinoa Black Bean Tacos or Brisket Tacos Recipe
- Enchiladas: Soak these corn tortilla wraps in your favorite enchilada sauce, roll them up with your favorite filling, and bake them in a casserole with more sauce on top.
- Homemade tortilla chips: Cut them into small triangles and fry them in oil. Sprinkle with salt and serve with guacamole on the side. This combo makes the best Mexican Party Food.
FAQs
Masa harina is dried corn dough. It is used to make corn tortillas by mixing it with water. Nowadays, most supermarkets sell Maseca brand masa harina. You can also find it online. This White Maseca Corn Flour is what I usually use.
For yellow tortillas, use Maseca Instant Yellow Corn Masa Flour and for blue tortillas use Maseca Blue Corn Instant Masa Flour.
It is a personal choice so you can use them interchangeably in most recipes. Since flour tortillas are sturdier, they work well when making burritos, enchiladas, and quesadillas. Corn tortillas, on the other hand, work well with Mexican Tacos and when making huevos rancheros.
Other Mexican Inspired Recipes You Might Like:
- Mexican Corn On The Cob
- Mexican Street Corn Salad
- Mexican Quinoa Recipe
- Vegetarian Chili Recipe
- Black Bean Corn Salad
- Mexican Pasta Salad with Corn
- (The Best) Chicken Chili Recipe
If you try this Homemade Corn Tortillas recipe or any other recipe on Foolproof Living, please take a minute to rate the recipe and leave a comment below. It helps others who are thinking of making the recipe. And if you took some pictures, be sure to share them on Instagram using #foolproofeats so I can share them on my stories.
Corn Tortillas Recipe
Ingredients
- 1 3/4 cups masa harina for tortillas, (I used the Maseca brand), (9.5 ounces)
- 1 cup hot tap water, plus 2 tablespoons
- 2 tablespoons water, at room temperature
Instructions
- Using a wooden spoon, mix masa harina and 1 cup plus 2 tablespoons hot tap water in a large mixing bowl. Cover it with stretch film and let it sit for 30 minutes.
- Begin working the masa harina and water mixture with your hands. Add 2 more tablespoons of cool water (one at a time) for the dough to reach an ideal texture, where it is still soft without being sticky (similar to Play-Doh). If, for some reason, it is dry (looks like it is cracked), add a little more water. Or if it is too wet (or sticky), let it sit on the kitchen counter uncovered for it to dry out for a little bit or add more masa.
- Divide the dough into 15 equal pieces (for this recipe, it was 1.4 ounces each) for 6-inch corn tortillas. Cover the dough with a clean kitchen towel.
- Cut each sides of a Ziploc bag to make it a large rectangular piece. Lay it on the tortilla press, making sure it covers both the upper and bottom parts of the press. (See the pictures in the blog post)
- Roll each piece by placing on the bottom part of the press lined with the Ziploc bag. Cover it with the top of the Ziploc bag, close the press and push it down. Gently peel back the top layer of the bag, and transfer it to your hand. Place it on a baking sheet and cover it with a kitchen towel. Continue with pressing the rest.
- In the mean time, heat a cast iron skillet in medium heat for 10 minutes. You want to make sure it gets really hot.
- When you are ready to bake, place a tortilla on the skillet and let it cook for 15 seconds. At first it will stick, but then, if your temperature is right (read the blog post for more information on the temperature), it will come off easily for you to flip it. Let it cook for another 30-45 seconds or until it is lightly browned.
- As tortillas are cooked, transfer them in a basket cloth lined with a kitchen towel. Allow them to continue cooking with the steam (from their own heat) inside the basket for at least 10 more minutes before serving.
Notes
- It is optional, but if you want you can swap some of the water with chicken/vegetable stock and add salt into your dough.
- How to get soft tortillas: One thing that is so important to note here is that the cast iron skillet (or griddle) only cooks the outside of the tortilla. In order for it to cook thoroughly, you need to cover them with a clean kitchen towel and place it in a bowl with a lid. As it sits, the heat from the growing sack will continue the cooking process resulting in softer and completely cooked corn tortillas. So, as you can imagine, the softest one is the one at the very bottom. Therefore, when you are ready to serve, it is best to start from the very bottom of the stack.
-
How to Store: I think these DIY corn tortillas are best on the day that they are made. That is why I usually make just the amount that I plan to serve. However, to find out the best way to store tortillas, we made two batches of this recipe. You have two options when it comes to storing corn flour tortillas. They both work with a caveat:
- At room temperature: Keep them wrapped with a clean kitchen towel and let them sit on the kitchen counter. It will be fresh for up to two days but if you leave it longer it will start developing mold.
- In the fridge: Bring them to room temperature, wrap them tightly with a kitchen towel, and store them in the fridge. They should keep fresh for up to 4 days. However, as they sit in the fridge they get hard so I recommend a quick warm-up on the skillet before serving.
Nutrition
Nutrition information is automatically calculated, so should only be used as an approximation.



Just a tip: do not use ziplock freezer bags (like Glad), the masa sticks and will not peel off clean.
I press with a clear pyrex baking dish so I can see the shape and thickness. But I use the thin veggie produce bags from your market. They do NOT stick the dough, it falls into your hand cleanly.
Good to know. Thanks for sharing!
Have you a recipe for a wet-style Burrito with something referred to as, ‘macho sauce’?
Sadly, I am not familiar with that sauce Karen.
Thanks for a great article. I am a beginner at making tortillas, although I have made lots of breads. I find that my tortillas are rather stiff. Am I making the dough too dry or what? It feels like playdough and works well to press/griddle, but they are not flexible. Help 🙂
– Thanks
Liz
Bet,
They are not supposed to be “flexible” like the ones you get at the market. However, if you keep them in a basket covered with a kitchen towel, the steam trapped inside will make them softer.
I hope this helps.
Tortilla presses are a waste of money. You can put between the plastic and flatten with a plate or anything to press down. Griddle should be hot, so allow it to preheat for about 10 minutes on medium heat. Best results are on a gas stove, as electric is not even heat, but it can be done with practice. No oil is needed Only masa and water. My in-laws are Salvadoran and I was taught by my mother-in-law. Shes doesn’t use a press at all, only flattens by hand. Keep in mind, most kitchens in Central America are rudimentary and they don’t have fancy gadgets to cook with.
Great information cp. Thanks for your input.