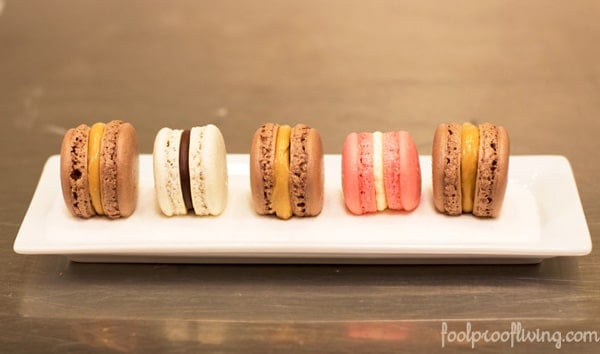
I love macarons. I am the person who drools over the Ladurée macarons every time I visit that store. Though since they cost an arm and a leg, I can only treat myself with one on special occasions.
I have always wanted to make them in my own kitchen. However, each time I thought about trying to, I felt discouraged because of some of the things that I was told or had read about making macarons in the past. I am sure you have heard them before, they usually go like: “Macarons are really hard to make”; “You have to have the right weather to make macarons”; “It is so hard to achieve the right consistency”, etc.
So when I found out that our local Sur La Table store in Atlanta is offering a class for making macarons called “Valentine Macarons”, I decided that there could not be a better time and opportunity to learn. I went ahead and signed up for it right away.
It was a wonderful experience that I not only enjoyed, but also learned so much from. This blog post is about the class and some of the tips and tricks I learned about making macarons.
That being said, since I am still in Atlanta, I have not tried making them in my own kitchen (mainly because my friend, whose house I am staying at, does not own a mixer). However, as soon as I get back home, I am planning to try this recipe in my very own Caribbean kitchen. And I promise to share the recipe on the blog in more detail after making them myself.
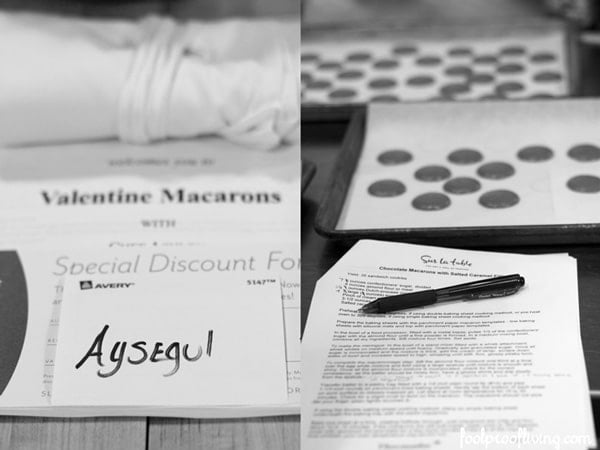
The class was scheduled for 11am on Saturday. Our teacher, Chef Ashley, personally welcomed me and the other 17 students from all ages ranging from 16 to 60. We found our workstations by finding our name badge on the table we were assigned for the class. It was arranged in a way that we would be working in groups of 5 or 6. With our name badges, we also found a neatly folded apron and a booklet of the recipes that we would be making during the class.
Chef Ashley, who is a graduate of the French Pastry School of Chicago, started the class with making a chocolate ganache, as it needed time to cool down while we were making the macarons.
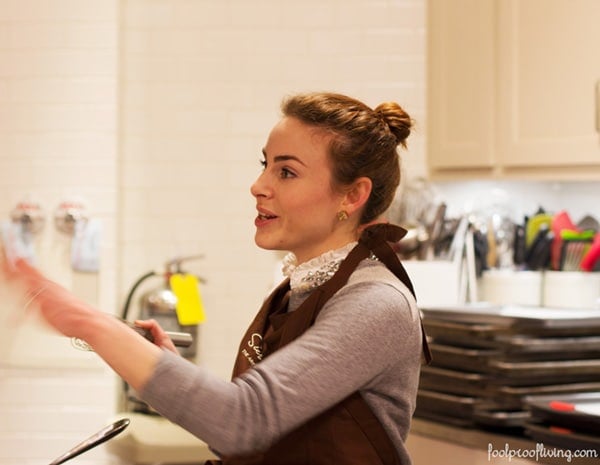
Making ganache is a simple process. You start with heating some heavy cream until it simmers, then you pour it over some good quality chopped chocolate, and stir until it melts. Then you whisk in some butter to give it shine and silky texture.
For additional flavor, Chef Ashley added some Grand Marnier, which I thought made a huge difference.
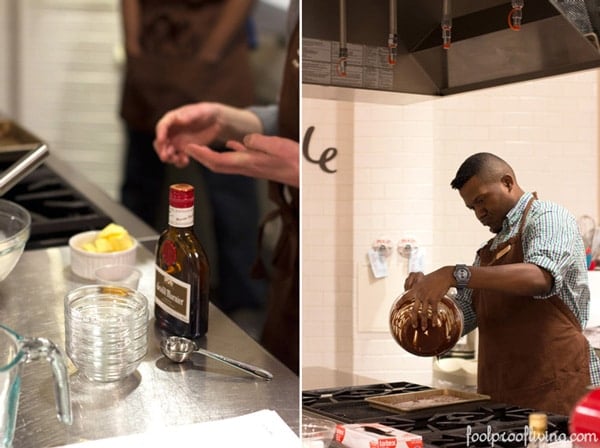
In order to allow it to cool, one of her assistants poured it into a small baking sheet and let it rest at room temperature.
Before beginning the main lesson, Chef Ashley started her presentation by saying that there is nothing to be afraid of when it comes to making macarons. After all, macarons are a combination of basic ingredients: almond flour, sugar, egg whites, and cream of tartar. However, to get the right consistency and texture, you just need to know and follow a couple of tricks. Once you know the basics, it is easy to make them with different flavors (and colors).
I found it reassuring that she acknowledged our fears and was pleased to know that by the time we will have completed this class, we will know all of the basics of making macarons.
Here are some of those tips and tricks that I learned throughout the class:
1. It is important to have your mise-en-place in place: To ensure consistent results, all ingredients should be weighed using a scale. Everything must be at the right temperature before you begin.
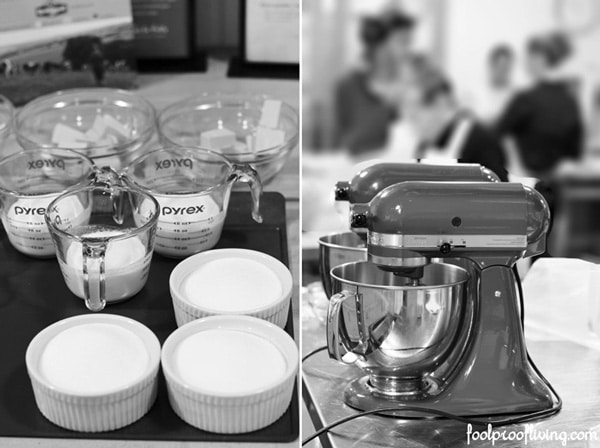
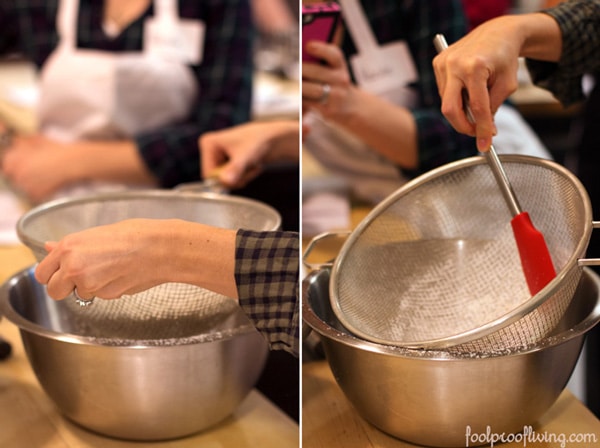
2. The dry ingredients must have a powdery texture with no lumps: The almond flour and confectioner’s sugar should be pulsed in a food processor and, if necessary, sifted multiple times. This is an essential step in ensuring the batter is smooth in the end.
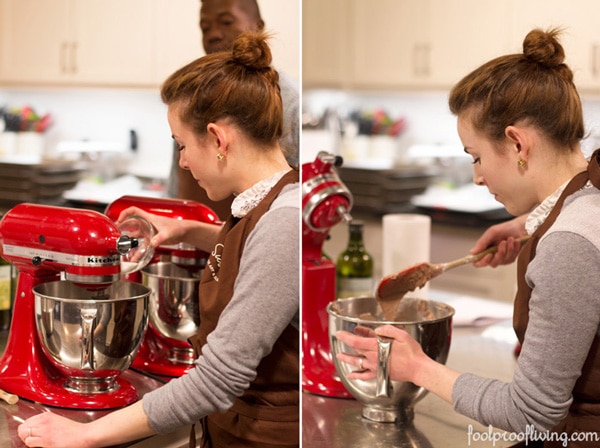
3. Aged egg whites and the consistency of the batter is important for a great end result: The egg whites should be aged by leaving them on the counter (covered) overnight. After whisking them with the mixer, the consistency of the egg whites should be fluffy but not stiff. When you remove the whisk and turn it upside down, the batter should stay up. Once the egg whites are ready, the cream of tartar should be added and mixed until stiff.
The almond flour and confectioner’s sugar mixture should be folded in by hand in 3 batches. The final batter should be firm and flow like a ribbon.
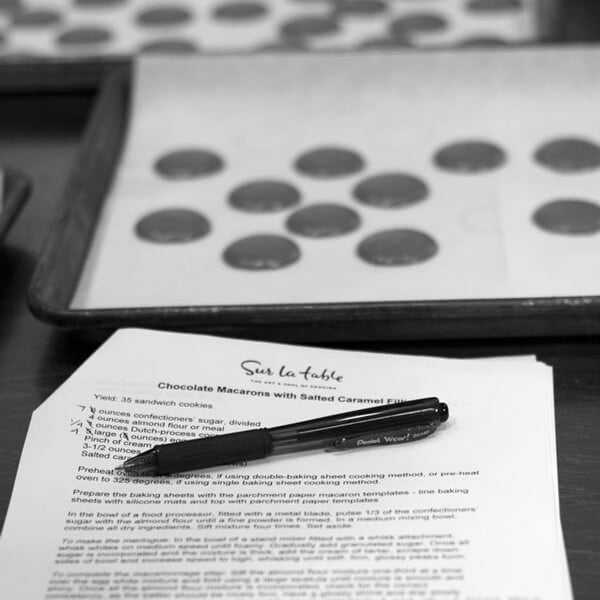
4. Use a template to keep macarons consistent in size: To ensure that all macarons are the same shape and size, we used a drawn template of 1 1/3 inch circles. It was placed under the parchment paper on our baking sheets.
To make it at home, you can draw 1 1/3 inch circles, 1/2 inch apart from each other.
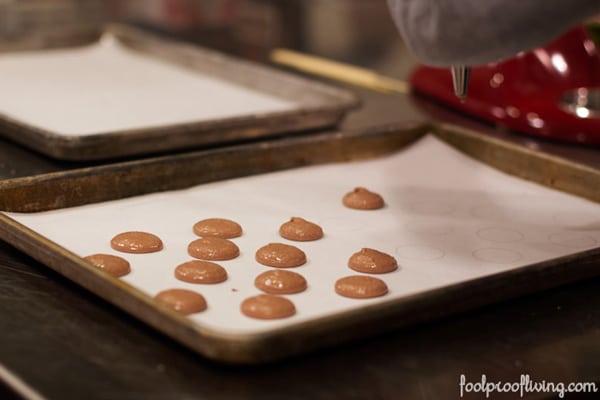
5. The technique for piping the batter: After transferring the batter into a pastry bag filled with a 1/2 inch plain round tip, pipe it onto the parchment sheet using the template underneath. When piping, keep the tip of the pastry bag about 1/2 inch above and in the middle of the circle.
After piping, carefully tap the baking sheet firmly on the counter to release any trapped air.
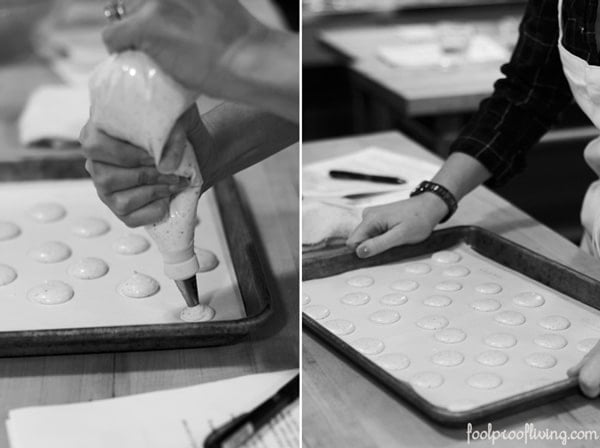
6. Burst bubbles (or any air) on each macaron and let them dry on the counter: Carefully examine each macaron and if necessary, burst out the little air pockets (or bubbles) using a toothpick.
It is important to let macarons dry out on the counter for at least 30 minutes before baking. You will know that they are dry when they no longer stick to your finger when you touch them.
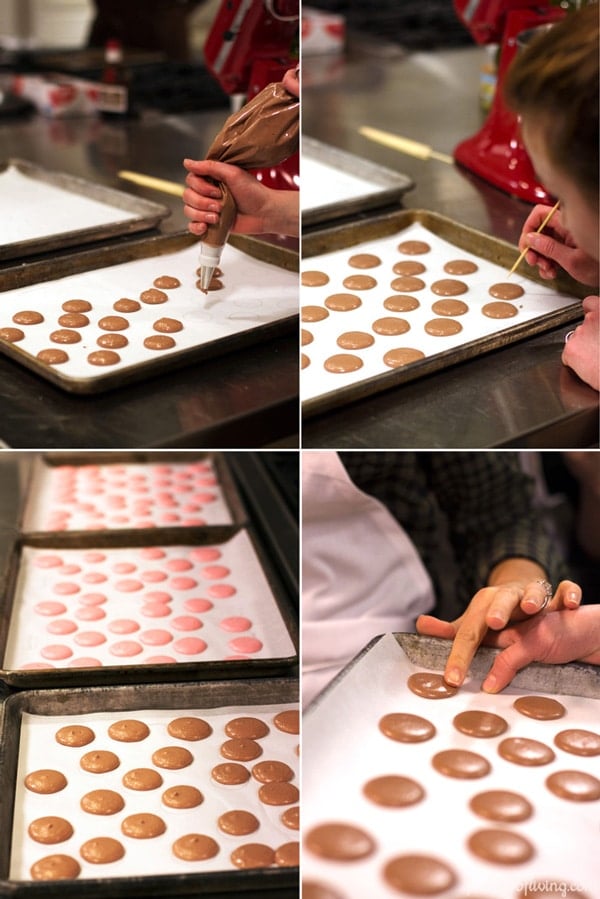
7. The ideal oven temperature should be between 275 – 300 F degrees: For best results, bake one sheet at a time. Rotate the baking sheet halfway through.
Chef Ashley baked them 6 minutes before rotating and another 6 minutes after rotating. 12 minutes in total. Also, she said that it is imperative to keep an eye on it throughout the baking process. Keep in mind that if the top of the macarons look crinkled, the oven temperature may be too hot.
Once they are baked, let them cool to room temperature on the counter before filling. Using a small spatula is very helpful for peeling them easily from the parchment paper.
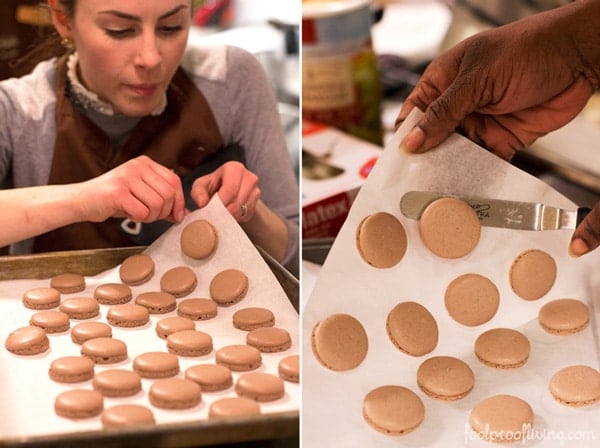
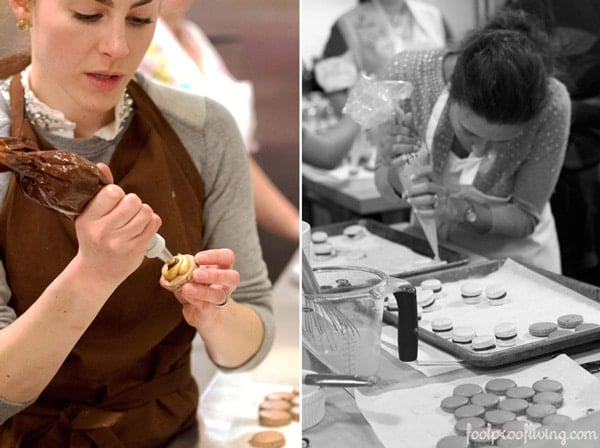
8. Before starting to pipe the filling, arrange your macarons into pairs (matching sizes/shapes as best as possible) on the baking sheet. The technique for piping should be: Spending an extra 5-10 minutes to pair your matching macaroons and putting them side by side will help you speed the process.
When piping the filling onto the macarons, keep the tip of the pastry bag about 1/2 inch (90 degrees to the macaroon) and pipe it in a circular motion. If you want, you can use 2 different fillings to give it an additional layer of flavor.
9. How to store macarons: The best way to store macarons is to keep them in an airtight container for up to 1 week in the refrigerator. You can also freeze them (after filling) by placing them neatly in between parchment (or waxed) papers. Again, they should be kept in an airtight container to prevent any exposure to humidity.
Throughout the class, we made chocolate macarons, strawberry macarons, and hazelnut macarons. The way that the class was structured allowed everyone to get a chance to experience each step of the macaron process under the supervision of the instructor.
Chef Ashley was available to answer our questions and showed us tips and tricks as we were making them in our own stations.
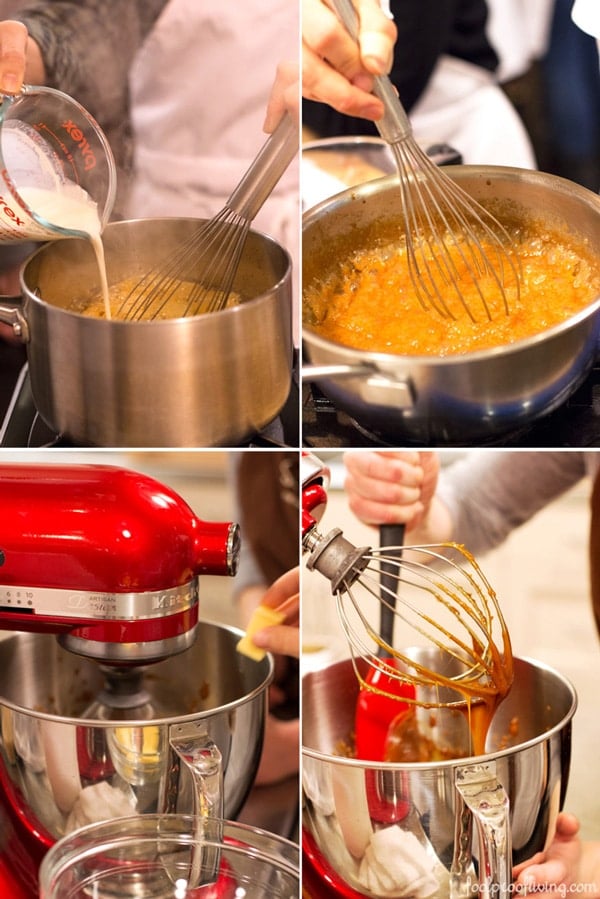
In addition to macarons, we made 3 fillings: salted caramel (my favorite), chocolate ganache, and champagne buttercream. Making fillings was rather easy. Though I did still learn some new tricks as she showed us how to make each filling.
All in all, it was a wonderful learning experience. As with everything, once you have the right ingredients and have a proper knowledge of technique, making macarons are actually not that hard to make.
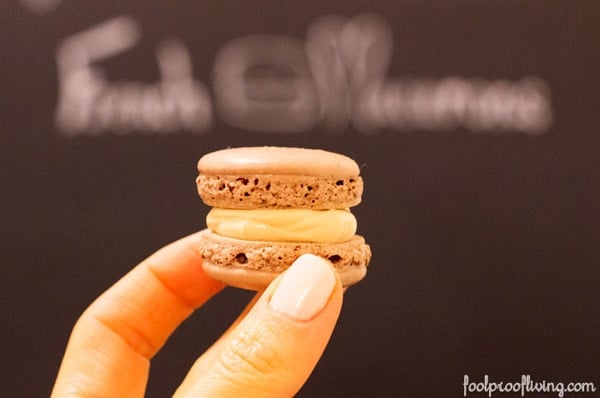
After tasting each macaroon with different filling combinations, I decided that my favorite pairing is the chocolate macaron with salted caramel filling, which is the combination I am planning to make when I go back home.
Throughout the class Chef Ashley was accompanied by 3 assistants who helped her (and us) with organizing and cleaning to ensure that we would not waste time with tasks other than learning to make macarons. I thought that they made her teaching and our learning experience seamless.
I also could not help but wish that I had an assistant at home. Oh well… dreaming is free, right?
If you are interested in learning how to make macarons, I would recommend this class to everyone. I think it could even be a good activity for couples or young adults who are into baking.
At the end of the class, we were given a bag to take the macarons we baked home to share with our family and friends. As you can imagine, my friends were so happy to see me coming back home with a bag of macarons.

Lots of thanks to Chef Ashley and her team for making this such a great experience.♥
Disclaimer: All the comments, opinions, and pictures on this blog post belong to me (Aysegul Sanford). I am not compensated in any shape or form to write this post by Sur La Table or the instructor of the class.



Tammy murphy
Will you be posting recipes of macaroons?
Aysegul Sanford
Hi Tammy,
I have made macarons a few times after that class and wasn’t able to succeed. However, it wasn’t because of the recipe, it was me. I am more interested in simpler and quicker baking recipes. Truth be told, I am not patient enough to perfect a macaron recipe.
However, I have a really good baker blogger friend that I can direct you to.
https://cookienameddesire.com/?s=macaron – Amanda makes the most beautiful macarons.
She is amazing and her recipes are spot on.
I hope this helps.
Marco Poleaux
Your writing and photos were as rich as the macarons. You were fortunate to have such as good Chef for your teacher.
✽. aimée .✽ / WallflowerGirl.co.uk
Right, I’m bookmarking this page. I have tried and failed with macarons too many times – I’m determined to get them right! Anyway, it’s great to hear your experience because I need to get myself on a class too 🙂
Sur La Table (@Sur_La_Table)
This is absolutely fantastic! Loved reading about your experience in class. 🙂
Aysegul Sanford
Hey there,
Thank you! I had a great time and learned a lot. It was fun.
Best,
Ice
Gisela
Beautiful pictures and very detailed information, great post!
Aysegul Sanford
Thank you Gisela. I loved your post as well.
Cheers!
Ice