While I know that it is convenient to purchase granola from the store, I hope that with my easy-to-follow steps, helpful tips (especially for the most addictive granola clusters) and foolproof recipe that uses wholesome everyday ingredients you will give this chunky granola recipe a try.
And hopefully, put this easy granola recipe on the weekly rotation. If you are in, let’s break it down together.
What’s in granola – Recipe ingredients
This vegan granola recipe has three sets of ingredients. Wet ingredients, dry ingredients, and optional add-ins (i.e., dried fruit and superfoods.)
Wet Ingredients:
- Sweeteners – Maple Syrup and Coconut Sugar: When I first started making this baked granola recipe, I used to use a combination of maple syrup and brown sugar. However, after deciding to stop using refined sugars in my cooking (back in 2016), I now make it with coconut sugar instead of brown sugar. I think the difference in taste is not recognizable. And I believe, as long as it is consumed in moderation, it is a healthier sweetener as it doesn’t spike up your blood’s glucose and insulin level like brown sugar does due to its low glycemic index value. (Source)
In place of maple syrup, you can use the same amount of agave nectar and honey as well. - Vanilla Extract: As in most sweet baked goods, the vanilla extract helps with enhancing the flavors of all the other ingredients used in the recipe.
- Salt: Similar to vanilla extract, salt is an essential ingredient used in baking as it brings out the sweetness of the baked goods. Over the years, I used mostly Kosher and table salt to make this recipe. I think they all work well.
- Vegetable Oil: Any oil that you have on hand. When I feel like making this a coconut granola recipe, I use coconut oil to continue with the flavors coming from coconut sugar and unsweetened coconut flakes (that we add in the end.)
However, in the past, I also made this recipe using other vegetable oils like avocado and grapeseed oil and thought that they all worked well.
Dry ingredients:
- Old Fashioned Rolled Oats: This recipe only works with old fashioned rolled oats. I wanted to mention this because if you mistakenly pick up the quick-cooking oats this recipe will not work. If you are not sure which one to use, here is everything you need to know about the difference between rolled oats and quick oats.
I usually get my rolled oats from Trader Joe’s as they sell gluten-free certified rolled oats (affiliate link). Using their rolled oats comes handy when I want to make sure that this is a gluten-free granola recipe for my friends who suffer from celiac disease.
However, you can also use rolled oats brands like Quaker Oats (affiliate link), or even Bob’s Red Mills’ extra-thick rolled oats (affiliate link). - A combination of your favorite nuts: This recipe uses 2 cups of chopped, unsweetened and unsalted nuts. The best part about it is that you can use any of your favorite nuts. I went for walnuts and almonds as I like the flavor combo, but feel free to use whatever you want or have on hand.
Be sure to give them a good chop.
Optional Add ins
The following ingredients are optional to add-in to this chunky granola recipe after it is baked. The fact that you can easily change it up is what I like most about this basic granola recipe in that you can change it up with add-ins in any way you want.
Here are a few options:
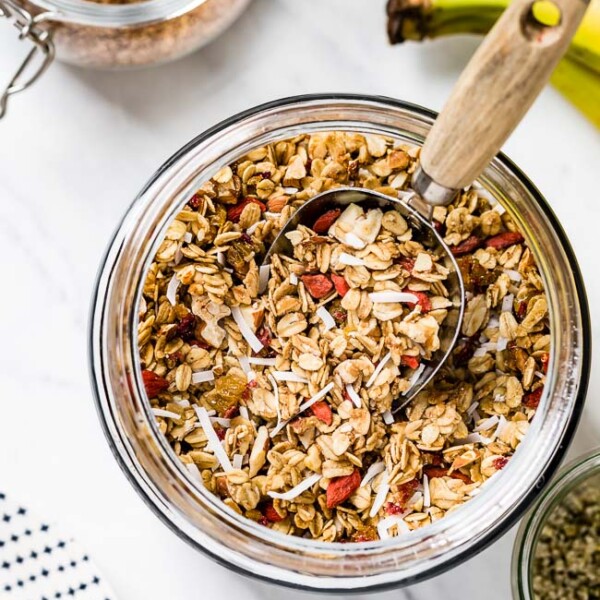
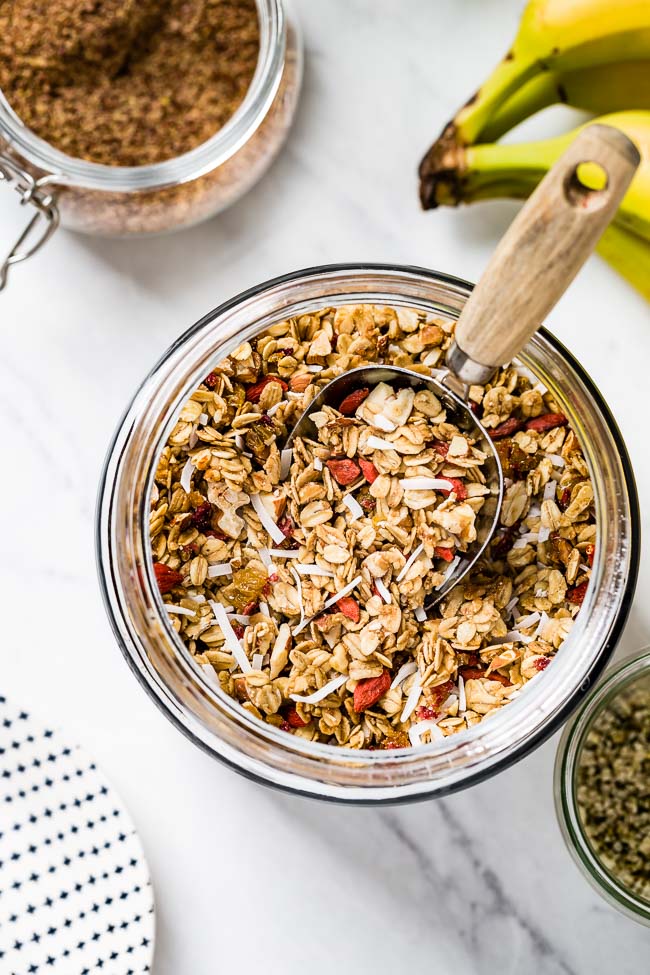
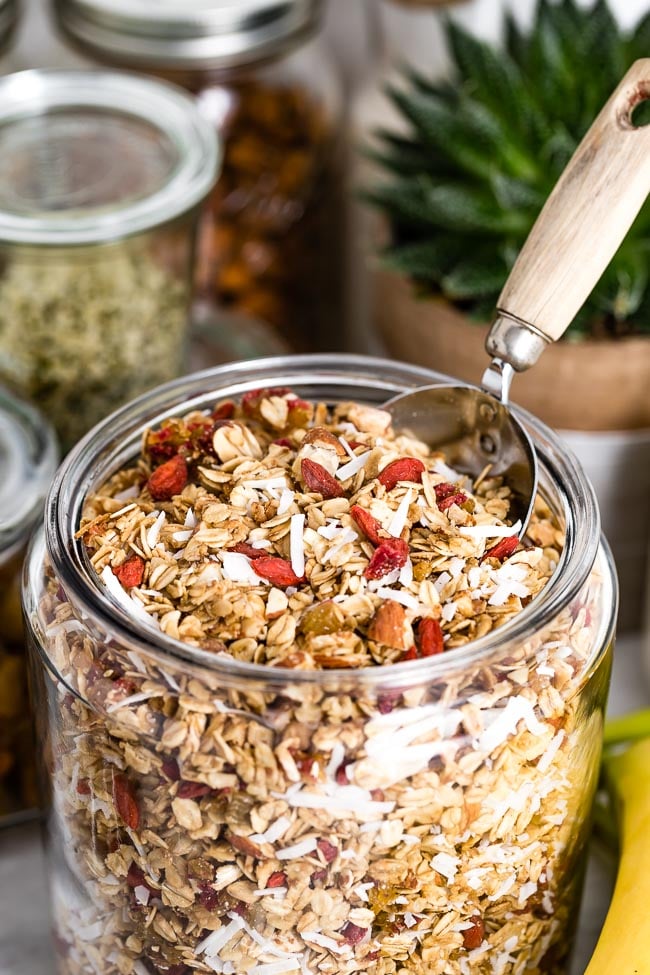
- Dried Fruit: The recipe below suggests adding 1 ½ cups of dried fruit into the granola after it is baked and cooled. Similar to nuts, you can use any dried fruit you like. I love raisins, dried cranberries (I love the orange juice sweetened version), dates, dried figs, and goji berries.
With this being said, if you are after a low sugar granola recipe, you can skip adding dried fruit. I think that this recipe is sweet enough without the addition of dried fruits. Alternatively, if you want more sweetness, you can pair it with fresh fruit when you are serving it. - Ground Spices: When I make this during the fall and later in the holiday season, I spice it up by adding ground spices like cinnamon, cardamom, allspice, ginger, and nutmeg.
- Superfoods: I love adding superfoods like unsweetened coconut flakes, ground flaxseeds, chia seeds, and hemp seeds into my granola. I think it is such an easy way to make it a healthier and more nutritious snack option.
- Chocolate Chips: Now, I know chocolate chips are not considered as a healthy ingredient, but we all need to treat ourselves every once in a while. If you feel like chocolate cravings are creeping up on you, feel free to add in a cup of your favorite chocolate chips in your granola.
How to make your own granola?
There are just a few steps to putting it all together, and it happens in less than 10 minutes. Follow the steps below to make your own chunky granola recipe at home:
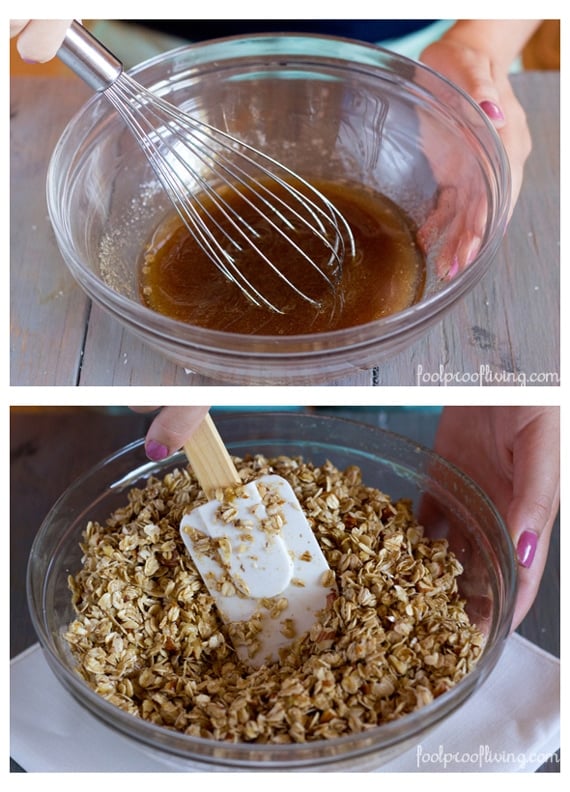
- Mix the wet ingredients: In a large bowl, whisk together maple syrup, coconut sugar (or brown sugar), vanilla extract, vegetable oil, and salt.
- Mix the dry ingredients: Either in that same large bowl or another one, mix together the rolled oats and nuts.
- Mix the wet and dried ingredients together: Using a spatula, mix them together until all the oats and nuts are covered with the wet ingredients.
- Transfer it to a baking sheet: Lay a baking sheet with parchment paper or reusable silicone liner such as Silpat (affiliate link). Transfer the granola into the baking sheet and spread it with the help of a spatula.
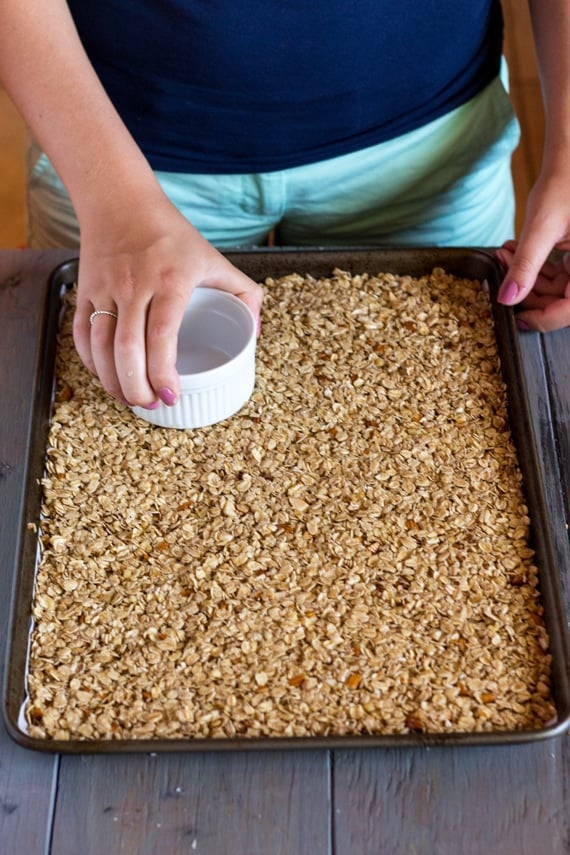
Using a ramekin with a flat bottom press the granola gently and distribute evenly throughout the pan make it compact (More on why we do this is below).
3 Tips on how to make granola clusters:
If you are after those addictive homemade granola clusters (some people also call them clumpy granola) the tips below will help you get them in no time:
- Use a flat bottom ramekin: Once you spread the granola on the baking sheet, gently press on the granola with the bottom of a ramekin to make it compact. This might seem like an extra step, but doing so helps with getting those lovely clumpy granola pieces with every bite.
- Let it cool on the counter: I know it is no fun to wait, but resist the urge to dig in. Let it cool for at least 30 minutes (until it comes to the room temperature) before breaking the chunks.
- Be gentle as you break it into chunks: When ready to break it apart, use a large spatula to break it into chunks. I also recommend being gentle as you transfer it into a jar or another airtight container.
- Incorporate the additional goodies after it is cooled: Once your granola is baked and cooled, break it into clusters and transfer to another bowl. Add in whatever else you want to add (dried fruit, superfoods, etc.) and give it a gentle toss.
How to serve
While I mostly snack on this chunky granola just by itself, I also serve it as a part of my breakfast or when I need a pick-me-up in the afternoon. Here are a few of my favorite ways to serve to inspire you to make this easy and healthy granola recipe at home.
If you want to watch me prepare these, be sure to watch the video in the recipe card below.
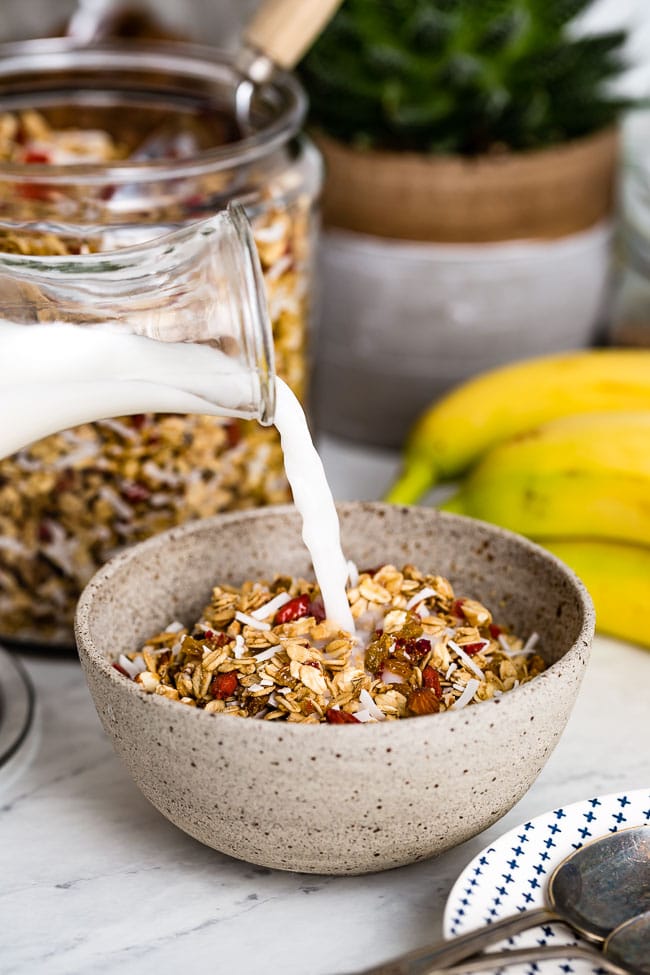
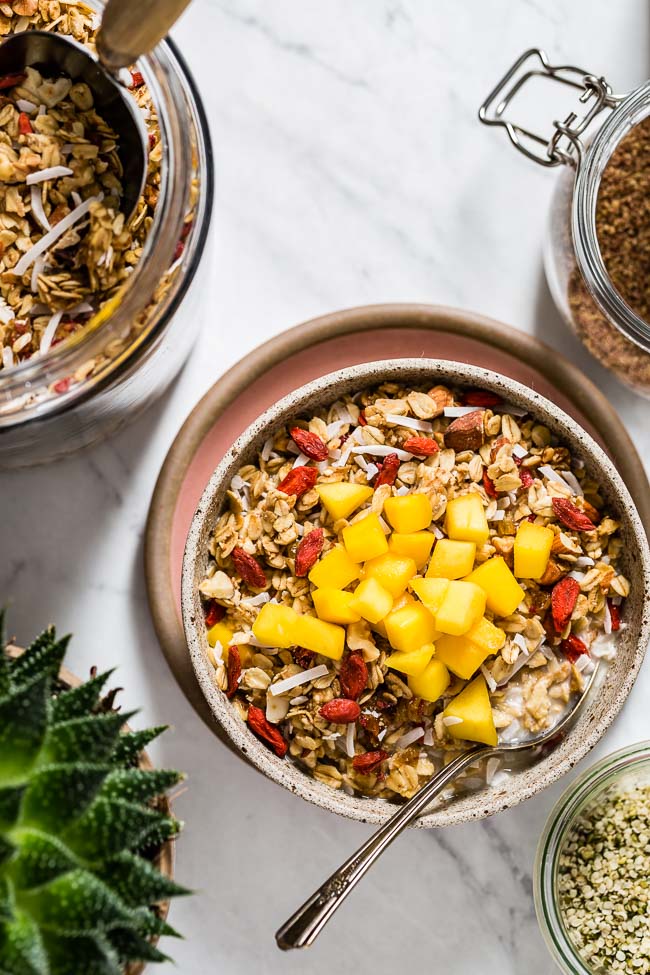
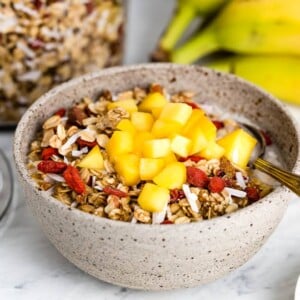
- Serve it as a cereal: This is my favorite way to serve. Simply, fill a bowl with a few scoops of this homemade granola cereal and drizzle it with your favorite milk. I usually top it off with a spoon of almond (or peanut) butter and a handful of fresh fruit, especially if I am serving it for breakfast.
- Serve it with yogurt and make Greek Yogurt Parfaits: Layer yogurt, fresh fruit, and granola in mason jars for a grab and go snack, just like they do it in Starbucks. Or you can also use it as a topping for Greek Yogurt Overnight Oats and Chia Yogurt Pudding.
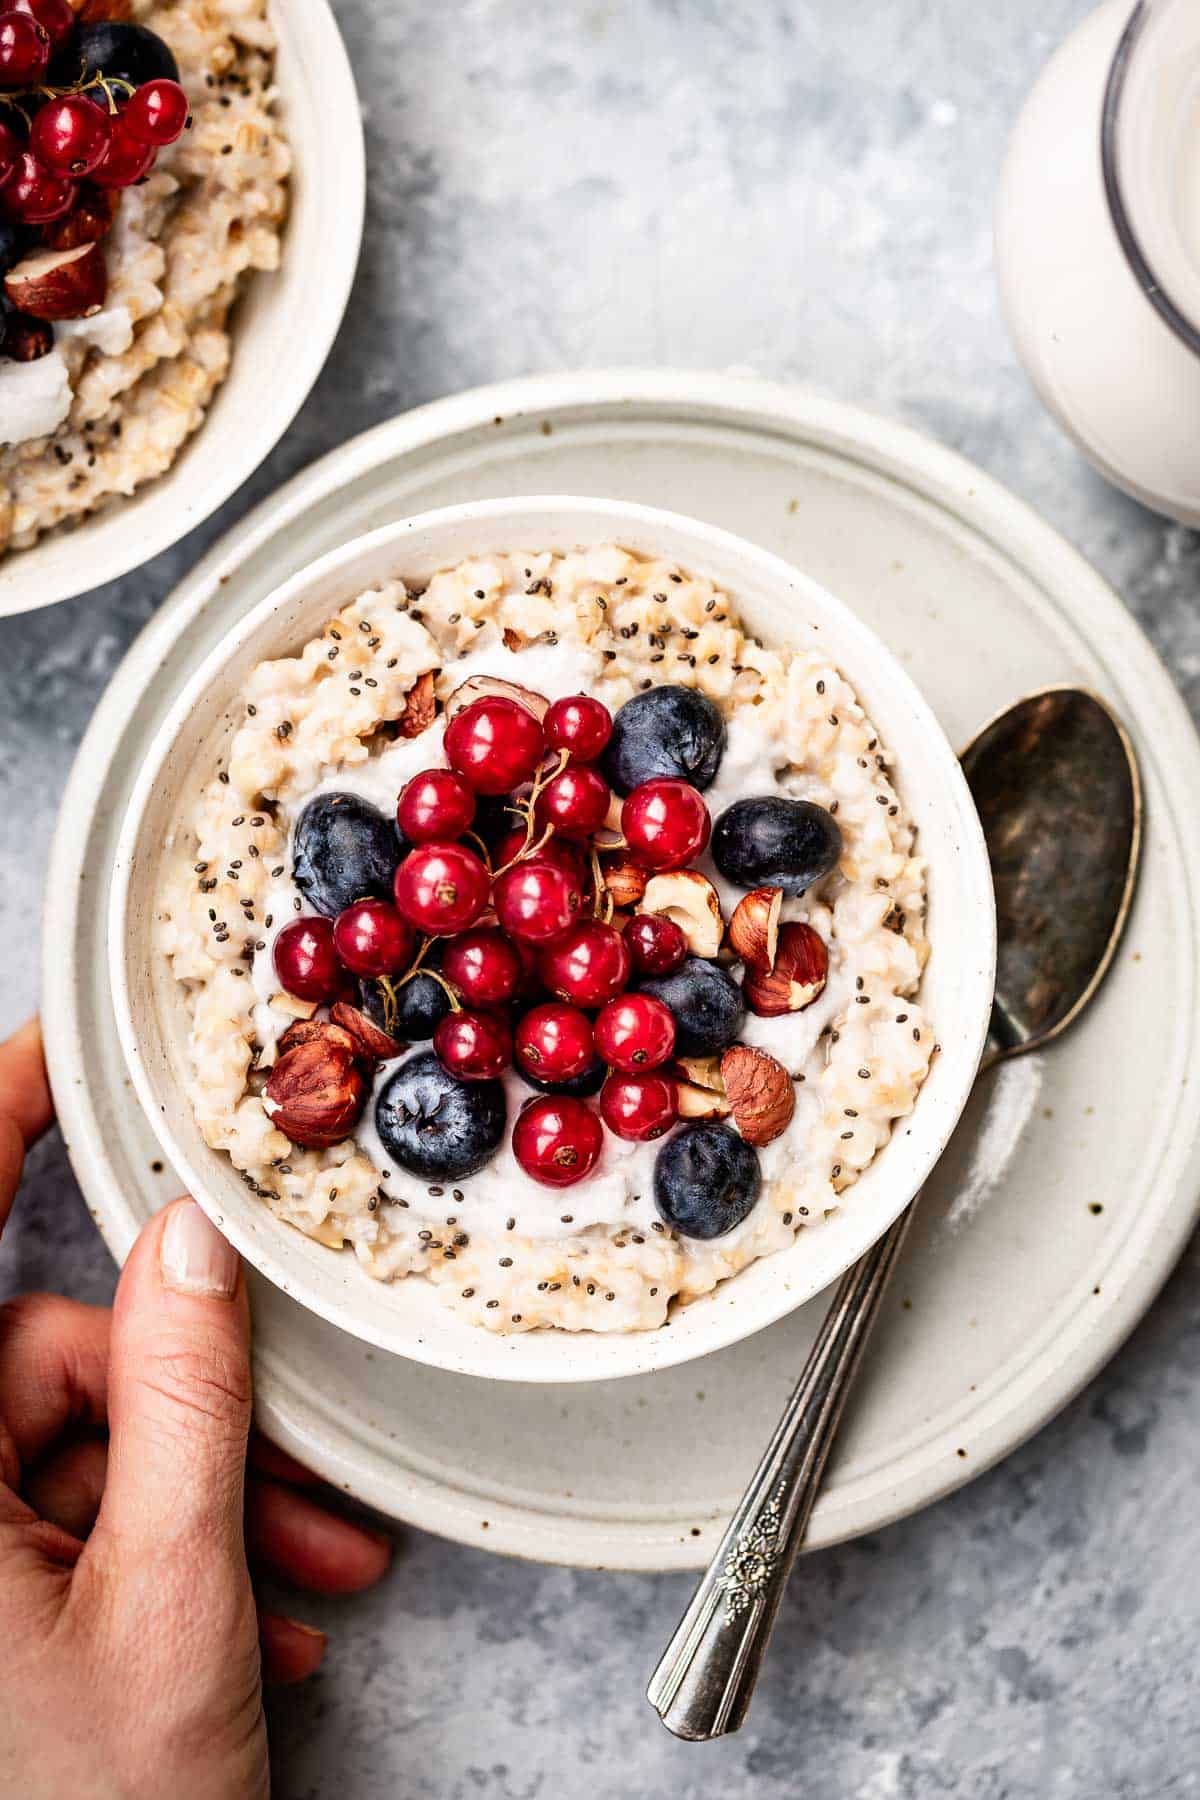
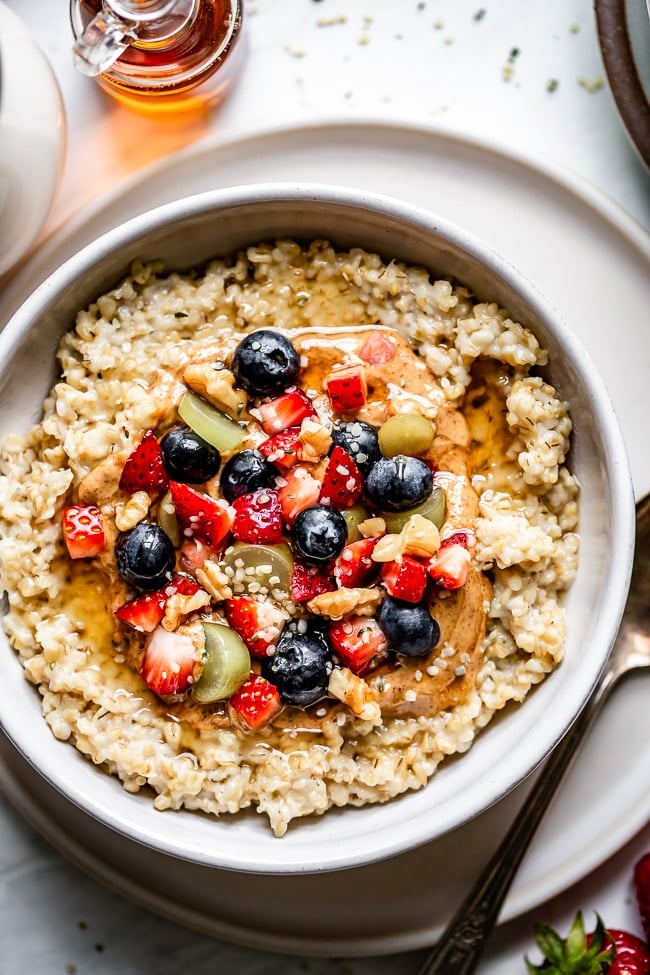
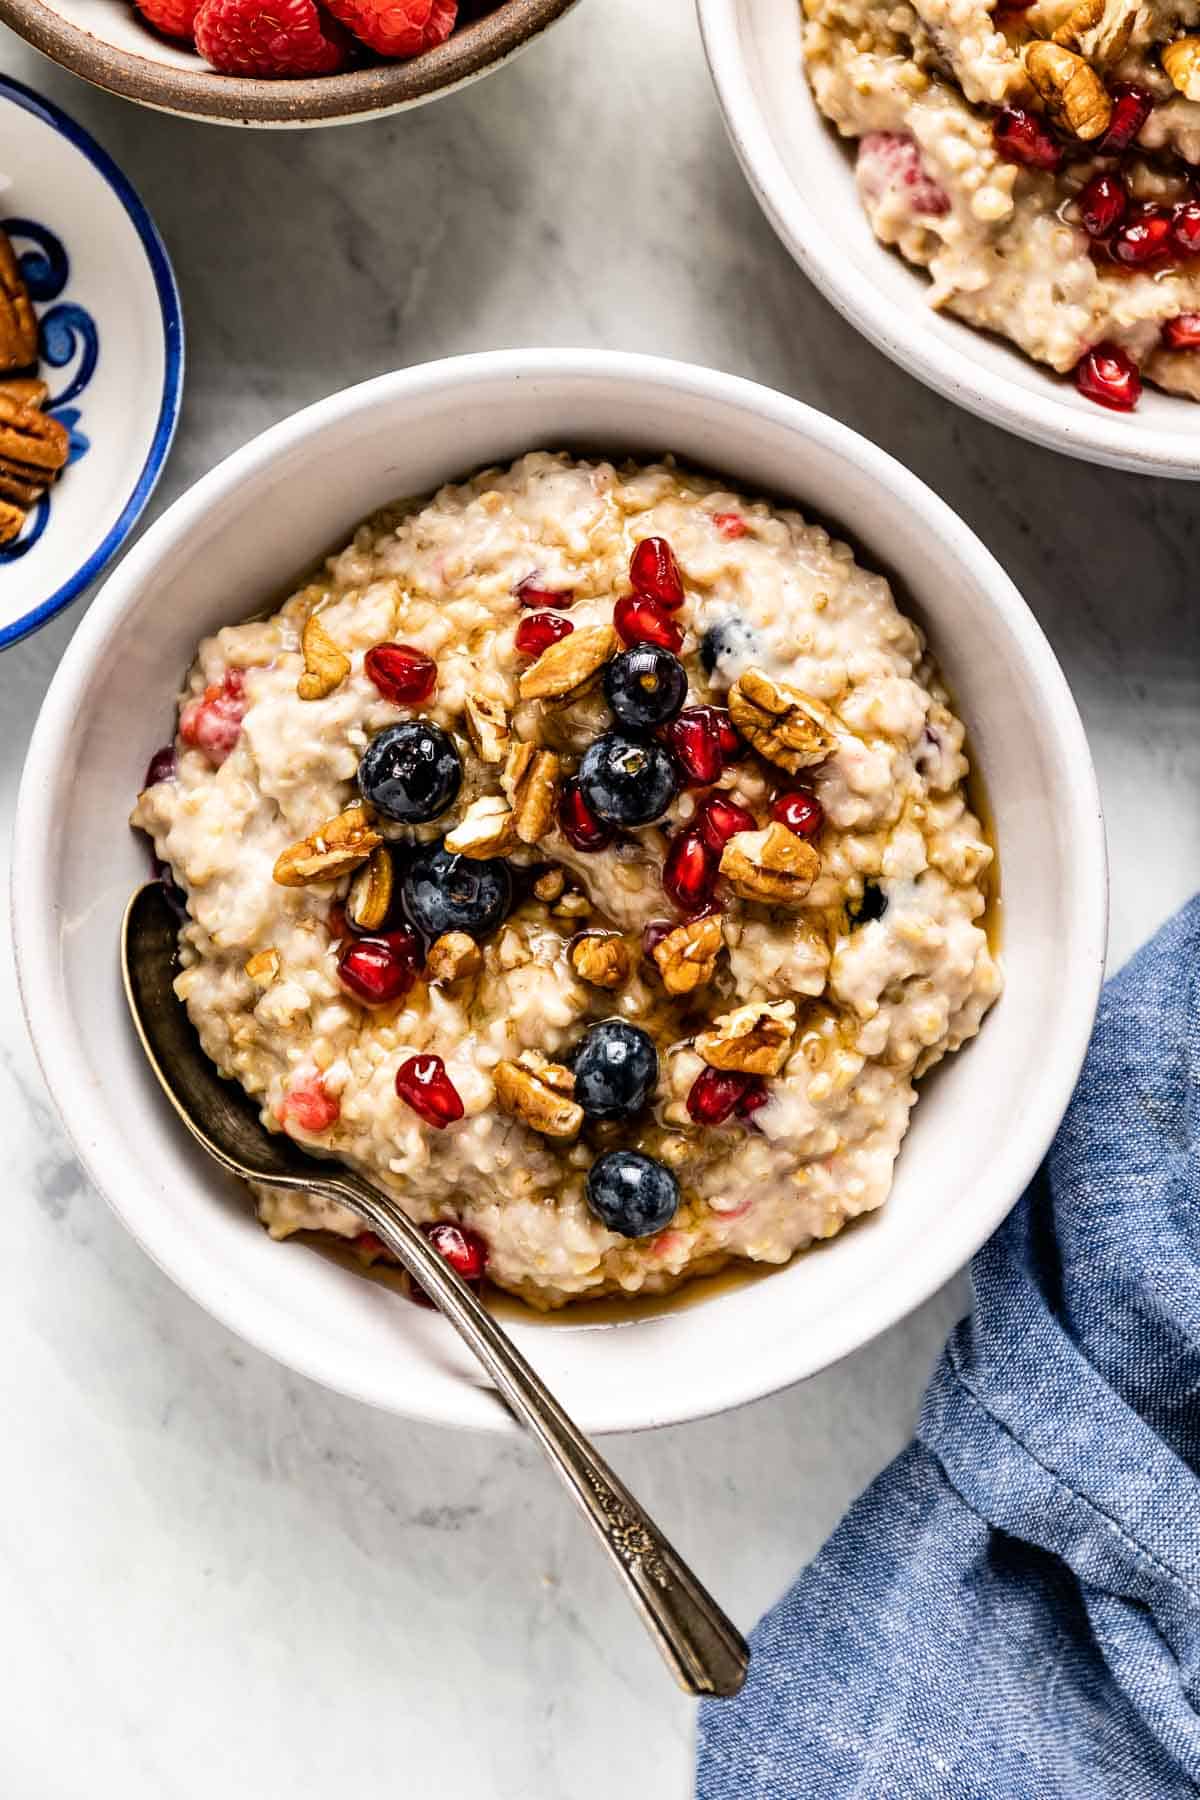
- Top your oatmeal off with granola: Whether you make overnight steel cut oats, slow cooker steel cut oatmeal, or almond milk oatmeal, this basic granola recipe is the perfect topping for your oatmeal in the morning.
FAQs
Over the years of baking this granola, I found that a lower temperature oven does a better job, so I bake my granola in a pre-heated 325 degree oven for 20-25 minutes.
It takes about 20-25 minutes for this granola to bake. The visual cue is when it turns golden brown.
This basic granola usually lasts about 5-7 days on the kitchen counter as long as it is stored in an airtight container. I usually store it in this glass jar (affiliate link), but any of your favorite containers would work. Keeping it in an airtight jar is the key to keeping your granola crunchy. If you want to include it in your kids’ lunch bag, these Stasher bags (affiliate link) are perfect for it.
Other creative granola recipes you might like:
- Tahini Granola with Pumpkin
- Chunky Banana Granola
- Quinoa Crunch
If you make this granola recipe, I would greatly appreciate it if you could take a minute to rate it and leave a comment below. It is a great way to support this website and help those planning to make it. Also, if you took pictures, I’d love to see them. Share your creations on Instagram using #foolproofeats so I can share them with the Foolproof Living community.
Recipe adapted from America’s Test Kitchen.
Chunky Granola Recipe
Ingredients
- 1/3 cup maple syrup
- 1/3 cup packed coconut sugar or brown sugar
- 4 teaspoon vanilla extract
- 1/2 teaspoon table salt
- 1/2 cup vegetable oil, grapeseed, coconut, and avocado oil would all work
- 5 cups old-fashioned rolled oats
- 1 cup walnuts, chopped
- 1 cup raw almonds, chopped
- 1/2 cup raisins, chopped
- 1/2 cup cranberries, chopped
- 1/2 cup goji berries, chopped
- 1/2 cup dates, chopped
- 1/2 cup unsweetened coconut flakes
Instructions
- Adjust the oven rack to upper middle position. Heat oven to 325 °F.
- Line your sheet pan with parchment paper. (it helps tremendously when it is time to clean.)
- Whisk maple syrup, brown sugar, vanilla, salt and oil in a BIG bowl.
- Add the oats, almonds and walnuts in to the liquid mixture and fold until thoroughly mixed.
- Transfer the oat mixture onto baking sheet and spread it to make an even layer.
- Using the back of a ramekin* or a spatula, compress oat mixture until it is very compact.
- Bake for 20-25 minutes rotating pan once halfway through baking.
- Once baked, remove it from the oven and let it cool for 15-30 minutes.
- Break cooled granola into pieces of your desired size.
- Mix in the chopped dried fruit and shredded coconut.
Video
Notes
- This granola recipe yields about 8-9 cups of granola.
- Use a flat bottom ramekin: Once you spread the granola on the baking sheet, gently press on the granola with the bottom of a ramekin to make it compact. This might seem like an extra step, but doing so helps with getting those lovely clumpy granola pieces with every bite.
- Let it cool on the counter: I know it is no fun to wait, but resist the urge to dig in. Let it cool for at least 30 minutes (until it comes to the room temperature) before breaking the chunks.
- Be gentle as you break it into chunks: When ready to break it apart, use a large spatula to break it into chunks. I also recommend being gentle as you transfer it into a jar or another airtight container.
- Incorporate the additional goodies after it is cooled: Once your granola is baked and cooled, break it into clusters and transfer to another bowl. Add in whatever else you want to add (dried fruit, superfoods, etc.) and give it a gentle toss.
- Storing: This basic granola usually lasts about 5-7 days on the kitchen counter as long as it is stored in an airtight container. I usually store it in this glass jar (affiliate link), but any of your favorite containers would work. Keeping it in an airtight jar is the key to keeping your granola crunchy.
Nutrition
Nutrition information is automatically calculated, so should only be used as an approximation.


I want to make this a staple in our house but I’m afraid I won’t ever eat anything else. It’s so delicious. Alone, with milk, over yogurt, over oatmeal, with chocolate chips…. Thank you!
Ha ha.. I totally get it. My husband and I feel the same way Melinda.
I make this for my family and coworkers and they love it. I eat it alone with yogurt or in a bowl of milk. It’s the only recipe I use for granola.
This is music to my ears M Lo. This is my go-to granola recipe as well.
Thanks for taking the time to leave a review.
I like the nutrition information but I did not see what the serving portion is. The only thing I saw was yields 8-9 cups and I can’t imagine it is a cup serving
Serving size portion that I used as a base is one cup, but it includes everything written in the recipe card.
Hope this answers your question.
This recipe looks so good, like much of your recipes I’d love to try some but in the UK we tend to use metric measurements – gms/oz with a weighing scale, wouid you ever consider adding metric measures? I know there are converters online but difficult to get my head around the differences between cups of dry, wet ingredients etc . Thank you
I totally understand. This is one of my older recipes. Nowadays, I include the weight in my recipes.
Thanks for the suggestion.
This is my favorite granola recipe. Thanks for it!
I am happy to hear that Judy. Thanks for coming by and taking the time to leave a review.
I omitted the sugar because I didn’t want it to be so sugar and too sweet. It came out delicious. However, my granola did not stick together. Is it because I omitted the sugar? Or perhaps I should’ve tried to bake it longer?
Hi Lily,
Yes, it is probably because you didn’t have enough liquid (assuming you didn’t use maple syrup) to bind it altogether. I haven’t tried this but next time you can try it with applesauce instead of maple syrup for a milder and less sweet liquid alternative. Also, it is important to “pack it” using the back of a ramekin before baking. Doing so definitely helps with creating clumps.
Hope this helps.
I only omitted the brown sugar, but kept the maple syrup & I did pack it down. It still tasted delicious!! But I do want to figure out how to make it stick a little better because I like chunky granola 🙂 Also, is there any way to extend the shelf life? Perhaps keeping it in the fridge?
Hey Lily,
I am happy to hear that you enjoyed this recipe.
The trick to making them stick is pressing them with the back of a ramekin when you spread them on the sheet pan. Doing so, helps “packing” them and stick together.
You can place them in the fridge to extend shelf life.
Hope this helps.