
As with most of my easy chocolate recipes, this chocolate honey ice cream has no high fructose corn syrup and no refined sugar. It is sweetened with only the natural goodness of honey.
And if you are a serious ice cream lover, be sure to check out my Avocado Ice Cream and Cashew Coconut Milk Ice Cream.
Ingredients
This chocolate honey ice cream recipe requires just a handful of simple ingredients. We will need:
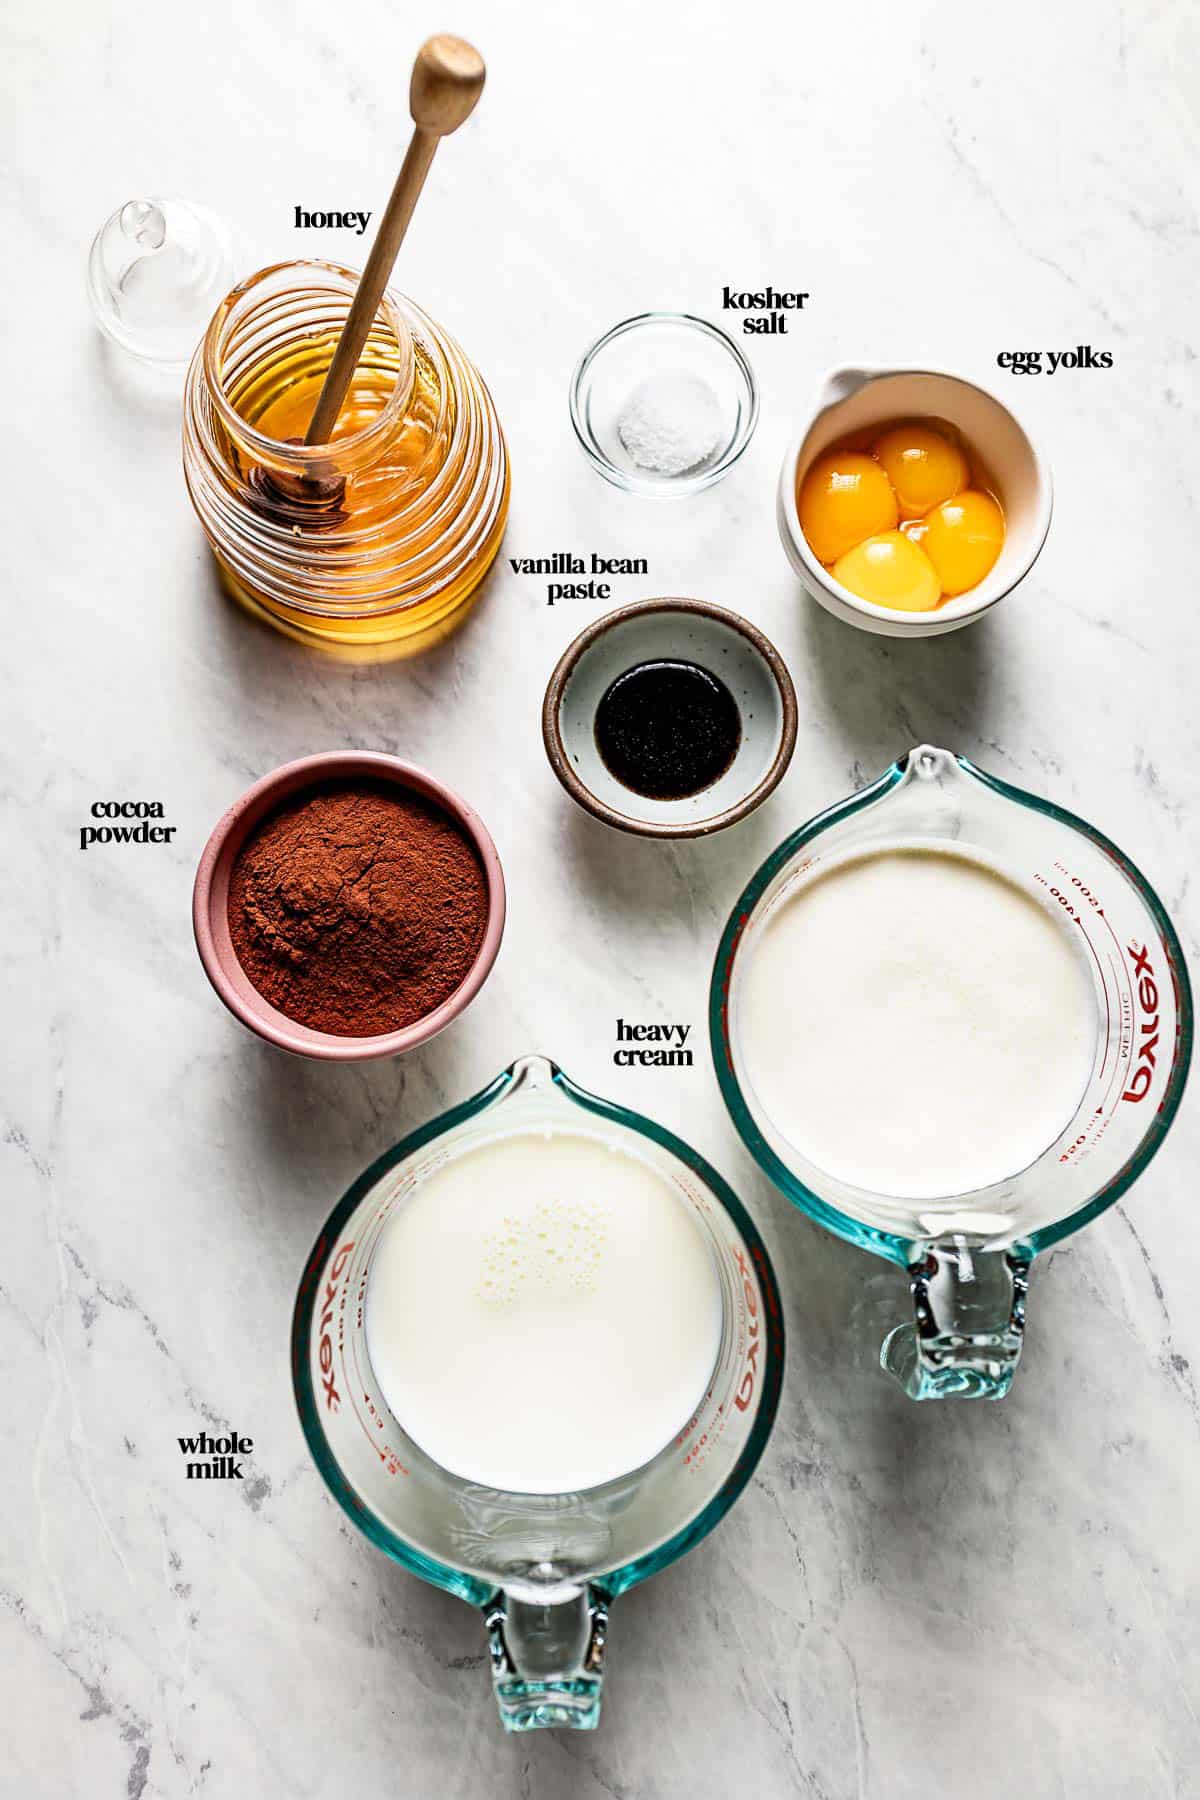
- Heavy Cream: Heavy cream, sometimes labeled heavy whipping cream, provides a rich and creamy consistency that is so akin to ice cream.
- Whole Milk: Make sure to also use full-fat milk for the richest texture.
- Honey: Seek out high-quality honey from a brand you trust. Whether it is local or raw honey, or both, pick a flavor you like, like orange blossom or clover.
- Unsweetened Cocoa Powder: Unsweetened cocoa powder (not Dutch-processed) provides a rich, earthy, chocolatey flavor. I tested this recipe with both Hershey’s (affiliate link) and Valrhona (affiliate link), and both were equally delicious. For even more powerful antioxidants, try organic Cacao Powder (affilaite link), which is not heated to as high a temperature during processing as traditional cocoa powder.
- Raw Egg Yolks: Egg yolks add richness and create a chocolate custard ice cream dream.
- Vanilla Paste: Although more expensive, vanilla bean paste (affiliate link) adds richness and specks of vanilla bean. If you would like to use pure vanilla extract instead, make sure to add it while the chocolate ice cream base is cooling, so as to not evaporate the alcohol.
- Salt: A pinch of Kosher salt enhances the sweet cream and chocolate notes.
How to Make Chocolate Ice Cream with Honey?
Honey-sweetened chocolate ice cream is just as delicious, if not more so, than traditional ice cream recipes. Here’s how to do it:
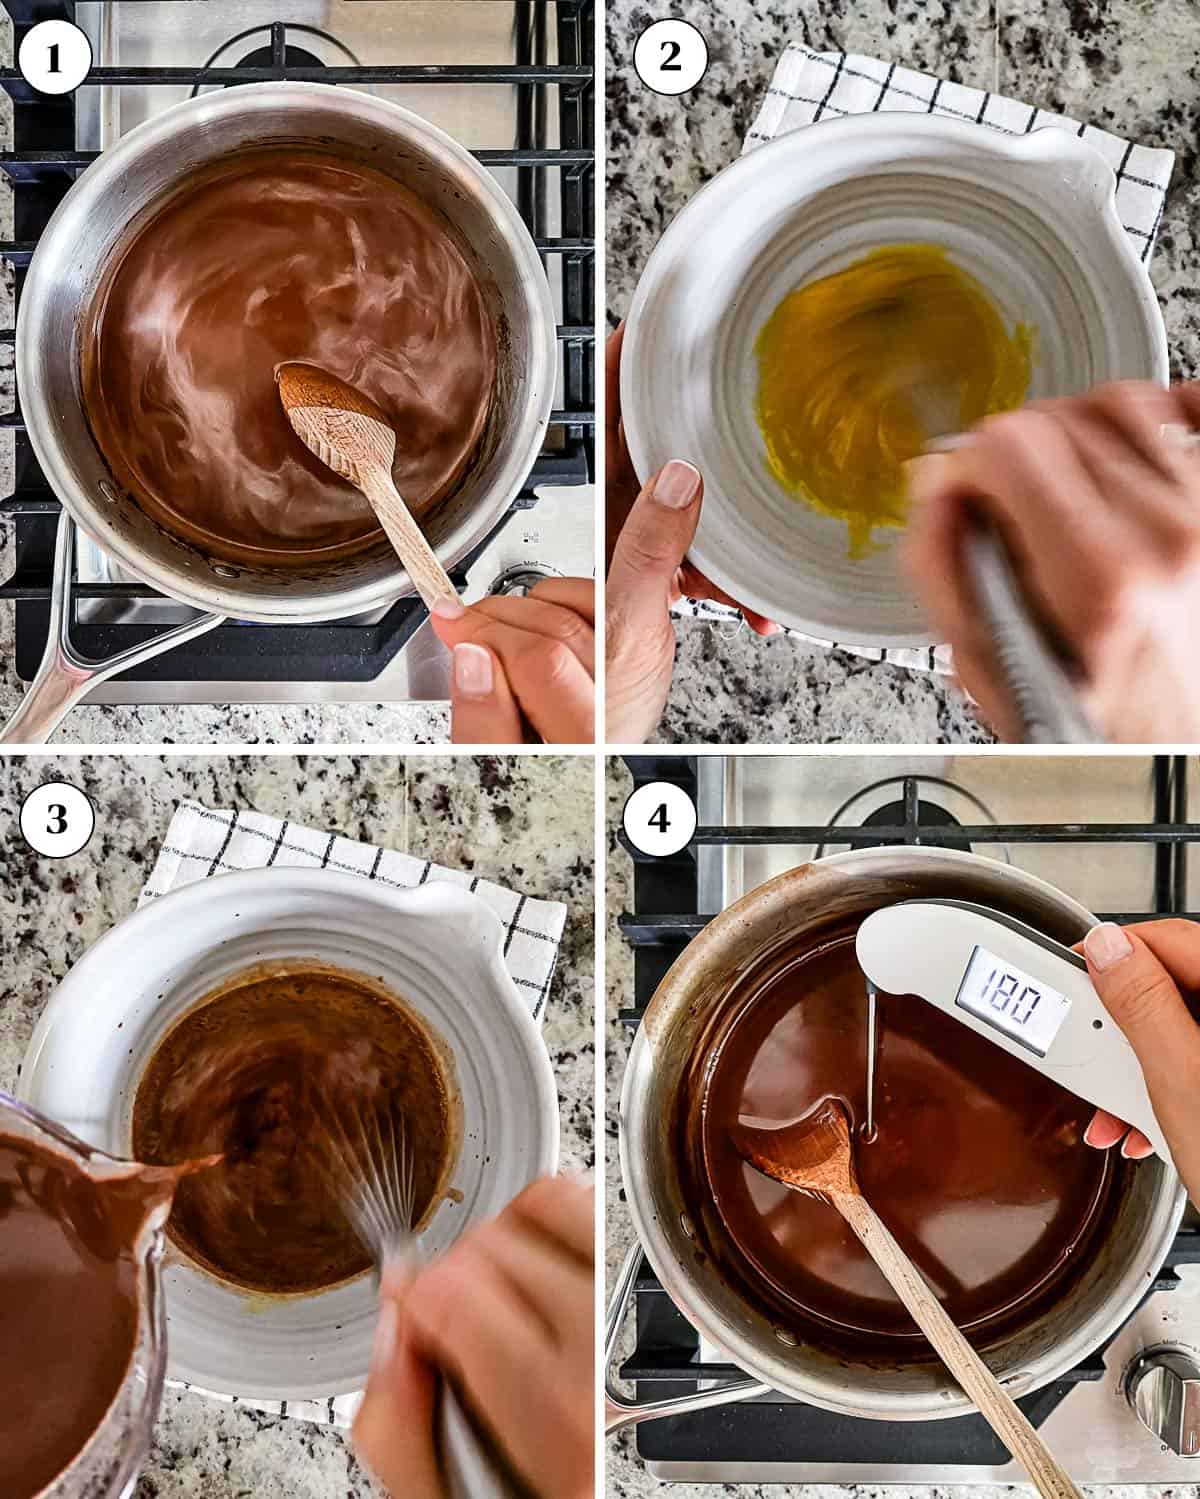
- Heat cream mixture: In a medium saucepan, place the cream, milk, honey, unsweetened cocoa powder, vanilla paste, and salt. Cook over medium-high heat, string frequently until it is barely simmering, 7-8 minutes. Do not let it boil.
- Whisk egg yolks: While the cream mixture is coming up to a simmer, whisk the egg yolks in a medium bowl.
- Temper egg yolks: Carefully pour 1 ½ cups of the warmed cream mixture into a measuring cup. Gradually and slowly whisk the cream mixture into the eggs while constantly stirring as you pour it into the bowl. Continuous whisking is very important to prevent the eggs from curdling.
- Make the chocolate custard: Immediately pour the egg yolk mixture back into the saucepan. Cook over medium to medium-high heat for approximately 8 minutes, stirring constantly with a wooden spoon, until it is slightly thickened. Make sure to also stir the bottom edge of the saucepan to incorporate the mixture. Do not let it boil, as this will scald the cream and milk. The mixture should be around 180 degrees Fahrenheit.
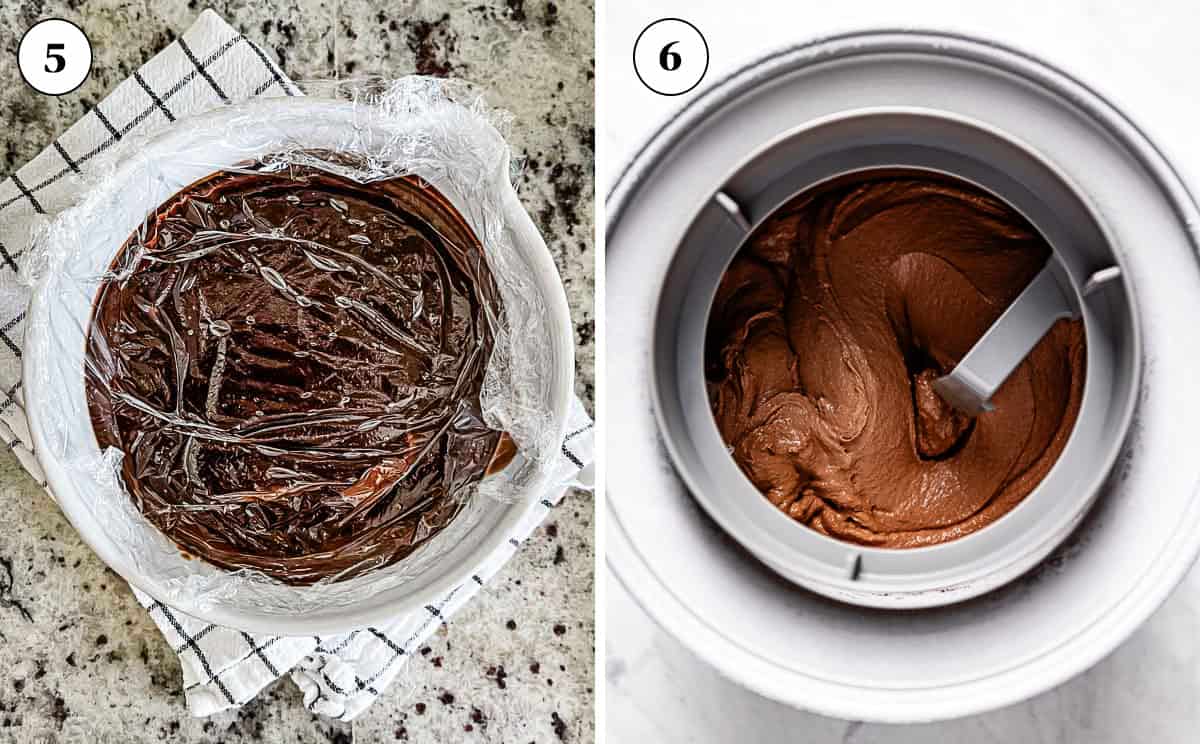
- Chill: Pour the chocolate mixture into a heatproof container or a medium bowl. Keep it uncovered and allow it to cool to room temperature on the counter for 30 minutes. Then, cover it with plastic wrap and refrigerate for at least 3 hours, or up to 24 hours.
- Churn: Once the custard is thoroughly chilled, churn it in your ice cream maker (affiliate link) according to the manufacturer’s instructions. My ice cream maker takes about 20 minutes for it to reach a soft-serve consistency.
- Freeze: Transfer the now-churned ice cream to an ice cream tub (affiliate link) or a loaf pan and be sure to cover or wrap tightly. Let it freeze for at least 3 hours before serving.
How to Store
Chocolate ice cream with honey will keep for up to 1 week in the freezer. For proper storage, make sure to:
- Store in a designated ice cream tub (affiliate link), or freezer-safe airtight container.
- Store away from any odorous foods (i.e. seafood, onions, etc.), preferably in the back of the freezer.
- Optionally, place a piece of plastic wrap directly on the surface of the ice cream to prevent the formation of ice crystals.
How to Serve Honey Ice Cream?
Naturally sweetened chocolate ice cream is going to become your favorite homemade ice cream flavor. To really bring out its chocolate flavor, I love to serve it in any of the following ways:
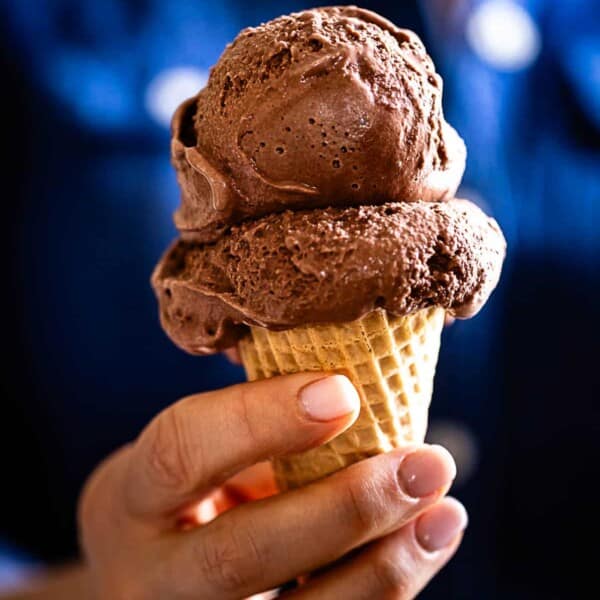
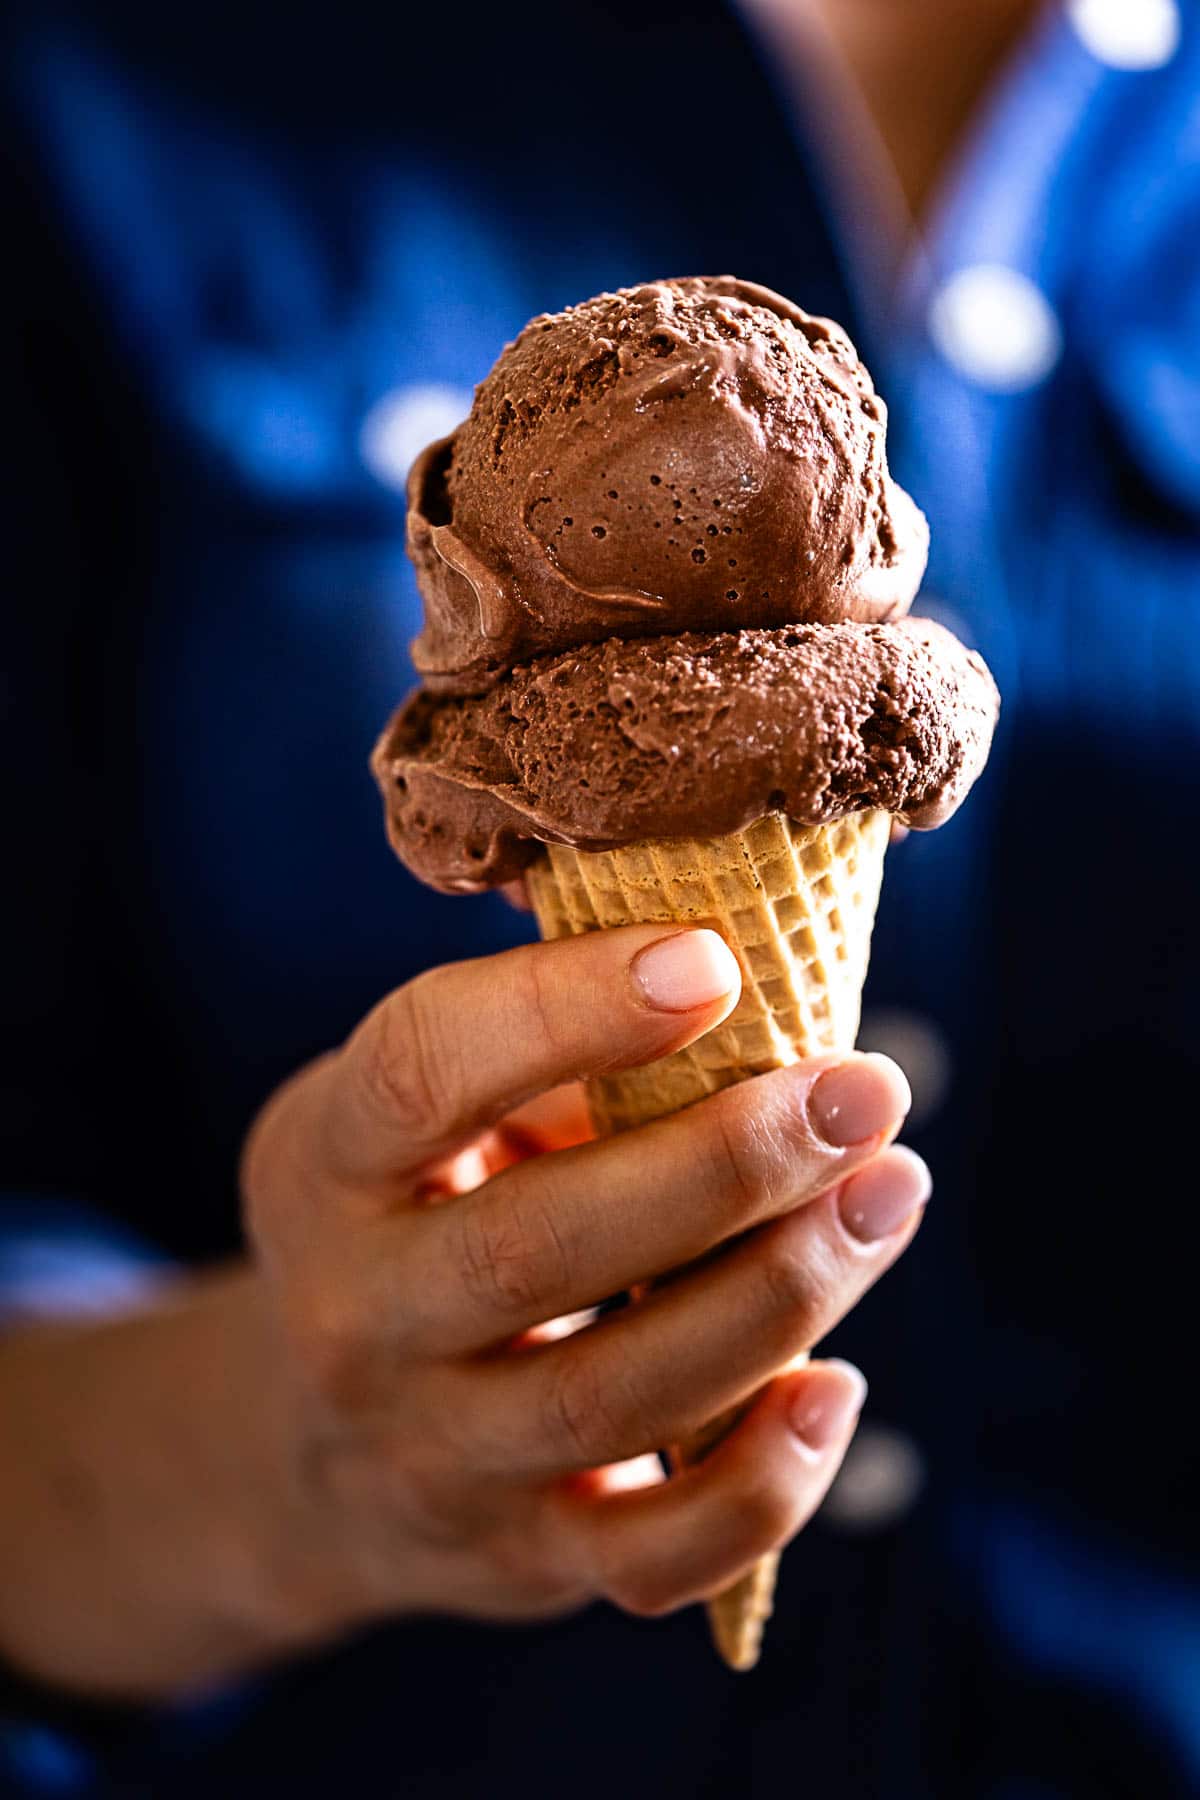
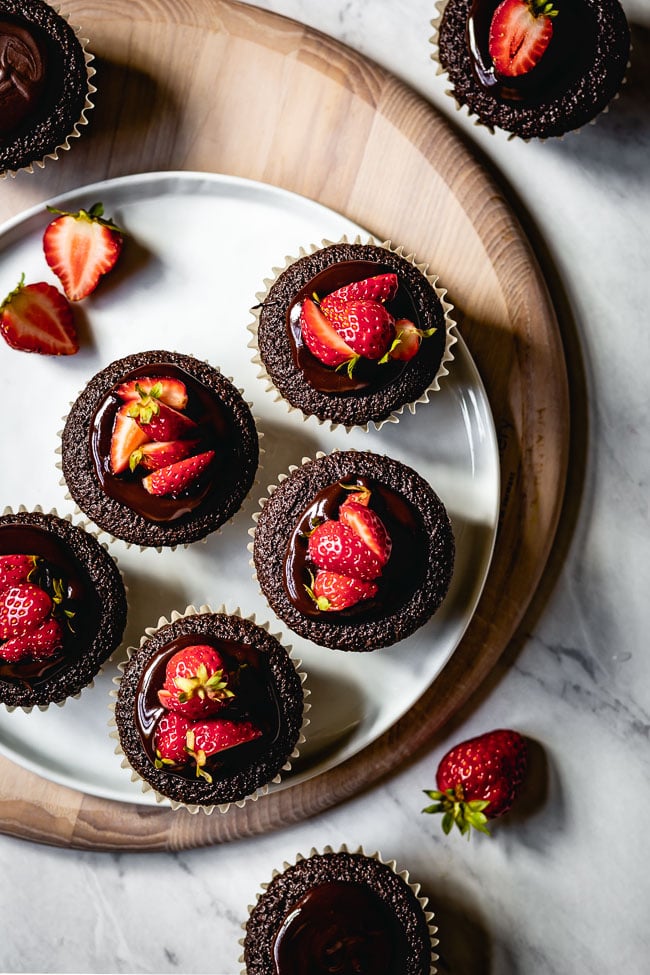
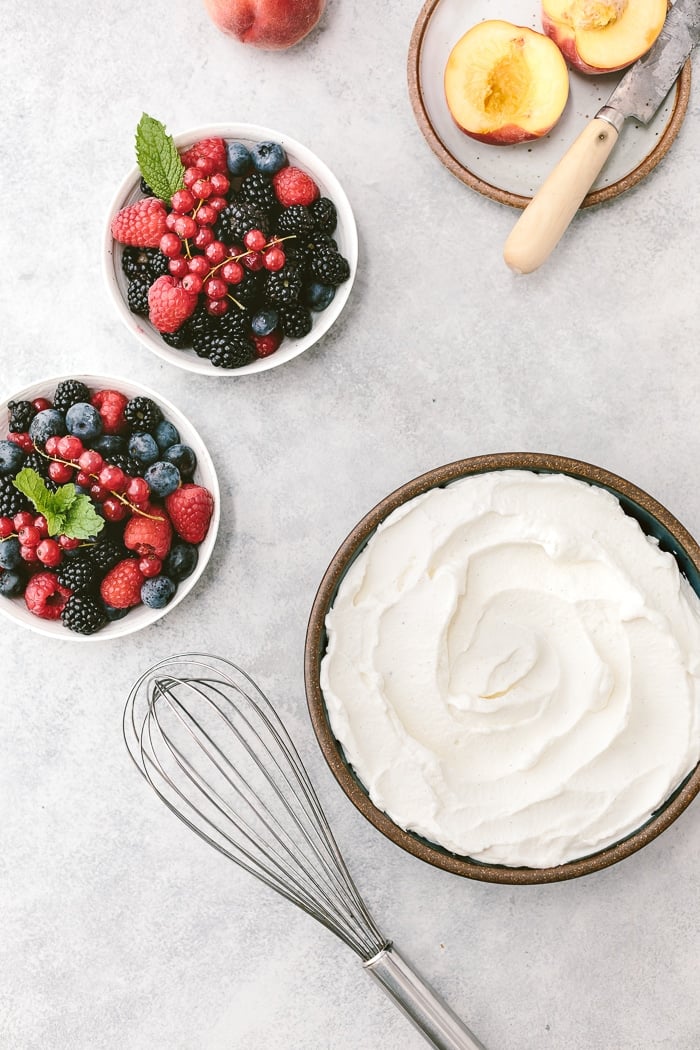
- Bowl / Cone: Scoop into a bowl or cone, and finish with your favorite toppings like fresh fruit, naturally sweetened Strawberry Sauce, dark chocolate chips, melted chocolate sauce, and toasted nuts for a little crunch or flaky sea salt (affiliate link.)
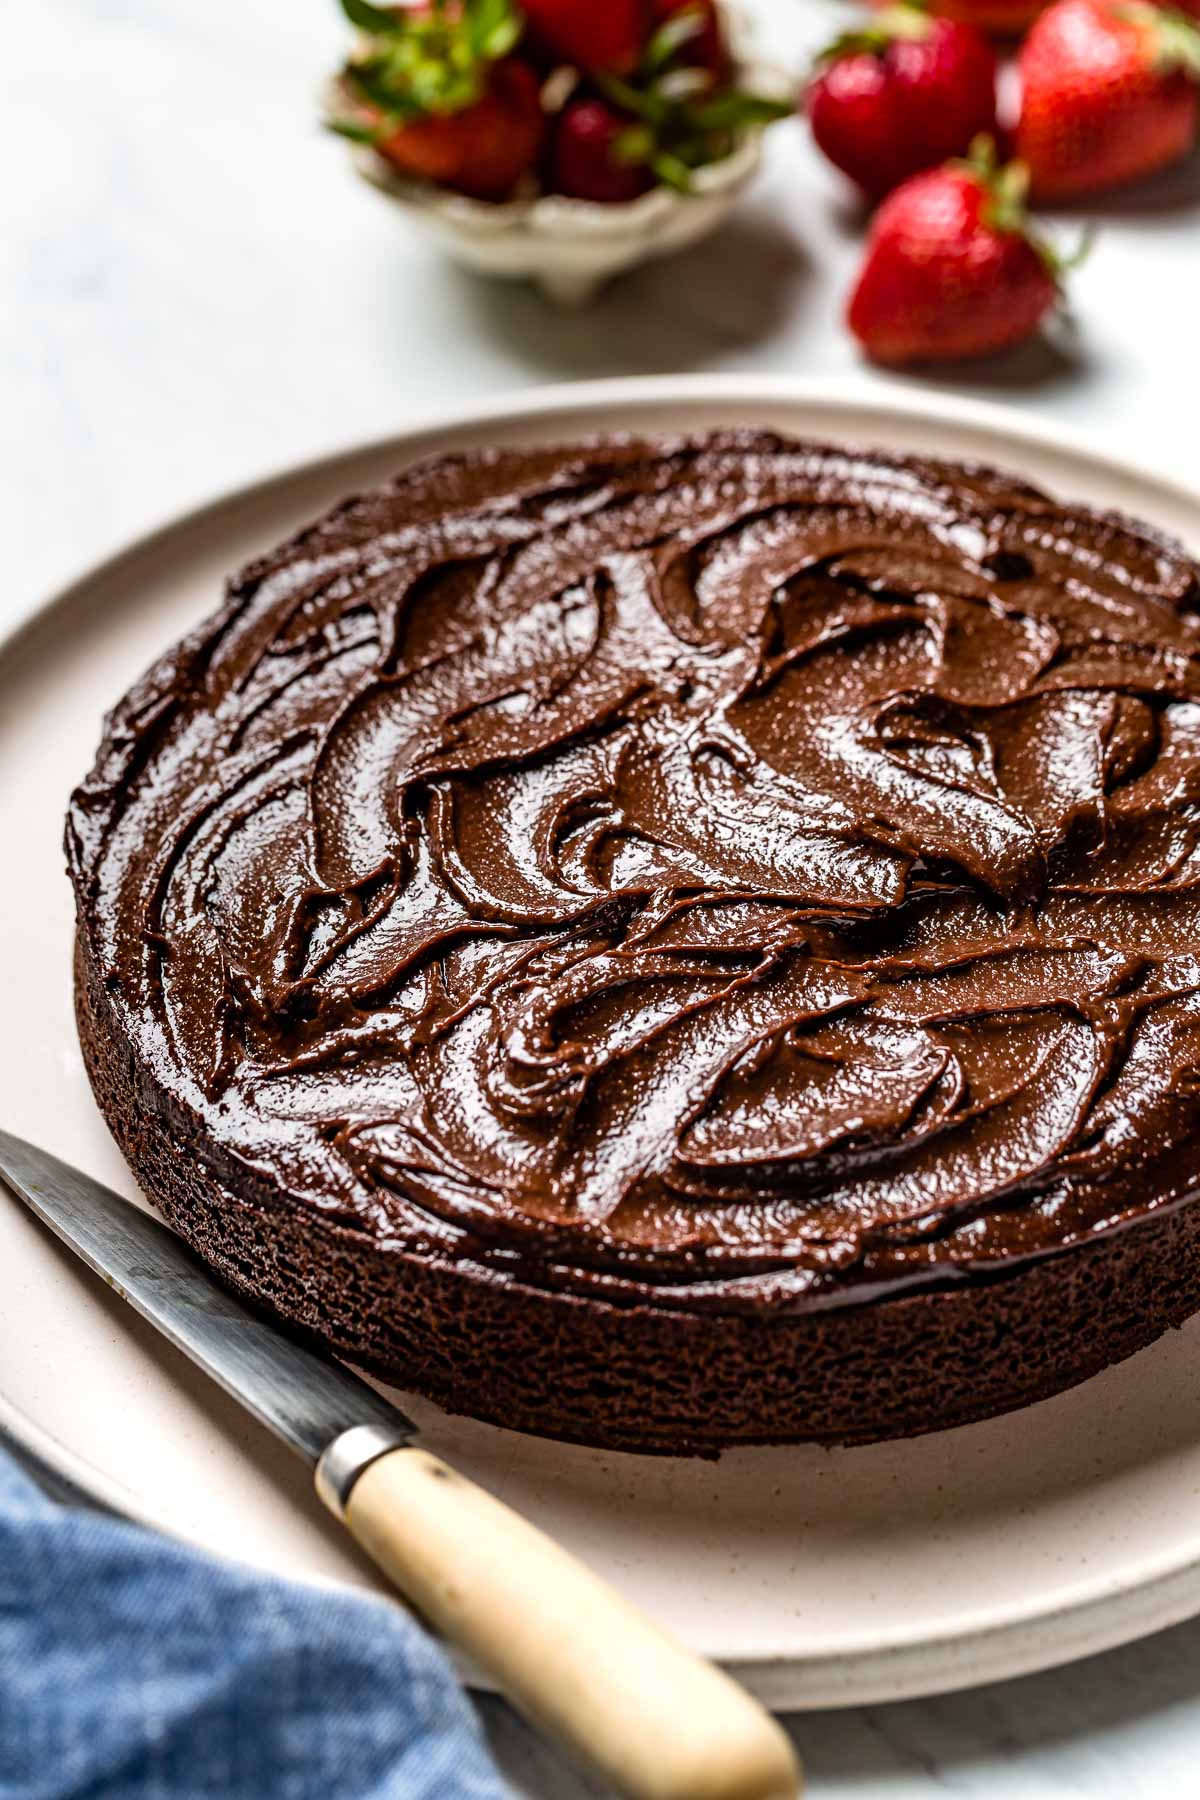
- Over Cake or Brownies: Get a double dose of chocolate by scooping on top of warm Almond Flour Brownies, or any of our Cake Recipes.
- Ice Cream Sandwiches: The rich chocolate flavors are perfect in between two Almond Butter Cookies or Chocolate Chip Cookies.
- Affogato: Pour a shot of hot espresso over a scoop of custard chocolate ice cream for a scoop of Italian flair.
Expert Tips
- Do not let it boil: We want the custard to simmer rather than boil as too high of a temperature could also scald the milk as well as break the egg yolk emulsion. Boiling honey also changes its color, texture, and nutrient value.
- Opt for organic, if possible: Use your favorite brands of cream, honey, and vanilla, and pay a little extra for organic, if within your budget.
- Patience is key: Be patient and confident when tempering the egg yolks. Work slower rather than faster, especially if this is your first time doing so.
- Stir with a wooden spoon: Use a wooden spoon when stirring the chocolate custard, as it is easier to get into the nooks and crannies of your saucepan.
- Do as the French do: A key detail to look out for is nape, a fancy French term that basically means the ice cream base is ready when it is thick enough to coat the back of a wooden spoon. For a foolproof method, this would be 180 degrees F on an instant-read thermometer (affiliate link.)
- Use a fine mesh strainer for extra insurance: I made this recipe three times and didn’t need to strain the mixture. However, straining through a fine mesh strainer helps to catch any unwanted clumps of egg yolk that may have developed during tempering the eggs. This is a good practice to follow if you are new to tempering eggs.
- Chill before churning: It’s important for the chocolate ice cream base to be completely chilled before churning to ensure the proper functioning of the ice cream machine.
- Freeze until firm: Freezing the ice cream for at least 3 hours (or preferably overnight) before enjoying makes it more like that Haagen Daz texture we all love. While it is tempting to eat it right away, letting it freeze fully is ideal for the best chocolate ice cream.
FAQs
Yes, the floral notes of honey really complement the deep, dark, earthy flavors of cocoa.
While the substitution will depend on your specific recipe, I use ½ cup of honey for every 3 cups of total liquid (in this case, whole milk and heavy cream.) However, please keep in mind that when working with honey, boiling it should be avoided as heating honey at high temperatures can change the composition of nutrients and can deteriorate its quality.
Other Ice Cream Recipes You Might Also Like:
If you try this Chocolate Honey Ice Cream recipe or any other recipe on Foolproof Living, please take a minute to rate the recipe and leave a comment below. It helps others who are thinking of making the recipe. And if you took some pictures, be sure to share them on Instagram using #foolproofeats so I can share them on my stories.

Honey Chocolate Ice Cream Recipe
Equipment
Ingredients
- 1 ½ cups heavy cream
- 1 ½ cups whole milk
- ½ cup honey
- ½ cup unsweetened cocoa powder
- 4 large egg yolks
- 1 ½ teaspoon vanilla paste, or vanilla extract*
- ½ teaspoon Kosher salt
Instructions
- Place cream, milk, honey, unsweetened cocoa powder, vanilla paste, and salt in a medium-sized saucepan over medium-high heat. Cook, string frequently until it is barely simmering, 7-8 minutes. Do not let it boil.
- Whisk the egg yolks in a medium bowl.
- Carefully pour 1 ½ cups of the warmed cream mixture into a measuring cup.
- Gradually whisk the cream mixture into the eggs while constantly stirring as you pour it into the bowl. Continuous whisking is very important to prevent the eggs from curdling.
- Pour the egg yolk mixture back into the saucepan. Using a wooden spoon, cook over medium to medium-high heat for approximately 8 minutes, stirring constantly until it is slightly thickened making sure you also stir the bottom edge of the saucepan to incorporate the mixture. Do not let it boil, as this will scald the cream and milk. The mixture should be around 180 degrees F.
- Pour the cream mixture into a heatproof container and let it cool (uncovered) on the counter for 30 minutes. Cover it with stretch film (place it on the surface of the custard) and refrigerate for at least 3 hours or for up to 24 hours.
- Churn the mixture after it has chilled according to the ice cream manufacturer’s instructions. In my ice cream maker, it takes about 20 minutes for it to reach soft serve texture.
- Transfer the churned ice cream to an ice cream tup (or a loaf pan), put the lid on and let it freeze for at least 3 hours before serving.
Notes
- Yields: This recipe makes 1-quart ice cream.
- You can substitute the vanilla paste with vanilla extract. Use an equal amount but stir it into the custard at the very end (at the cooling stage) to prevent it from evaporating.
- Check doneness: The proper temperature of the mixture should be no more than 180 degrees F. Boiling or scalding the mixture can cause the eggs to curdle and potentially burn, giving an unpleasant taste. Do not walk away as the boiling point can be very quick! You can easily test for the correct thickness of the mixture by lifting the wooden spoon out and running your clean finger on the back of the spoon. If the other area of the spoon holds on to the mixture and does not run off, it is thick enough.
- Use a fine mesh strainer (Optional): I made this recipe three times and didn’t need to strain the mixture. However, straining through a fine mesh strainer helps to catch any unwanted clumps of egg yolk that may have developed during tempering the eggs. This is a good practice to follow if you are new to tempering eggs.
Nutrition
Nutrition information is automatically calculated, so should only be used as an approximation.


is it possible to use half cocoa powder and half real milk chocolate instead of all cocoa powder,?
I have never tried using real chocolate, to be honest. I am assuming you would melt it before adding it, right? If so, I don’t know if it would work. Instead, I recommend following the recipe as written but adding it some chopped chocolate while it is churning. I would start with a small amount (about 1/4 cup or so) and then taste and go from there.
I hope this helps.
I made this for my entire family who all have a big sweet tooth. They said it was the best ice cream they’ve ever had!
YAY! This is music to my ears Chris. Thanks for coming by and taking the time to leave a review.
Love love love this post!!
Thank you Cero!
Love it!
🙂
Oh my. How well you find and use life’s connections!
Thank you Monica.I missed you!!! 🙂
This is an amazing post. My favorite one so far!!!
Well you are my favorite too.
😛