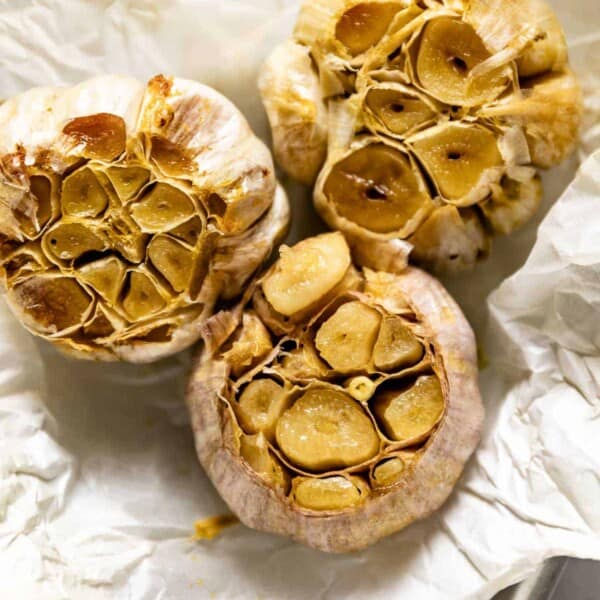
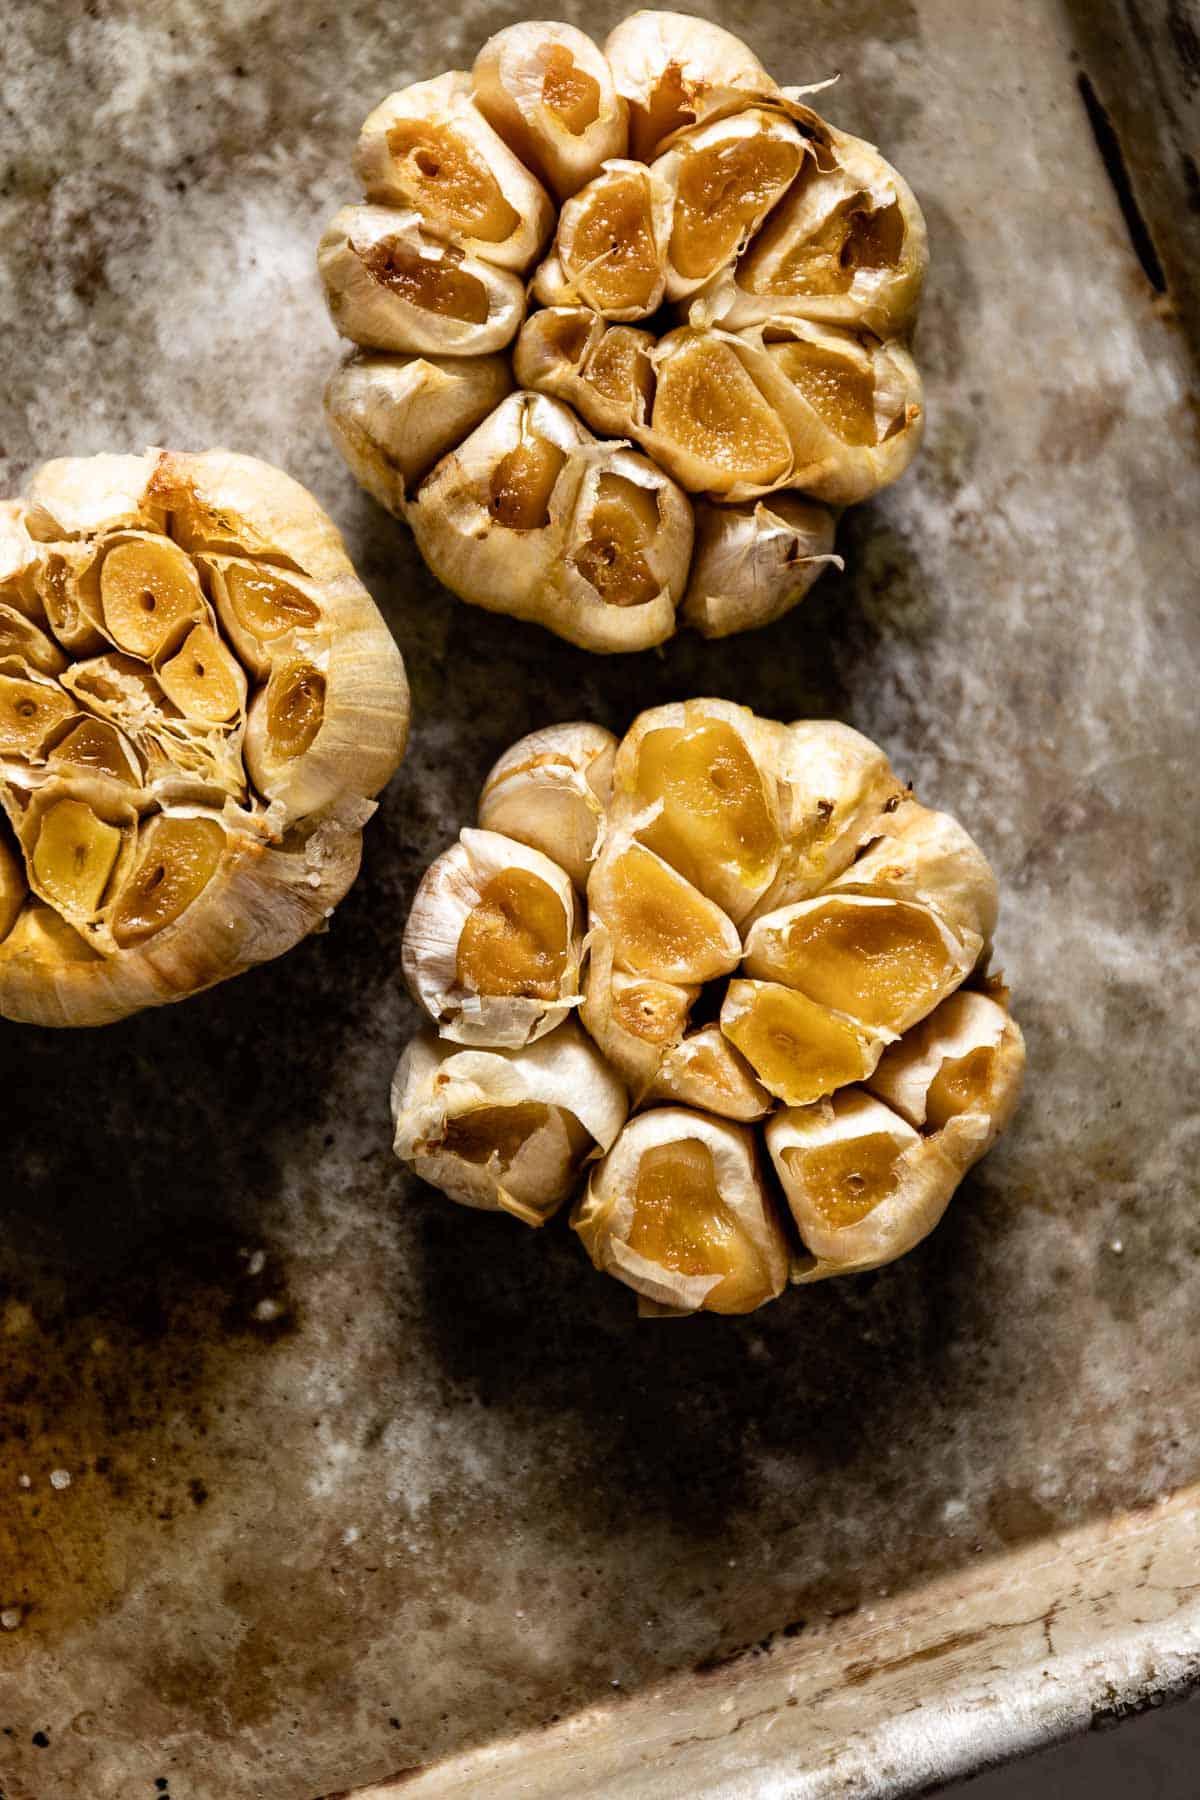
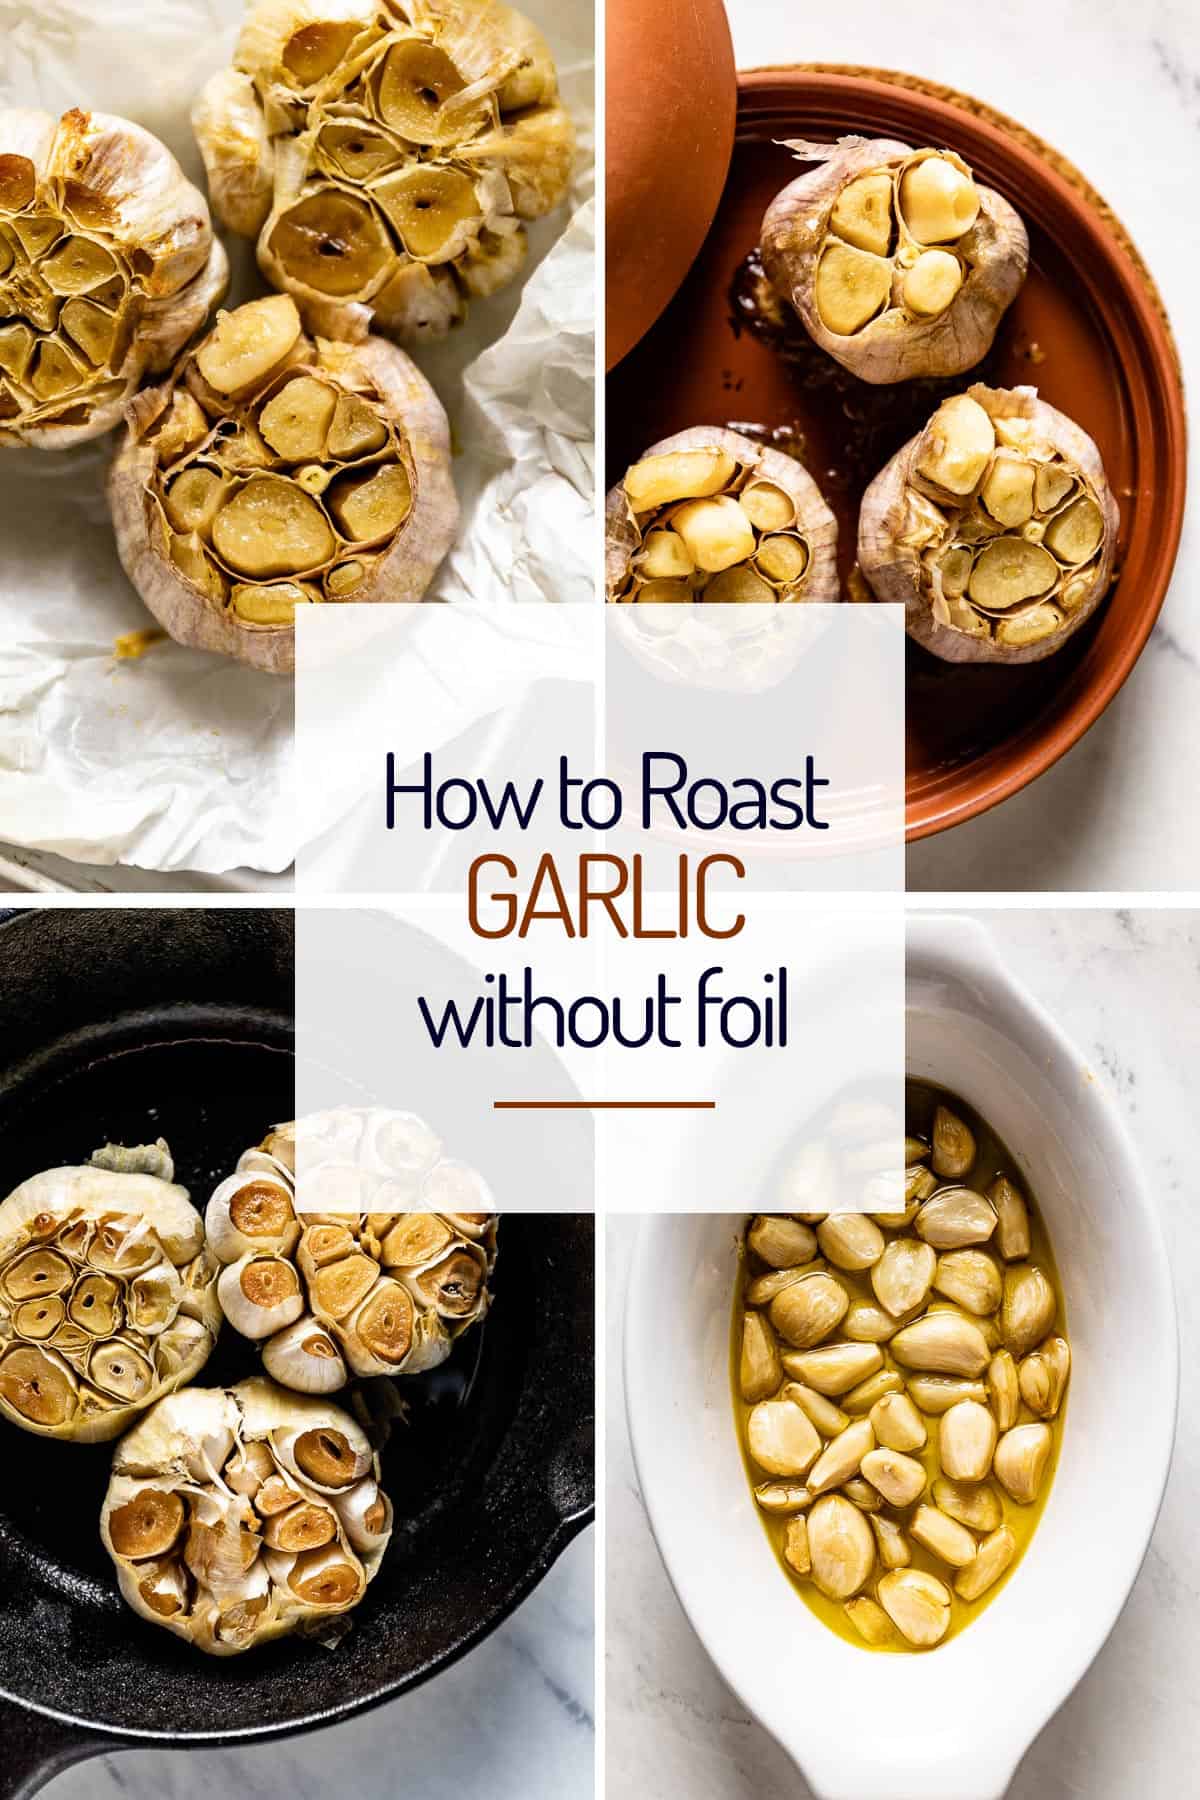
If you no longer carry aluminum foil in your household for the environment, for health reasons, or simply because you ran out or want to save money, rest assured that you can roast your garlic without it!
Ingredients
To roast garlic without tin foil, you only need two simple ingredients: a whole head of garlic and olive oil. If desired, you may also add salt and black pepper.
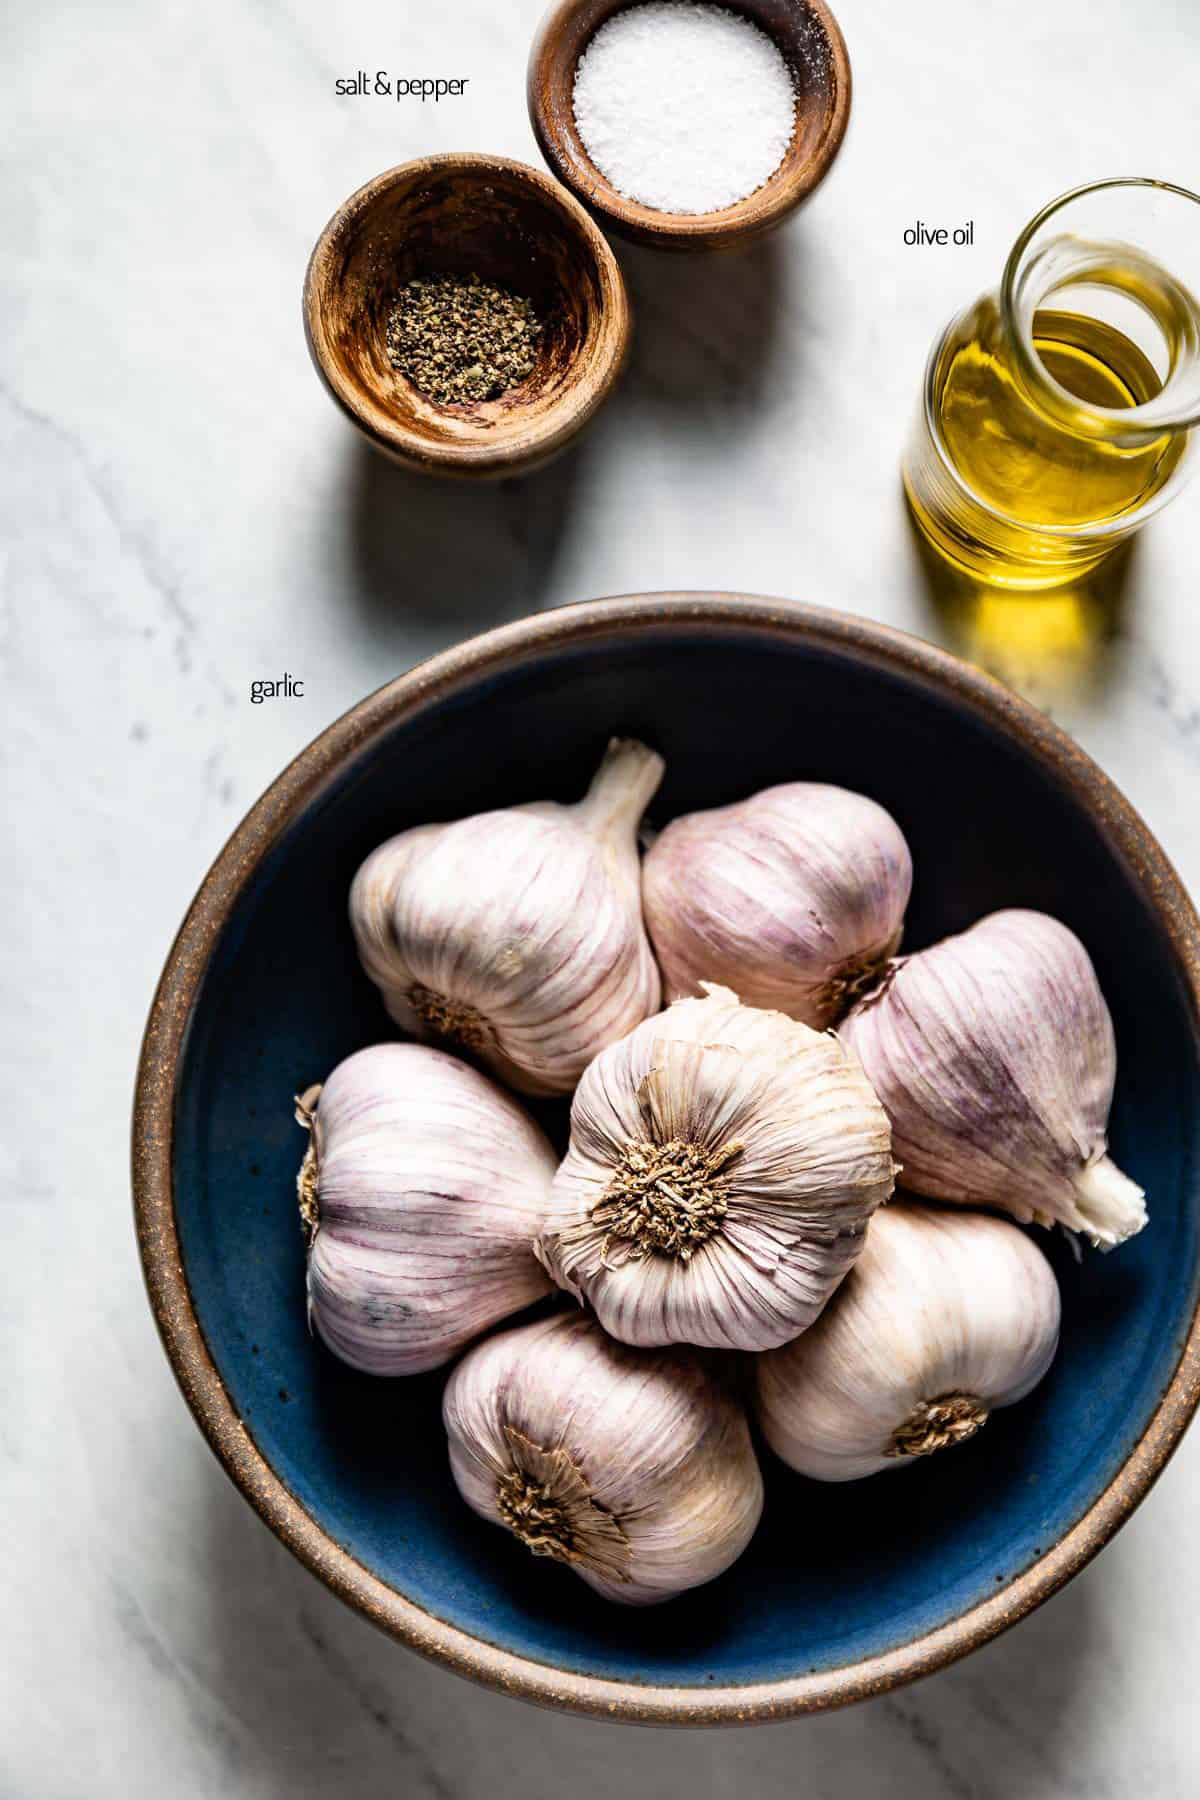
When selecting garlic, I recommend using soft neck garlic, the most common type of garlic found at the grocery store. You may also use more than one head of garlic when following any of my roasting methods. Just be sure to select bulbs of garlic that are similar in size to ensure even baking.
Remember, too, that the size, age, and type of garlic you use affects how long it will take to roast in the oven. Always watch your bulbs as they cook and check their doneness based on the instructions below.
Furthermore, ghee or avocado oil would also work if you choose not to use olive oil.
Equipment You’ll Need for Each Method
People often use aluminum foil to roast garlic because it helps trap steam against the bulb, resulting in soft garlic cloves. Therefore, when you roast garlic without foil, it’s essential to have the right equipment to produce that slow, even roast.
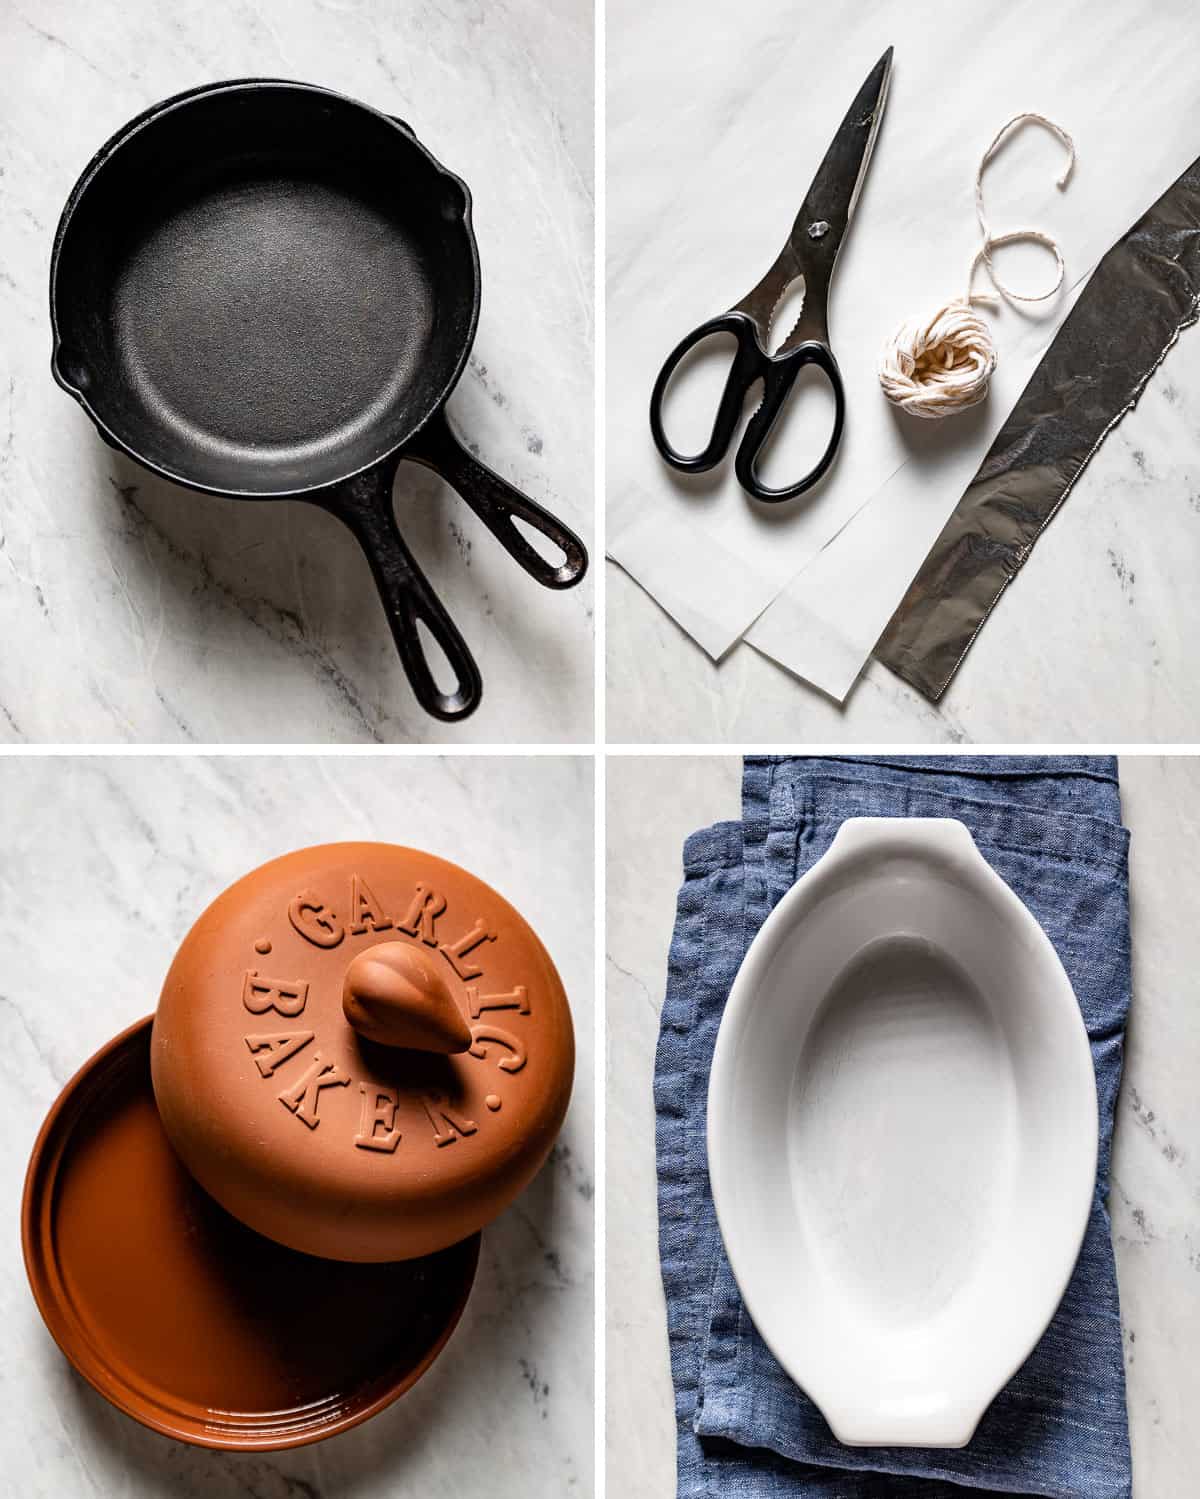
- Muffin tins or cast iron skillets: Stacking two muffin trays or two cast iron skillets on top of one another is a great way to keep your garlic bulbs moist in the oven. Don’t worry if you don’t have two tins or skillets, though. Simply wrap the top of the first baking tin/skillet with parchment paper, then cover it with a layer of aluminum foil for extra grip. If you don’t have a muffin tin or a cast iron skillet, it is easy to roast garlic in a pan, such as a loaf pan. Just cover the loaf pan with parchment paper, followed by tin foil.
- Parchment paper: Parchment paper may be the best way to avoid messy cleanup when roasting garlic. Simply wrap the whole head of garlic in a piece of parchment paper and tie it with kitchen twine. Or you can also use a layer of aluminum foil to hold it together.
- Garlic roaster: Another way to make roasted garlic with no foil is to use a garlic roaster (affiliate link). If your roaster is terra cotta, let it soak in water for 15 minutes before placing it in the oven.
- A small, oven-proof baking dish: If you want to roast garlic cloves fast, you can bake peeled, individual cloves of garlic on a small baking sheet with olive oil.
Step-by-Step Instructions for Each Method
To roast garlic with no foil, you don’t have to be a five-star chef. You can add a delectable garlic taste to your favorite recipes with any of my four foolproof methods.
Method 1: Wrapping Garlic Bulbs in Parchment Paper
- Heat the oven: Preheat the oven to 400 degrees F.
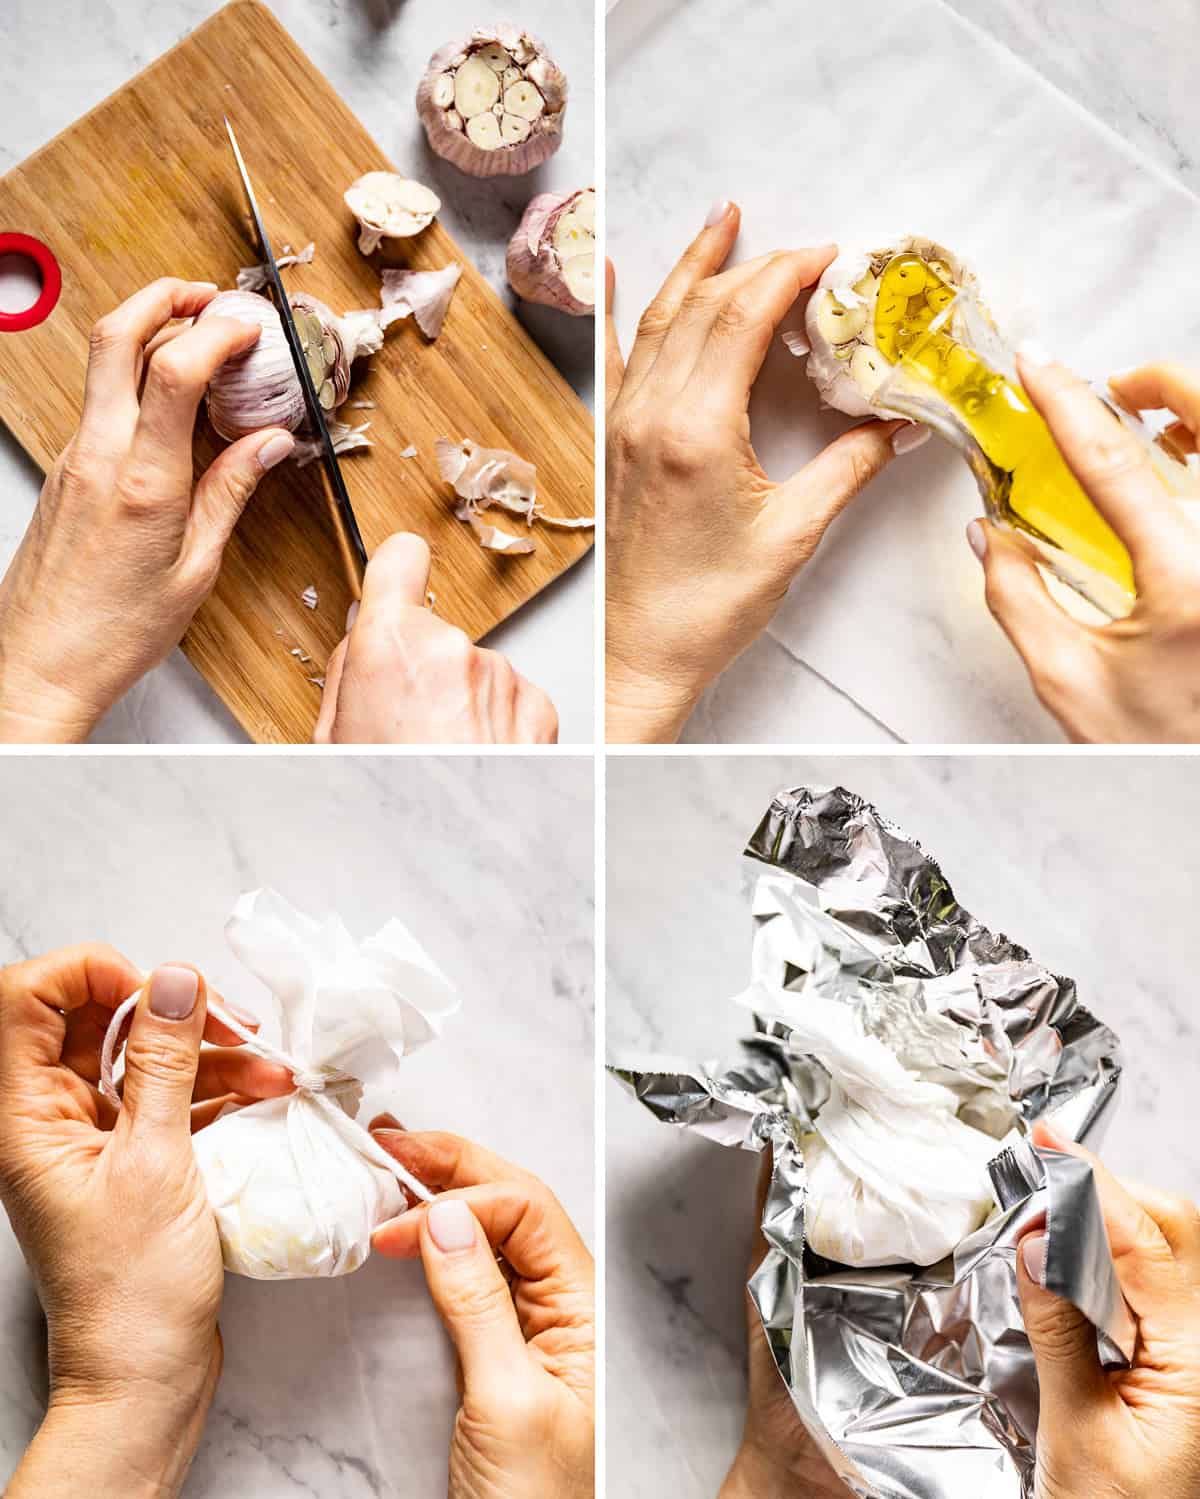
- Slice the garlic head: Cut off the top ¼-inch of the garlic bulb using a sharp knife. You may discard the slice or save it for making chicken stock later.
- Drizzle with olive oil: Place the whole head of garlic on a small piece of parchment paper. Drizzle the exposed garlic bulb with 1-2 teaspoons of olive oil, depending on the bulb’s size.
- Wrap the garlic: Wrap the whole bulb of garlic with the parchment. If you have it, you can tie it with kitchen twine, or if not, wrap it again with a sheet of aluminum foil.
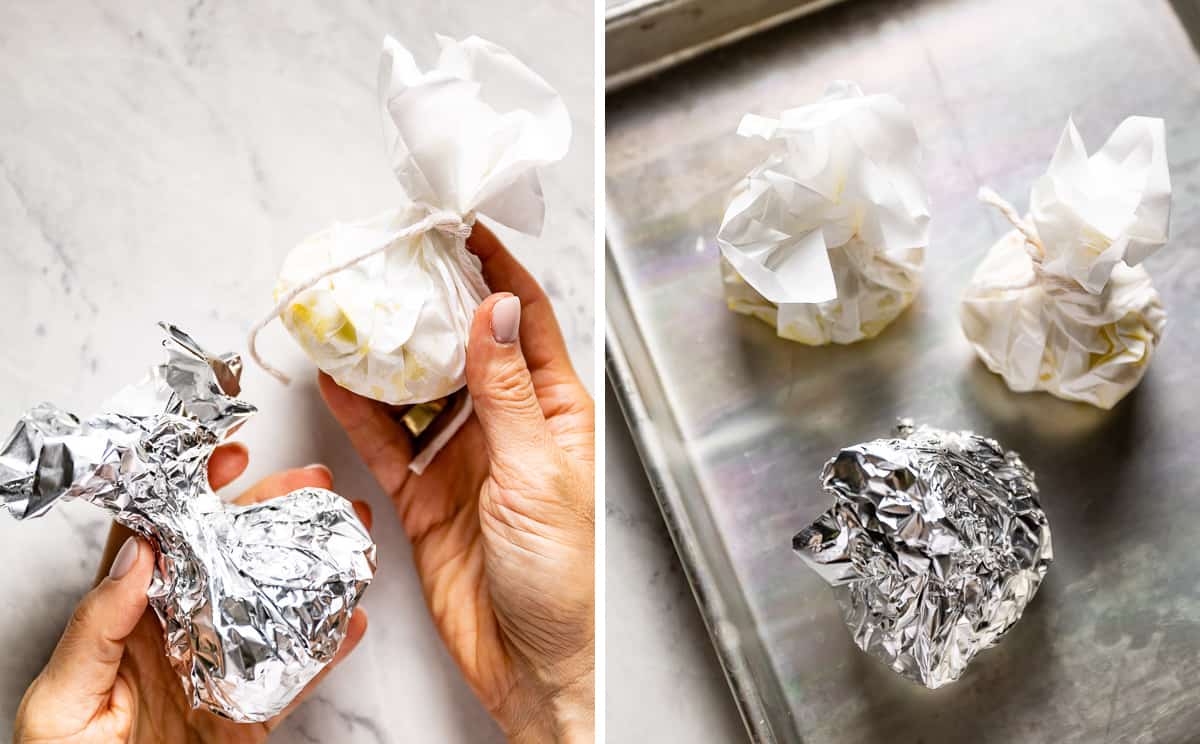
- Roast: Transfer the wrapped garlic to a baking sheet, and place it in the oven for 40-45 minutes. Wary of hot steam, carefully remove the layers of tin foil and parchment paper to check for doneness. If the cloves are sufficiently soft, remove them from the oven. If they have not yet reached your desired level of tenderness, re-wrap the bulb and let it continue roasting. Roast the cloves until they have fully softened, checking them every 5-10 minutes.
Method 2: Using Two Muffin Tins or Two Cast Iron Skillets
- Preheat the oven: Set the oven to 400 degrees F.
- Trim the head of garlic: Remove the outer papery skin of each head of garlic, making sure that the cloves are still attached. Use a sharp knife to slice the topmost ¼-inch of the garlic bulb, thereby exposing the cloves.
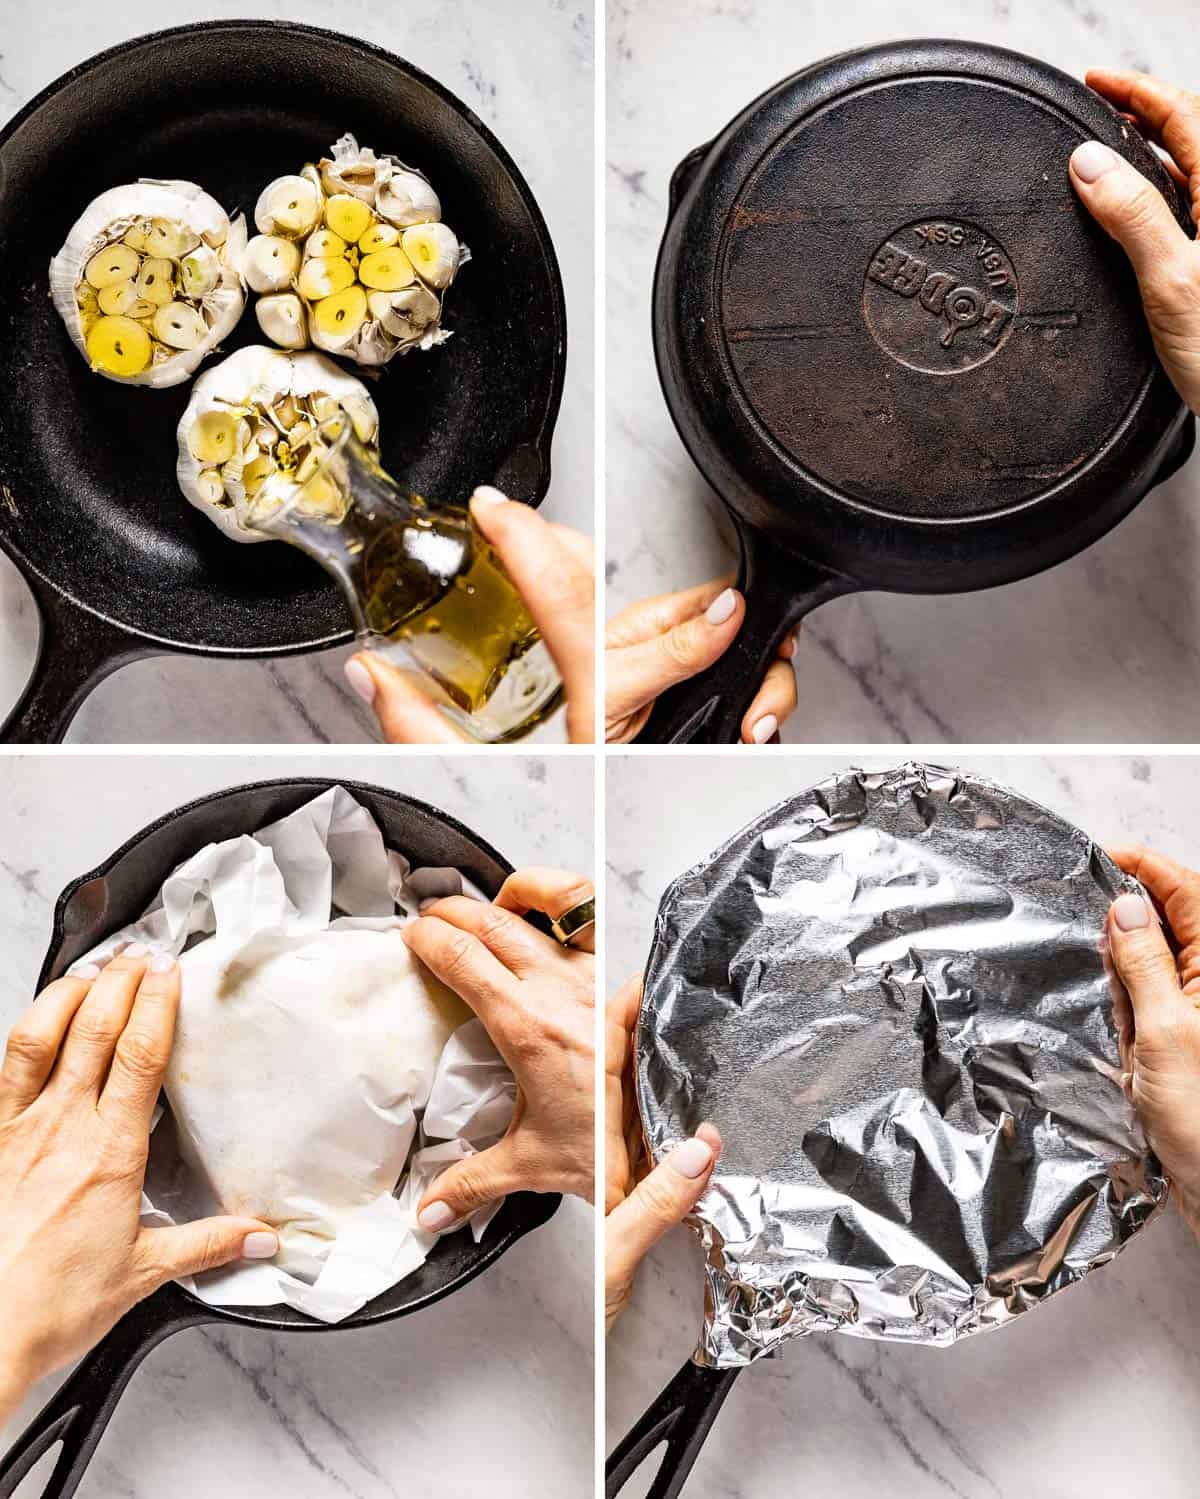
- Add the garlic to the muffin tin or skillet: Place the trimmed head of garlic in a muffin tin or a small cast iron skillet. Drizzle the bulb with 1-2 teaspoons of olive oil, depending on the size of the garlic head.
- Top with another muffin tin or skillet: Top the first baking tin/skillet with another muffin tin or cast iron skillet such that you fully cover the garlic bulbs. If you do not have two muffin tins or skillets, you can first cover it with parchment paper, followed by aluminum foil to hold it in place.
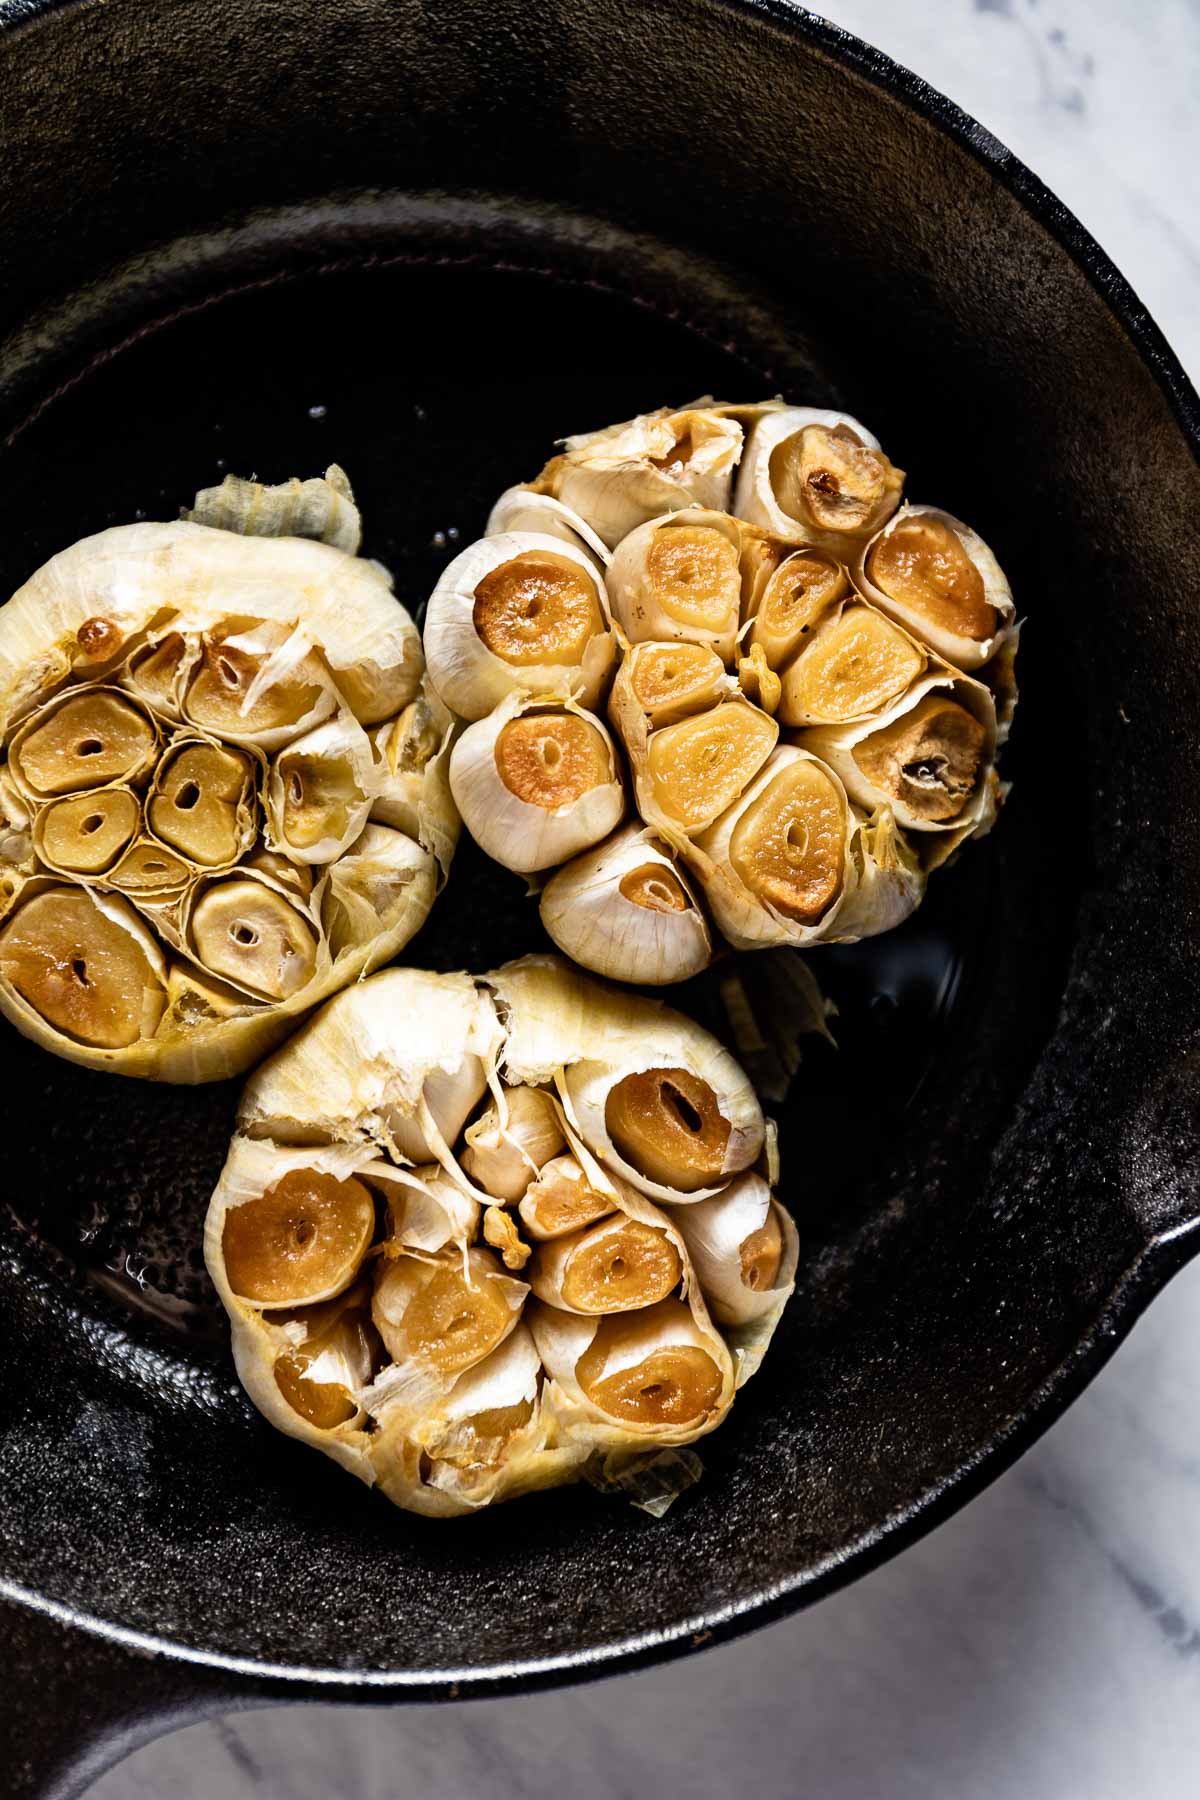
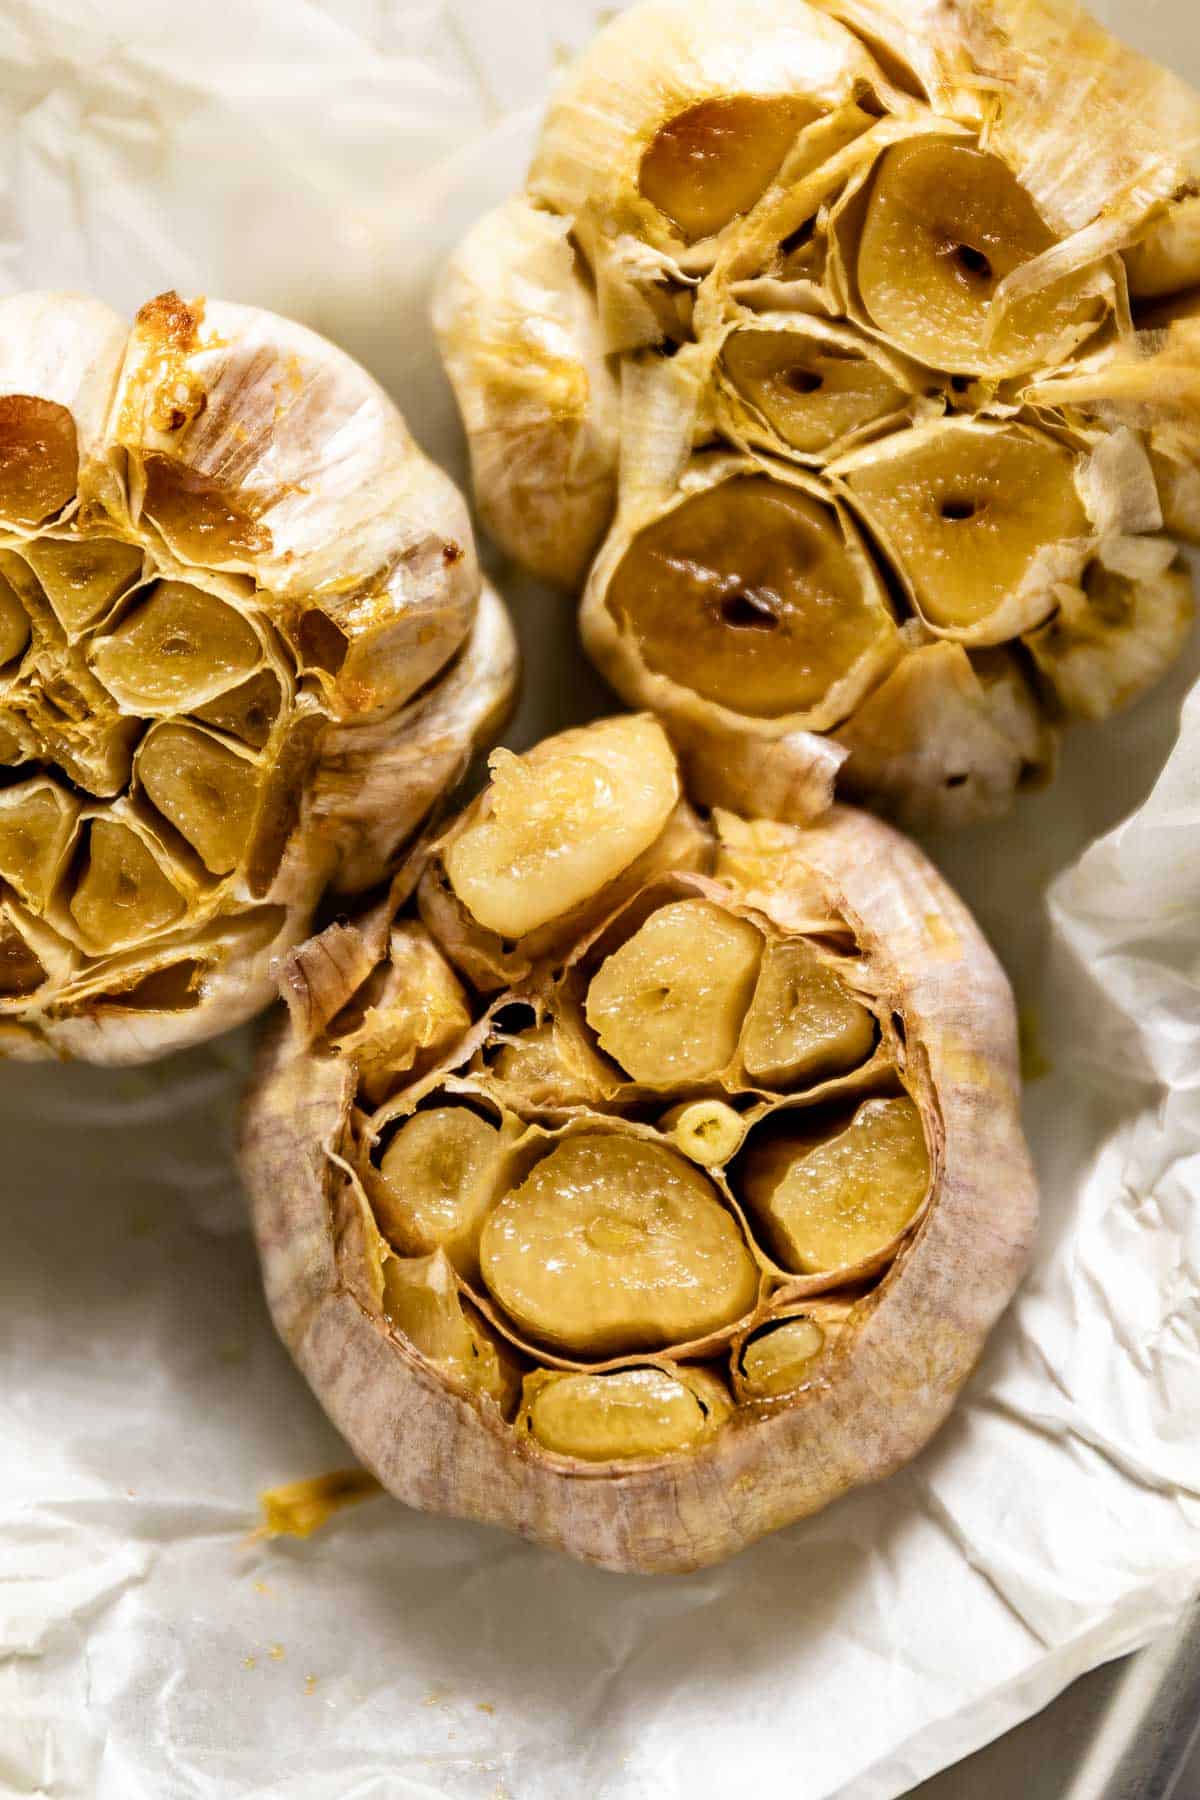
- Roast the garlic: Let the muffin tin- or cast iron-roasted garlic cook in the oven for 45-60 minutes, or until the garlic cloves have softened and caramelized. During my recipe testing, I found out that it took longer to roast garlic in a cast iron skillet than to roast it in a muffin tin.
Method 3: Using a Garlic Roaster
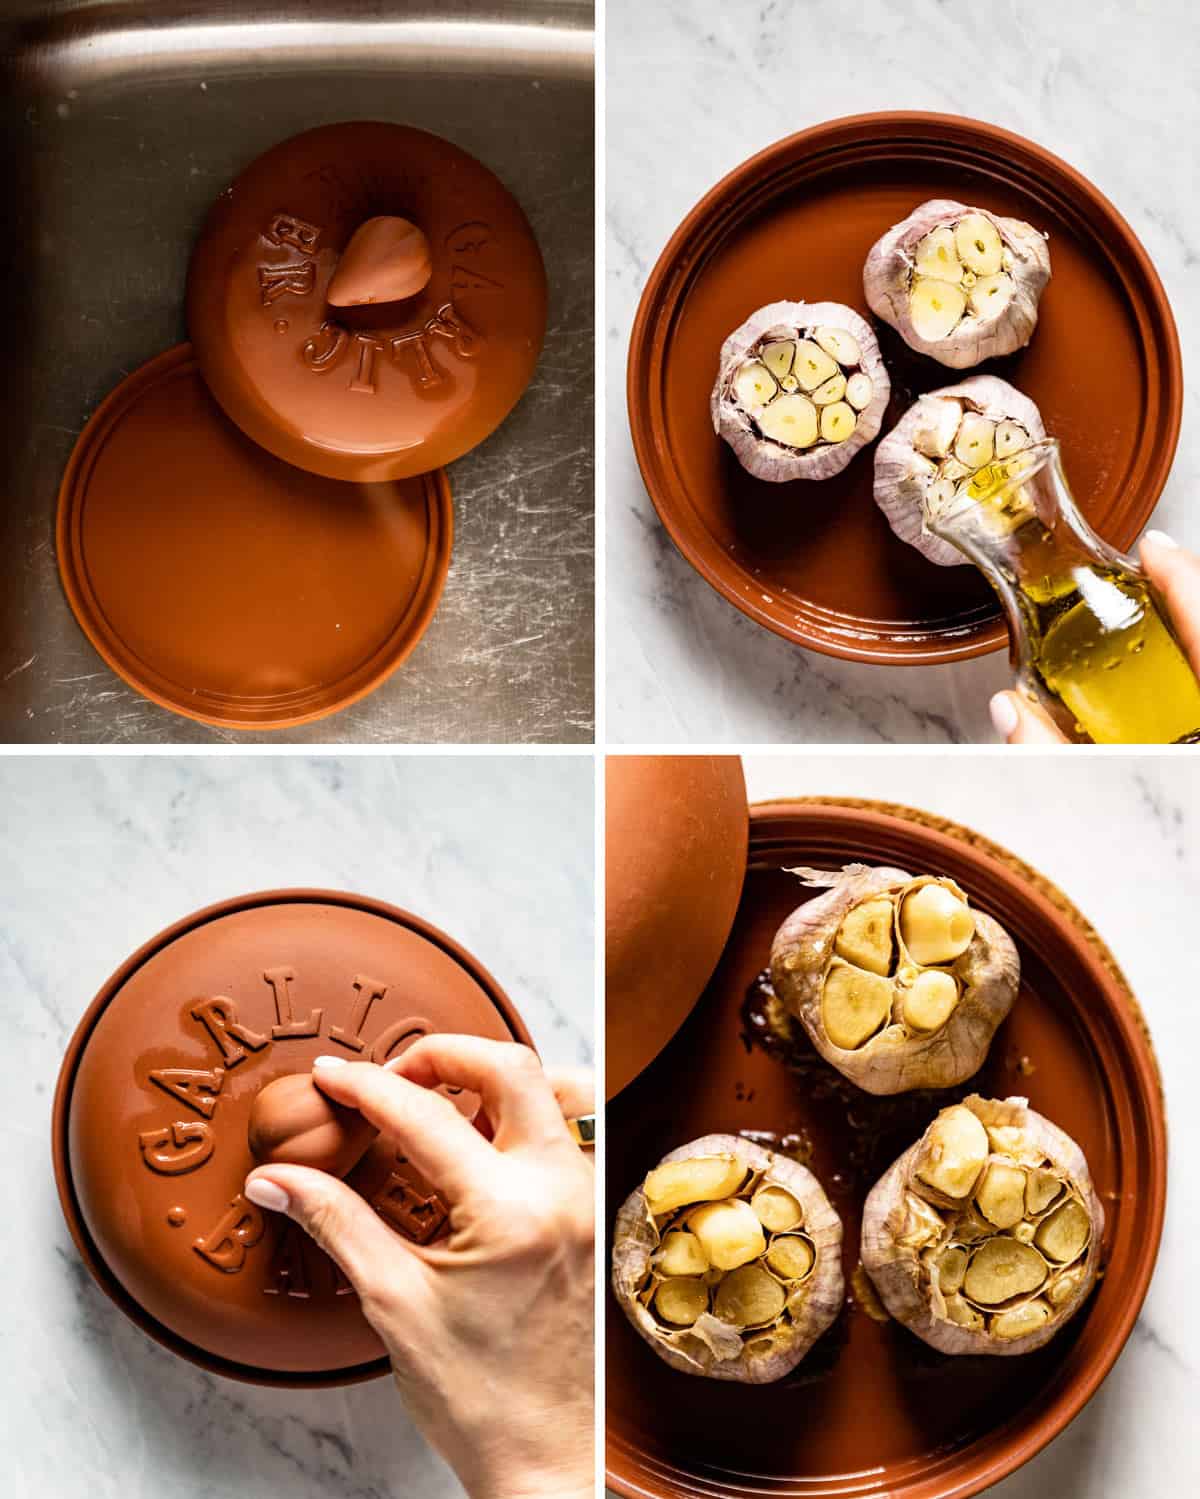
- Soak the garlic roaster: Submerge your garlic roaster (affiliate link)(both the top and bottom pieces) in water and let it soak for 15 minutes. Remove the roaster and dry off any excess water with a kitchen towel.
- Cut the top of the bulb: With a sharp knife, slice off the top ¼-inch of your garlic head.
- Drizzle the olive oil: Place the sliced bulb in the bottom half of the garlic roaster. Drizzle the cloves with 1-2 teaspoons of olive oil.
- Bake: Set the oven to 350 degrees F and place the garlic roaster inside. (Note: You don’t have to preheat the oven for this method.) Roast the cloves for 55-60 minutes or until they are softened and lightly caramelized.
Method 4: Baking Garlic Cloves in a Baking Dish
- Set the oven: Preheat the oven to 350 degrees F.
- Peel the cloves: Break apart the entire head of garlic. Then, individually peel each clove.
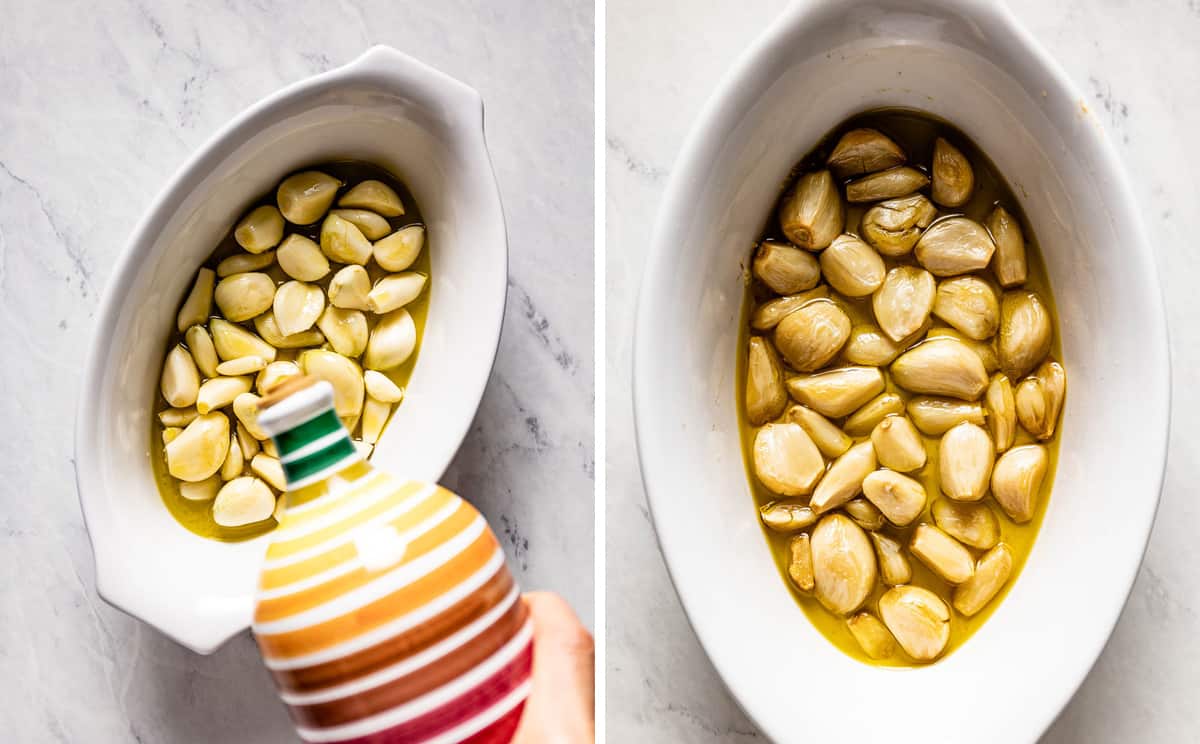
- Add the olive oil: Place the pre-peeled garlic cloves in a small, oven-safe baking dish. Drizzle them with just enough oil to submerge their lower halves.
- Bake: Bake the garlic cloves in the oven for 30 minutes or until they have turned soft and golden brown.
- Let the cloves cool: Remove the fast-roasted garlic from the oven and let it cool before using it in recipes.
How to Store and Freeze
Once you see how garlic transforms your cooking, you won’t want a single bite to go to waste. These simple storage tips will keep your roasted garlic cloves fresh for as long as you need them.
- Store: To store your roasted garlic, place it in an airtight container in the fridge. This method will keep your garlic fresh for up to 5 days. Alternatively, place the garlic cloves in an airtight jar, cover them with olive oil, store them in the refrigerator and use it within 5 days.
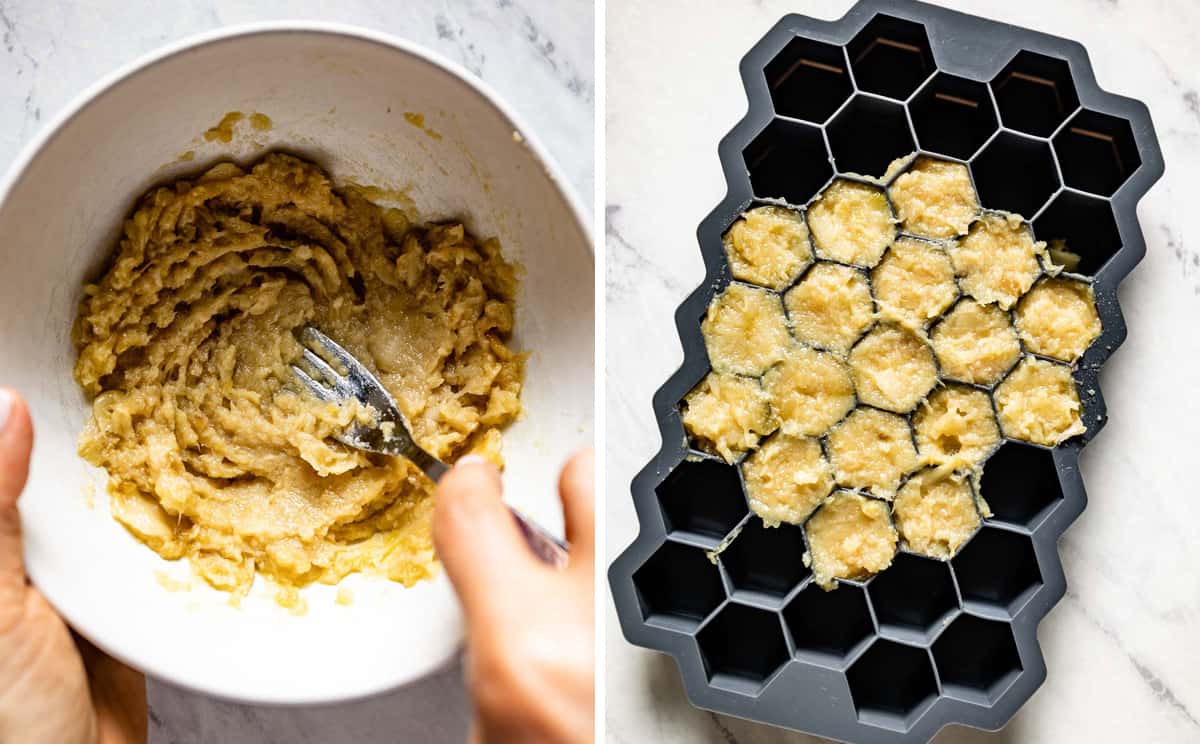
- Freeze: To freeze your garlic, mash the roasted cloves to a paste. Then, divide the garlic paste into the empty slots of an ice cube tray and freeze overnight. The following day, remove the frozen garlic from the ice tray and transfer the cubes to a freezer bag, removing as much air as possible. Freeze until ready to use.
Recipe Ideas to Use Roasted Garlic
Rich and caramelized, oven-roasted garlic is a game changer in my cooking. Not only does it have a more gentle flavor than raw garlic, but it also works in dozens of recipes.
- Make Roasted Garlic Butter: Nothing satisfies the tastebuds like a rich, delicious spread topped on warm bread. This Roasted Garlic Butter will take your garlic bread (and other recipes!) to the next level with its sumptuous flavor.
- Add it to salad dressing: My favorite way to add rich, mellow flavor to salad dressing is to add a few cloves of slow-roasted garlic. You won’t be able to put down your fork once you try roasted garlic with my Avocado Salad Dressing, Lemon Dijon Vinaigrette, and Creamy Poppy Seed Dressing.
- Use it in pasta sauces and soups: If you don’t like the sharp flavor of raw garlic, try roasted garlic instead. The mellow, buttery flavor of roasted garlic makes an excellent substitute for raw garlic in all your favorite pasta sauces and soup recipes.
- Make garlic bread: Mix it with butter and spread it on toast. I love making my garlic bread in an air fryer as it is ready in 5 minutes.
FAQs
The fastest way to roast garlic is to roast peeled, individual garlic cloves in olive oil. Using a small, oven-proof baking dish, this quick roasted garlic only takes 30 minutes at 350 degrees F. You can also cook garlic quickly by following my recipe to roast garlic in an air fryer without foil, which takes about 25 minutes.
The best way to keep your garlic from burning in the oven is to cover it with parchment paper (and/or aluminum foil) before baking it for 40 minutes at 400 degrees F. The foil traps steam against the whole heads of garlic, keeping them moist. Just be sure to check your cloves after 40 to 45 minutes, and be careful when unwrapping the foil.
Other Garlic-Related Posts You Might Like:
Garlic lovers rejoice! Because it doesn’t end here. As a self-proclaimed garlic aficionado, I have so many more garlic recipes for you. Below are a few more garlic recipes to help you put our favorite ingredient to good use:
- Roasted Garlic in the Oven: This method for roasting garlic in the oven works for both whole heads of garlic or individual cloves. The whole process takes less than an hour and results in bold, rich roasted garlic that adds depth to a variety of recipes.
- Air Fryer Garlic: It takes only 25 minutes to roast garlic if you have an air fryer. In the recipe post, I made sure to cover the instructions for roasting garlic with or without foil using your air fryer.
- Roasted Garlic Compound Butter: While roasted garlic tastes wonderful by itself, mixing it with butter and fresh herbs is yet another great way to use it in your recipes.
If you find this guide on How To Roast Garlic Without Foil or any one of our other How-To Guides on Foolproof Living helpful, please take a minute to leave a rating and a review. Doing so helps others who are planning to follow the processes outlined in this post. Thank you!

How to Roast Garlic Without Foil
Equipment
Ingredients
- 1 whole head of garlic, or more
- 1 teaspoon Olive oil, or more depending on the size of your garlic bulb
- Salt, optional
Instructions
- Start by peeling the outer layer of the whole head of garlic but be gentle so that the bulb stays intact.
Method 1: Use parchment paper (and aluminum foil) and kitchen twine
- Preheat: Preheat the oven to 400 degrees Fahrenheit.
- Prep the garlic: Using a sharp knife, slice 1/4 -inch off the top of the garlic bulb. Discard the top or save it for making stock later.
- Drizzle with oil: Drizzle garlic bulb with 1 to 2 teaspoons of olive oil, depending on the size of the bulb.
- Wrap the garlic: Wrap the garlic bulb in a small sheet of parchment paper and wrap it again with aluminum foil.
- Roast: Place it on a baking sheet and roast it in the oven for 40 minutes. Carefully remove the layers of aluminum foil and parchment paper and check for doneness. If the cloves are softened to your liking, then they are done. Otherwise, wrap it up and let it roast until they are fully softened, checking in every 5- 10 minutes.
Method 2: Use 2 muffin tins or 2 cast iron skillets
- Preheat: Preheat the oven to 400 degrees Fahrenheit.
- Prep the garlic: Using a sharp knife, slice the top of the head of garlic.
- Drizzle with oil: Place it in a muffin tin or a small cast iron skillet and drizzle it with 1 to 2 teaspoons of olive oil, depending on the size of the bulb.
- Cover: Cover it with another muffin tin or cast iron skillet on top, making sure that garlic bulbs are fully covered on top.
- Roast: Roast in the oven for 40-45 minutes or until the garlic cloves are softened and caramelized.
Method 3: Use a garlic roaster
- Prep the roaster: Soak your garlic roaster (both the bottom and the top piece) in water for 15 minutes. Remove and dry off the excess water with a kitchen towel.
- Prep the garlic: Slice the top of the garlic bulb/s using a sharp knife.
- Drizzle with oil: Place them on the bottom piece of the garlic roaster. Drizzle each bulb with 1-2 teaspoons of olive oil.
- Cover: Put the top piece on top and place it in the oven.
- Roast: Heat the oven to 350 degrees F (no need to preheat the oven for this method). Roast for 30-35 minutes or until the garlic cloves are softened and lightly caramelized.
Method 4: Roast garlic cloves in oil
- Preheat: Preheat the oven to 350 degrees F.
- Prep the garlic: Break apart the whole head of garlic and peel each clove one by one.
- Drizzle with oil: Place them into a small ovenproof baking dish. Drizzle them with just enough olive oil to cover the bottom halves of the cloves. just enough that they are covered halfway through.
- Roast: Bake in the preheated oven for 30 minutes or until they are softened and turned golden brown.
- Let cool: Remove from oven and let it cool before using in recipes.
Notes
- Store: To store your leftovers, place them in an airtight container in the fridge for up to 5 days. Alternatively, you can place the garlic cloves in an airtight jar, cover them with olive oil, store them in the refrigerator and use it within 5 days.
- Freeze: To freeze your garlic, mash the roasted cloves to a paste. Then, divide the garlic paste into the empty slots of an ice cube tray and freeze overnight. The following day, remove the frozen garlic from the ice tray and transfer the cubes to a freezer bag, removing as much air as possible. Freeze until ready to use.
Nutrition
Nutrition information is automatically calculated, so should only be used as an approximation.
