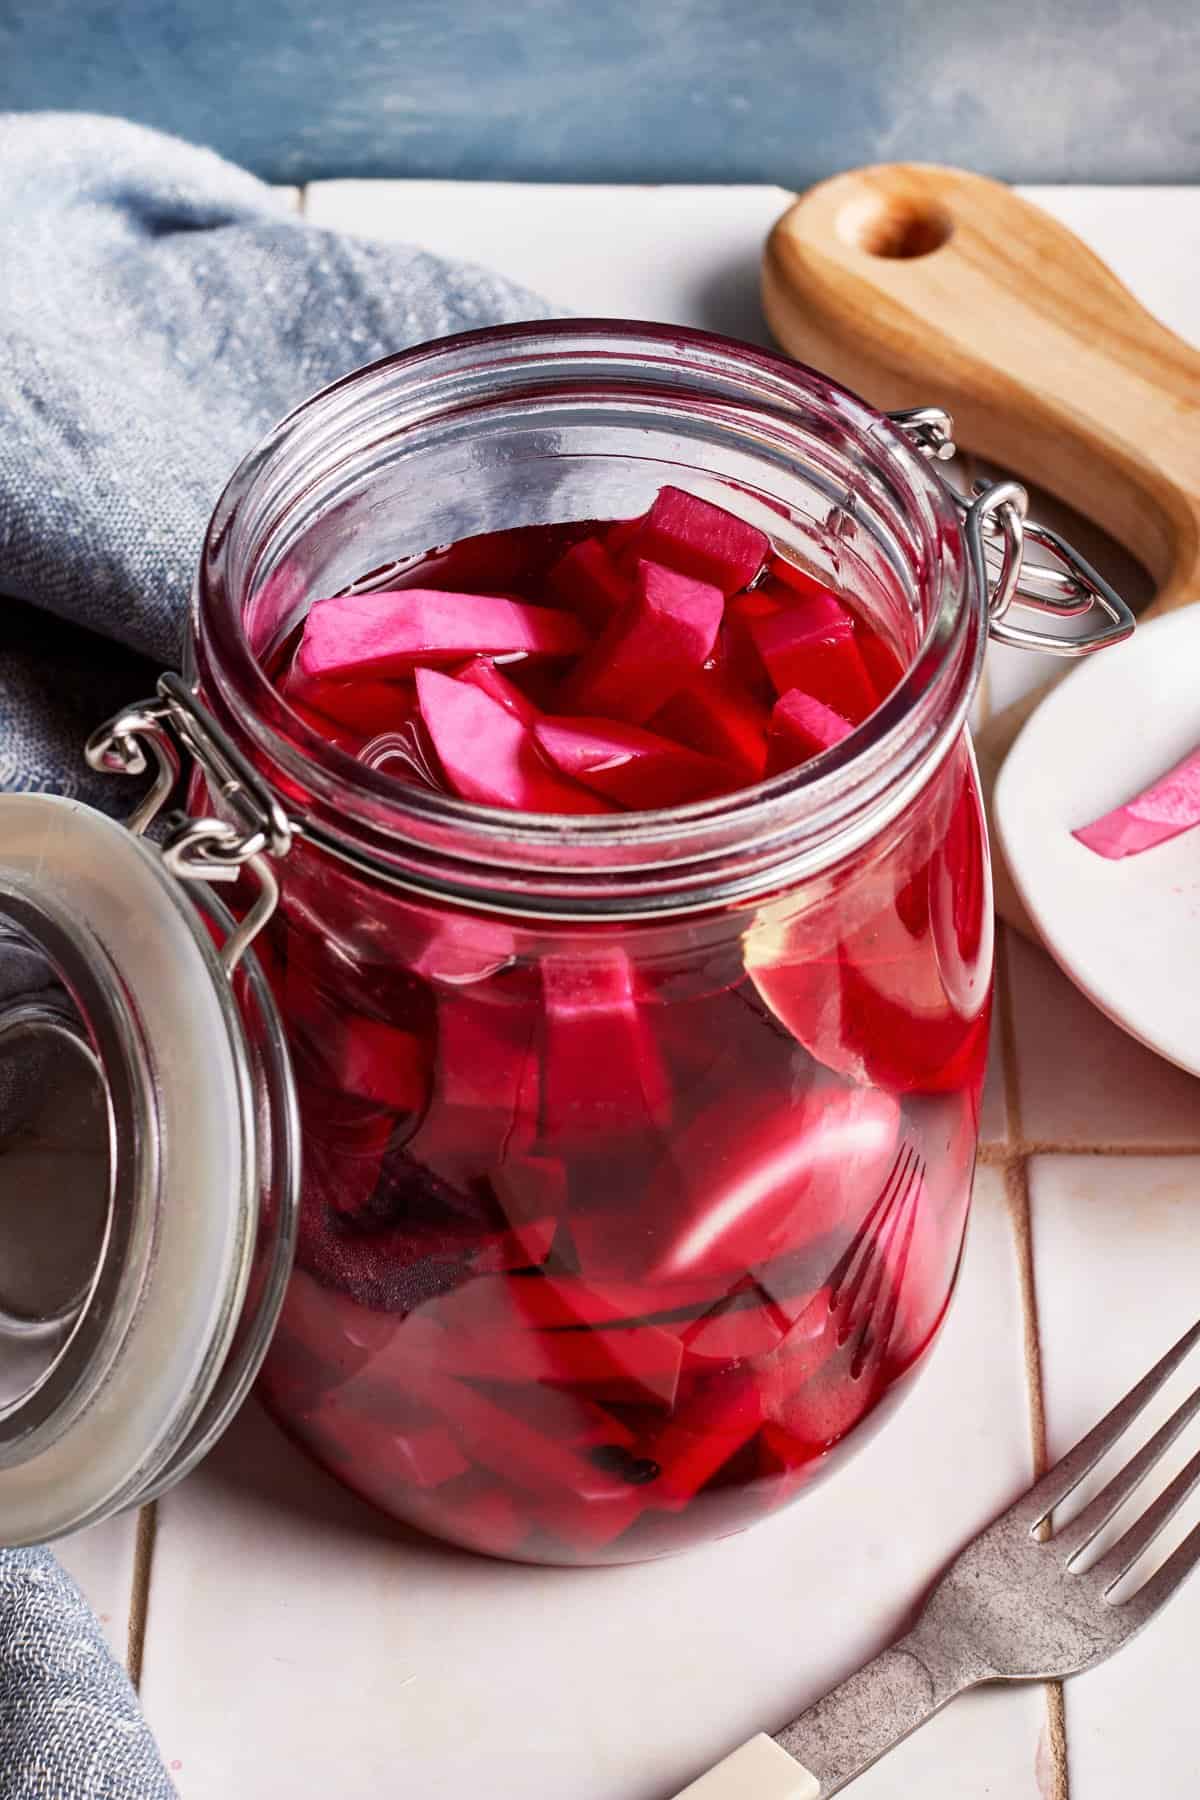
If you’re a fan of classic Middle Eastern dishes like chicken shawarma, pita wraps, or chicken kabobs, you’ve likely seen them served with these pink turnip pickles. Their bold and zesty bite makes them the ideal accompaniment to the region’s spicy, rich, and savory dishes, adding texture, color, and a distinctive flavor.
While they’re a staple in Lebanese cuisine (and therefore mostly referred to as Lebanese Turnip Pickles), they’ve also become widely enjoyed in neighboring countries, finding a place in their cuisines much like other popular Mediterranean condiments like hummus and tzatziki sauce.
Ingredients and Substitutions
This Mediterranean pickled turnips recipe uses just a few basic pantry-friendly ingredients you already have. But if you are missing one or two, below is everything you need to know about the ingredients:
- Hot water: We need hot water to dissolve the salt and sugar. There is no need to boil water; hot tap water works just fine.
- White distilled vinegar: Use distilled white vinegar for the most natural and authentic taste. However, while it is not traditional, you can use apple cider vinegar for a more fruity and sweet taste or white wine vinegar for a milder, slightly more delicate flavor.
- Sugar: A small amount of sugar balances the tanginess of the vinegar with a touch of sweetness. You can use both granulated and cane sugar when making these Arabic pickled turnips.
- Kosher salt: We used kosher salt since home cooks widely use it daily. However, pickling salt and sea salt can also be used. We do not recommend table salt as it contains iodine, which can produce bitter-tasting pickled pink pickles.
- Turnips: We used the purple skin white turnips, which are widely available in grocery stores. Peeling is optional, but we recommend cutting them into uniform batons to ensure even pickling. While it is not traditional, Japanese hakurei turnips (aka Tokyo turnips) can also be used in this recipe. They are smaller and have a milder (less bitter) flavor than white radishes.
- Beet: Any color of beet can be used, but red beets are used for the signature pink color.
- Fresh Garlic: While optional, a clove of fresh garlic infuses the brine with a savory flavor. Use a large clove of garlic or two small ones.
- Bay leaves: A small bay leaf gives the pickling brine an herbal note that enhances the flavor of the turnip pickles, but it is optional.
- Whole black peppercorns: We added a small amount of black peppercorns to provide a hint of spice and complexity to the overall flavor.
- Optional add-ins: If preferred, other flavorings, such as a few leaves of fresh herbs (such as dill, parsley, and thyme) and a pinch of red pepper flakes, can be added.
How to Make Pickled Turnips?
Pickling turnips at home requires only 10 minutes of hands-on time. The method we are using is usually referred to as “refrigerator pickles,” as we use a quick vinegar-based brine instead of canning using a heat-processing method used in other pickle recipes for a longer shelf life.
Once it is assembled and the jar is sealed, all that’s left to do is to wait a few days for the most vibrant and flavorful Lebanese pickled turnips. Here are the steps:
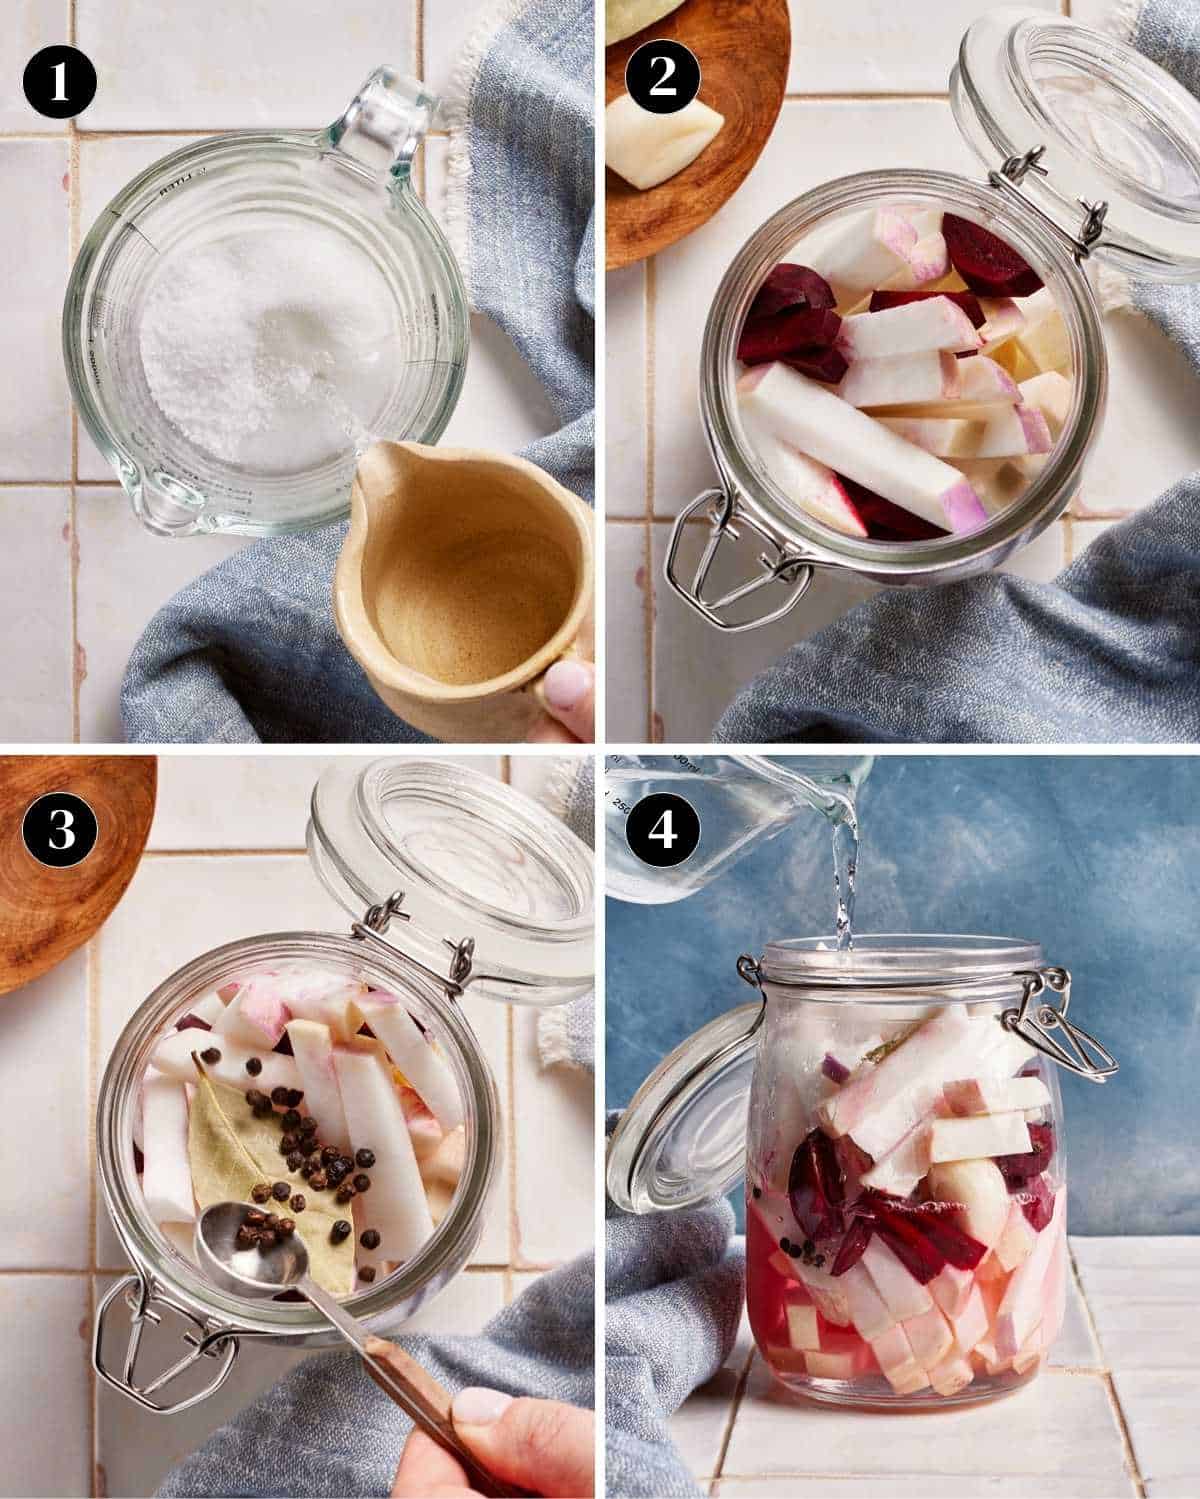
- Prepare the quick brine: In a large measuring cup, combine the hot water, vinegar, sugar, and kosher salt. Add sugar and salt and whisk until they are completely dissolved.
- Layer the vegetables: In a clean 32-ounce glass jar with a wide mouth, start layering the turnips, beets, and garlic. Add a handful of turnips first, followed by a few beet pieces and a garlic clove. Repeat this process until the jar is nearly full.
- Add the spices: Add the bay leaf and sprinkle the peppercorns over the top.
- Pour the brine: Carefully pour the prepared vinegar mixture over the vegetables, making sure that everything is completely submerged, but there is still an inch of space left on top.
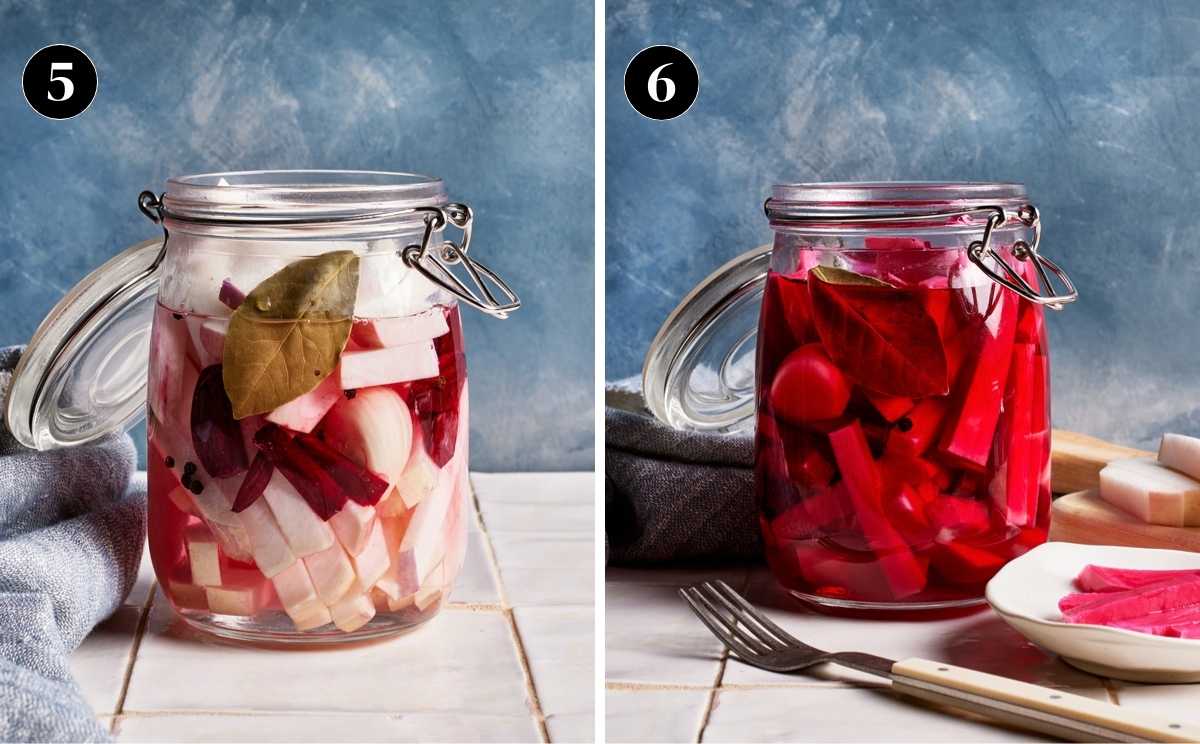
- Seal and cool: Seal it with the lid and let it cool to room temperature. At this point, you can let it sit on the counter or transfer it to the refrigerator.
- Let time do its magic: For the best flavor, let the pickles sit in the fridge for at least three days. However, keep in mind that the magic really happens after five to seven days when the flavors fully develop.
FAQs
To cut turnips for pickling, start by slicing the top and the bottom. Use a vegetable peeler to peel the turnip. Cut the now-peeled turnip in half and then cut it into ½-inch slices. Stack the slices and cut them into ½-inch wide strips, creating baton-like pieces.
As long as they are kept in the fridge in a tightly sealed jar, they will last for upto 1 month.
How To Store Pickled Turnips?
The best way to store pickled turnips is in a tightly sealed jar kept in the refrigerator. They will stay fresh and flavorful for up to a month, making them a convenient condiment you can use any time.
How To Serve Them?
These Middle Eastern pickled turnips are a wonderfully versatile condiment that can add a flavorful kick to many dishes. Below are a few serving suggestions:
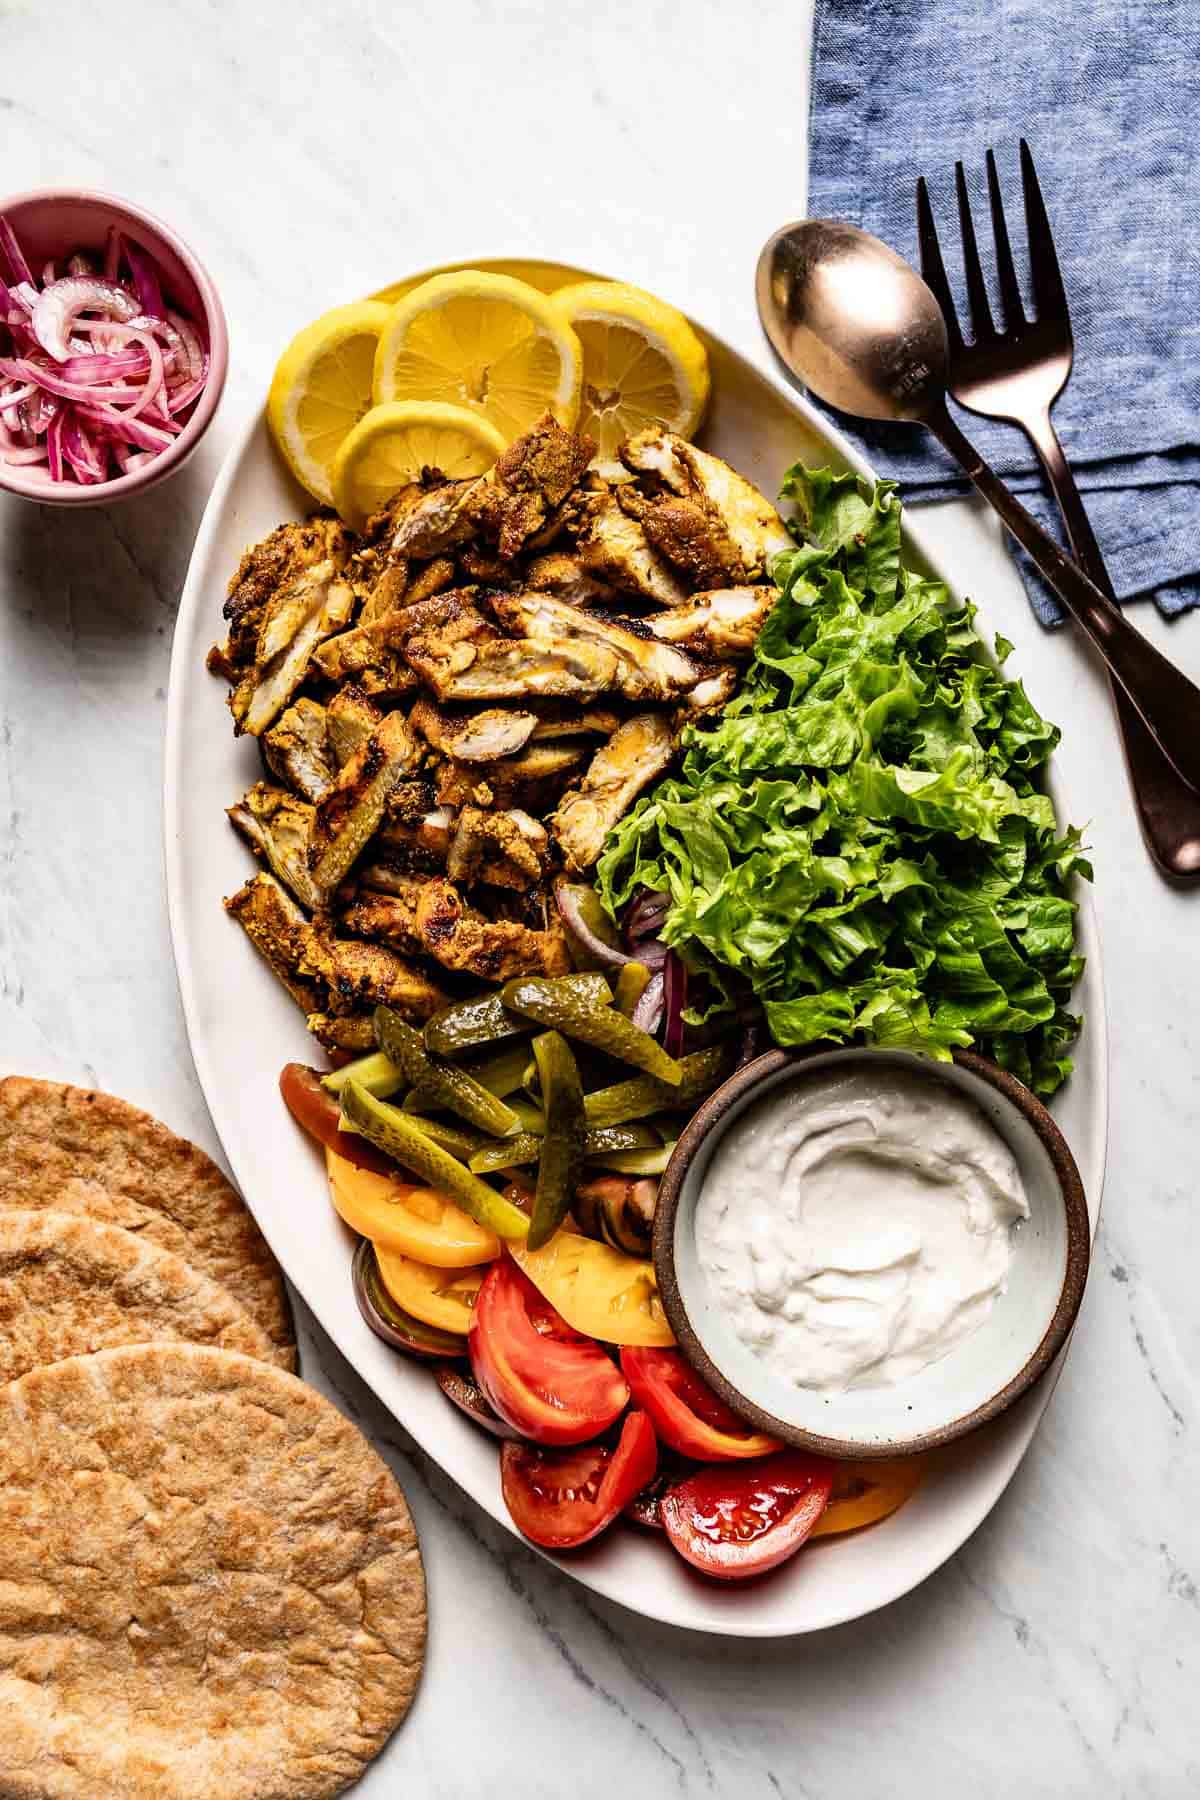
- Shawarma: Whether you’re serving a chicken shawarma platter, beef shawarma wrap in pita bread, or falafel wrap, these pickled pink turnips are the ultimate condiment to complement the bold spices and rich flavors of this classic Middle Eastern dish.
- Rice Bowls: Use these Lebanese pickles as a topping for rice bowls, like my Homemade Cava Bowl or Shawarma Chicken Bowl, for a tangy crunch that pairs beautifully with roasted vegetables, seasoned rice, and your favorite protein.
- Mezze Platter: Serve them along with other classic Mediterranean condiments like Baba Ganoush, Muhammara, and Hummus.
- Salads: Top off any of your favorite Mediterranean salads to add a touch of tangy flavor and a satisfying crunch.
Expert Tips
While the process of pickling turnips is a relatively straightforward one, we wanted to include a few helpful tips to make sure you’ll succeed on your first try:
- Wash the root vegetables well: Rinse turnips and beets under cold water to ensure they are dirt-free. While you can pickle them with the skin on, I prefer to peel them before pickling to ensure that the brine penetrates easily and the pickles have a cleaner taste.
- Slice the vegetables evenly: Make sure the turnips and beets are cut into uniform pieces (about ½-inch batons) so they pickle evenly. Uneven cuts may result in some pieces being softer or crunchier than others.
- Start with a clean jar: There is no need to sterilize the jar, but we recommend that your jar is thoroughly cleaned and dried before use. If you don’t have a 32-ounce jar, two 16-ounce glass jars also work.
- Don’t overfill the jar: It is okay to pack the root vegetables tightly, but it is best to leave about an inch of room at the top of the jar. We do want the turnips and the beets to be fully submerged in the liquid, but leaving a small room at the top will allow the brine to circulate properly.
If you make this pink pickled turnips recipe, I would greatly appreciate it if you could take a minute to rate it and leave a comment below. It is a great way to support this website and help those planning to make it. Also, if you took pictures, I’d love to see them. Share your creations on Instagram using #foolproofeats so I can share them with the Foolproof Living community.

Pickled Turnips Recipe
Ingredients
- 1 cup hot water, (tab water would work)
- 1 cup white distilled vinegar
- 1 tablespoon granulated sugar, or cane sugar
- 2 tablespoons kosher salt
- 1 lb turnips, peeled and cut into ½-inch batons
- 1 red beet, small one, peeled and cut into ½-inch batons
- 1 garlic clove, cut in half
- 1 bay leaf
- ¼ teaspoon black peppercorns
Instructions
- Add 1 cup of hot water, 1 cup of white distilled vinegar, 1 tablespoon sugar, and 2 tablespoons of kosher salt in a large measuring cup. Stir until the sugar is fully dissolved.*
- In the mason jar, layer the turnips, beets, and garlic evenly: start with a handful of turnips, then a few pieces of beet, followed by a piece of garlic.
- Repeat the same pattern until the jar is filled, ensuring the ingredients are distributed evenly throughout the jar. Gently push down to ensure they fit into the jar.
- Add the bay leaf and peppercorns.
- Pour the prepared vinegar mixture over the vegetables, ensuring everything is submerged but there is still an inch of space left on top.
- Seal the jar tightly and let it cool to room temperature before storing it in the refrigerator.
- Refrigerate for at least 3 days before serving to allow the flavors to meld. For best results, wait 5-7 days.
Notes
- Yields: This recipe makes about 2 to 2 1/2 cups of turnip pickles that is ideal for 6 servings as a condiment. The nutrition information below is per serving.
- * Alternatively, you can place cold water in a small saucepan, add the vinegar, sugar, and salt, and cook, stirring occasionally, until the sugar and salt are fully dissolved.
- Storage: While the color of the brine turns fully pink after 3 days, we highly recommend waiting at least 5 days for the flavors to develop. Be sure to store it in the fridge once the jar is opened. As long as it is tightly sealed and kept in the refrigerator, these Mediterranean pickled turnips will stay fresh for up to a month.
- In the fridge or on the counter? We’ve seen versions of this pickled turnip recipe where some home cooks leave the jar on the kitchen counter (or a dark place like the pantry) for a few days before transferring it to the refrigerator, while others keep it in the fridge the entire time. We tried both ways and found that there were no differences in taste.
Nutrition
Nutrition information is automatically calculated, so should only be used as an approximation.




have some beets to make that with today with just reading the ingredients it’s going to be super good I will just add a slice of horseradish to it thanks’ for the recipe
You are very welcome Charlotte. Thanks for the suggestion and coming back to leave a review.