Pita bread—also known as Arabic bread, Lebanese bread, and Mediterranean pita—is a must-have for any Middle Eastern meal. However, it’s not the only homemade bread that comes together in a cinch. I have dozens of easy no knead bread recipes to fill out any menu, whether you need a rich brioche or a flaky biscuit.
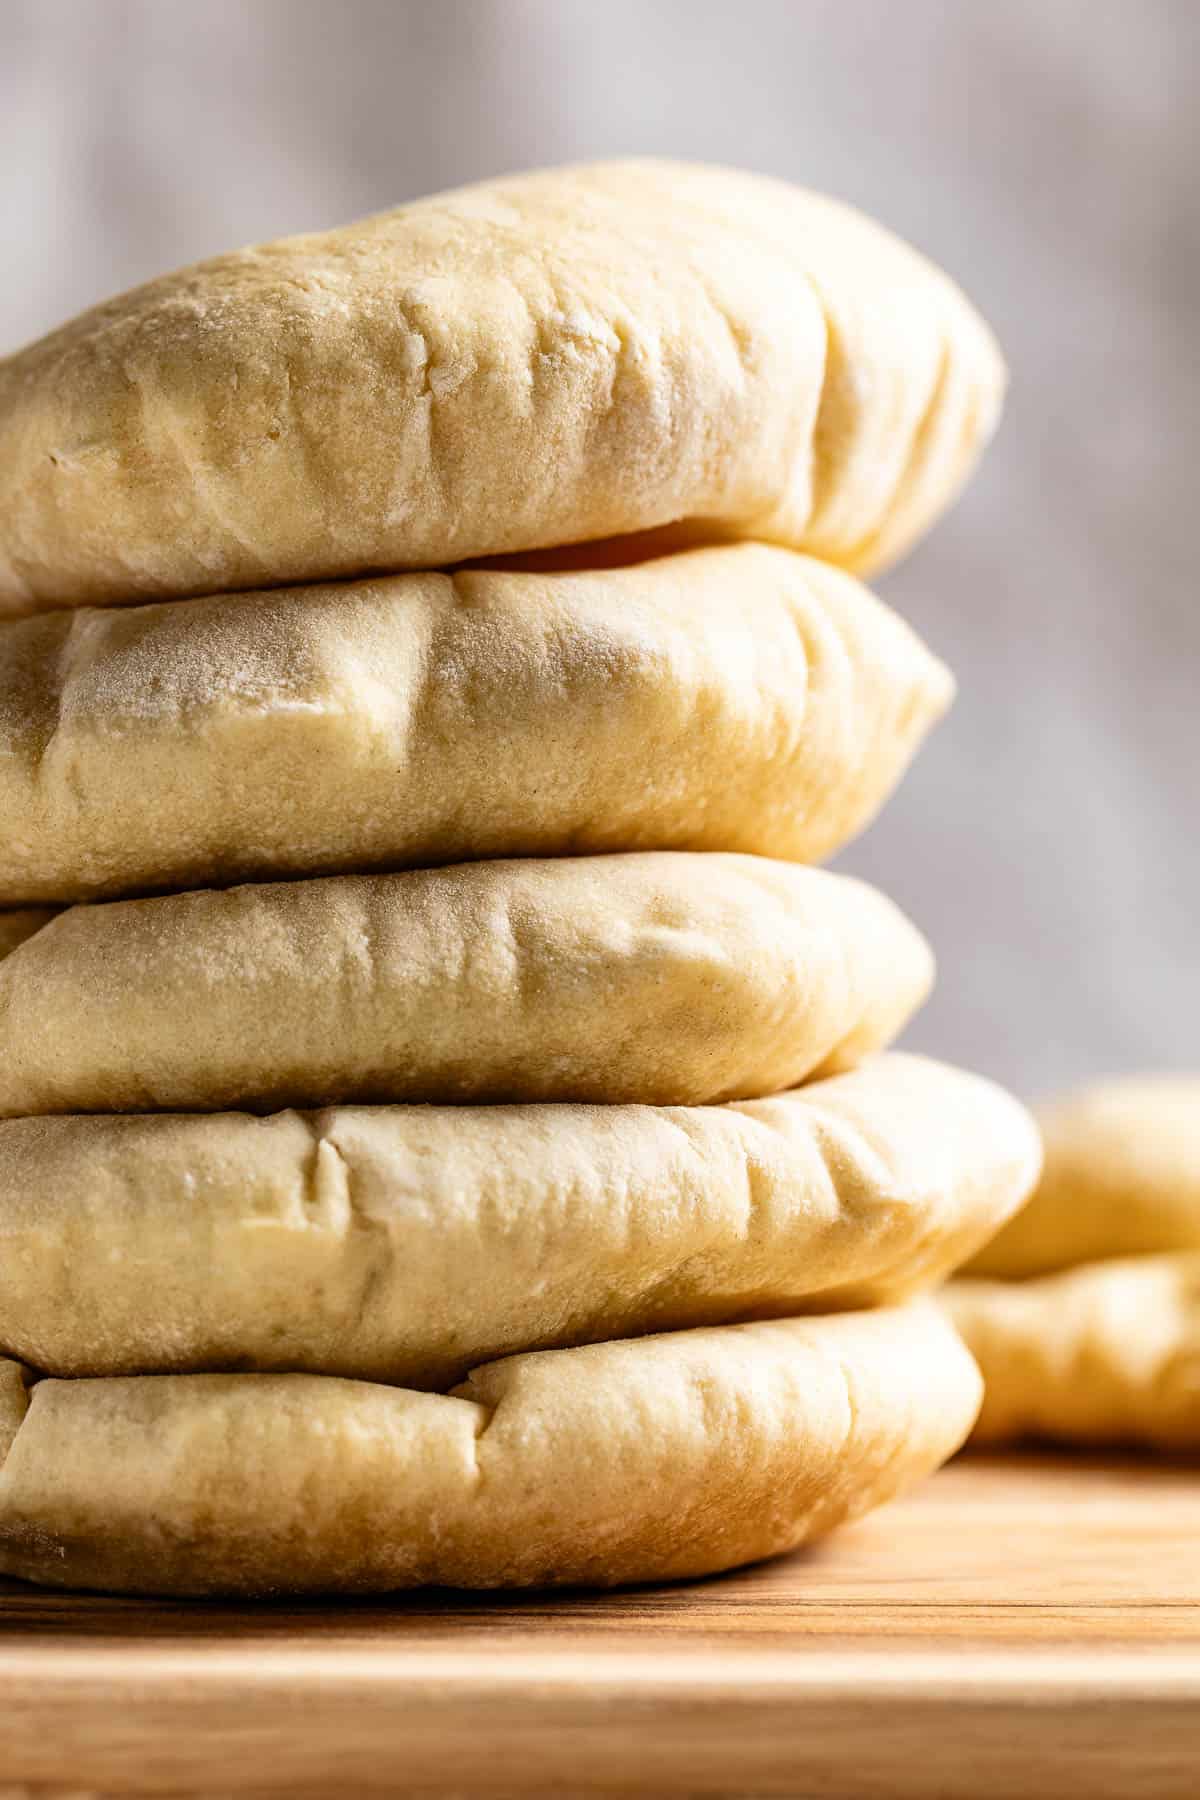
What is Pita Bread Made Of?
There are only six simple ingredients in pita bread, making this recipe a cost-effective way to flex your baking skills (and it tastes so much better than store-bought pita!).

- Water: It’s essential that your water is lukewarm (about 105-110 degrees F. or 40-43 degrees C) before adding it to your pita mixture. If the water is too hot, you’ll kill the yeast, but if it’s too cold, the yeast won’t “bloom.”
- Active dry yeast: I used active dry yeast in this pita dough recipe, which required me to “activate” the yeast before adding other ingredients. Of course, you can use instant dry yeast, but your dough will rise more quickly, and the recipe’s timing will be shorter.
- Granulated sugar: Sugar is vital among your pita bread ingredients, as it helps activate and fuel the yeast (in addition to giving it a lightly sweet, tender flavor!). To make this recipe refined sugar-free, you can use cane sugar instead.
- All-purpose flour: I used all-purpose flour in my pita, but you may use bread flour instead if desired. However, keep in mind that bread flour has a higher protein content than all-purpose flour, which can give your pita a slightly chewier texture and a bit more structure. I would stick to all-purpose flour for light and tender pita bread, similar to store-bought pita bread.
- Olive oil
- Kosher salt
How to Make a Pita Bread Recipe From Scratch?
You don’t have to work in a bakery to make pita bread like a pro. These step-by-step instructions will give you perfectly fluffy, golden-brown pita pockets, no matter how you want to cook pita bread: in an oven or on a skillet.
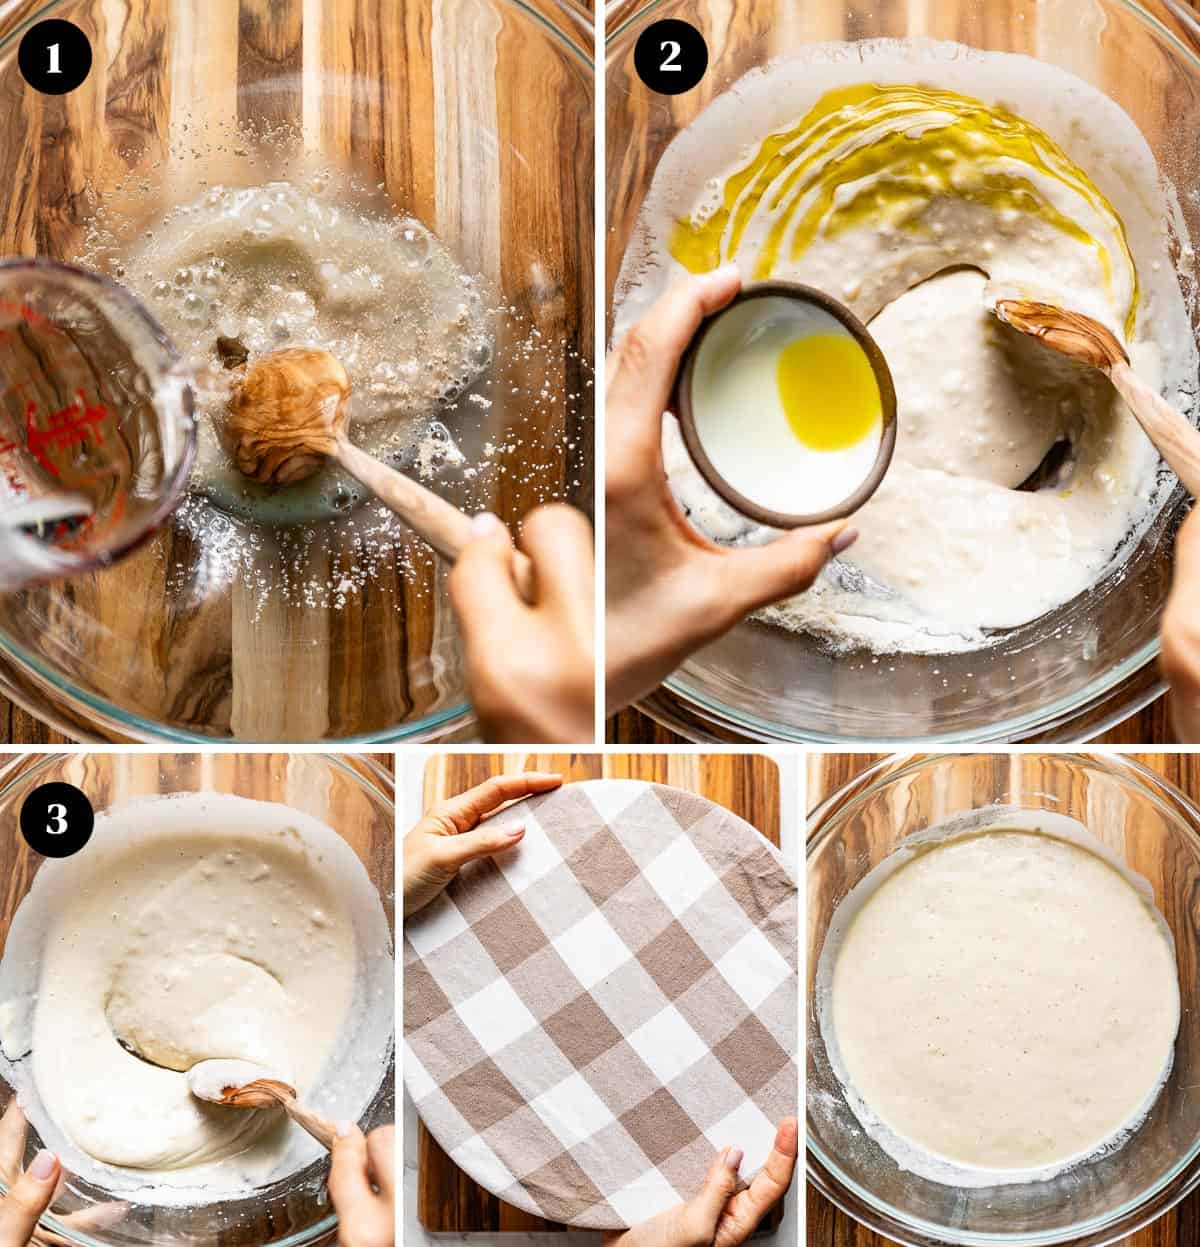
- Activate the yeast: Add the water, yeast, and sugar to a large mixing bowl and stir until combined.
- Add the first cup of flour: Add 1 cup (120 g.) of flour and the olive oil to the yeast mixture and stir until smooth, breaking up as many flour crumbs as possible and scraping down the bowl’s sides when necessary.
- Let it rest: Once integrated, cover the mixture with a kitchen towel and let it rest until it begins foaming and forming bubbles (about 15 minutes).
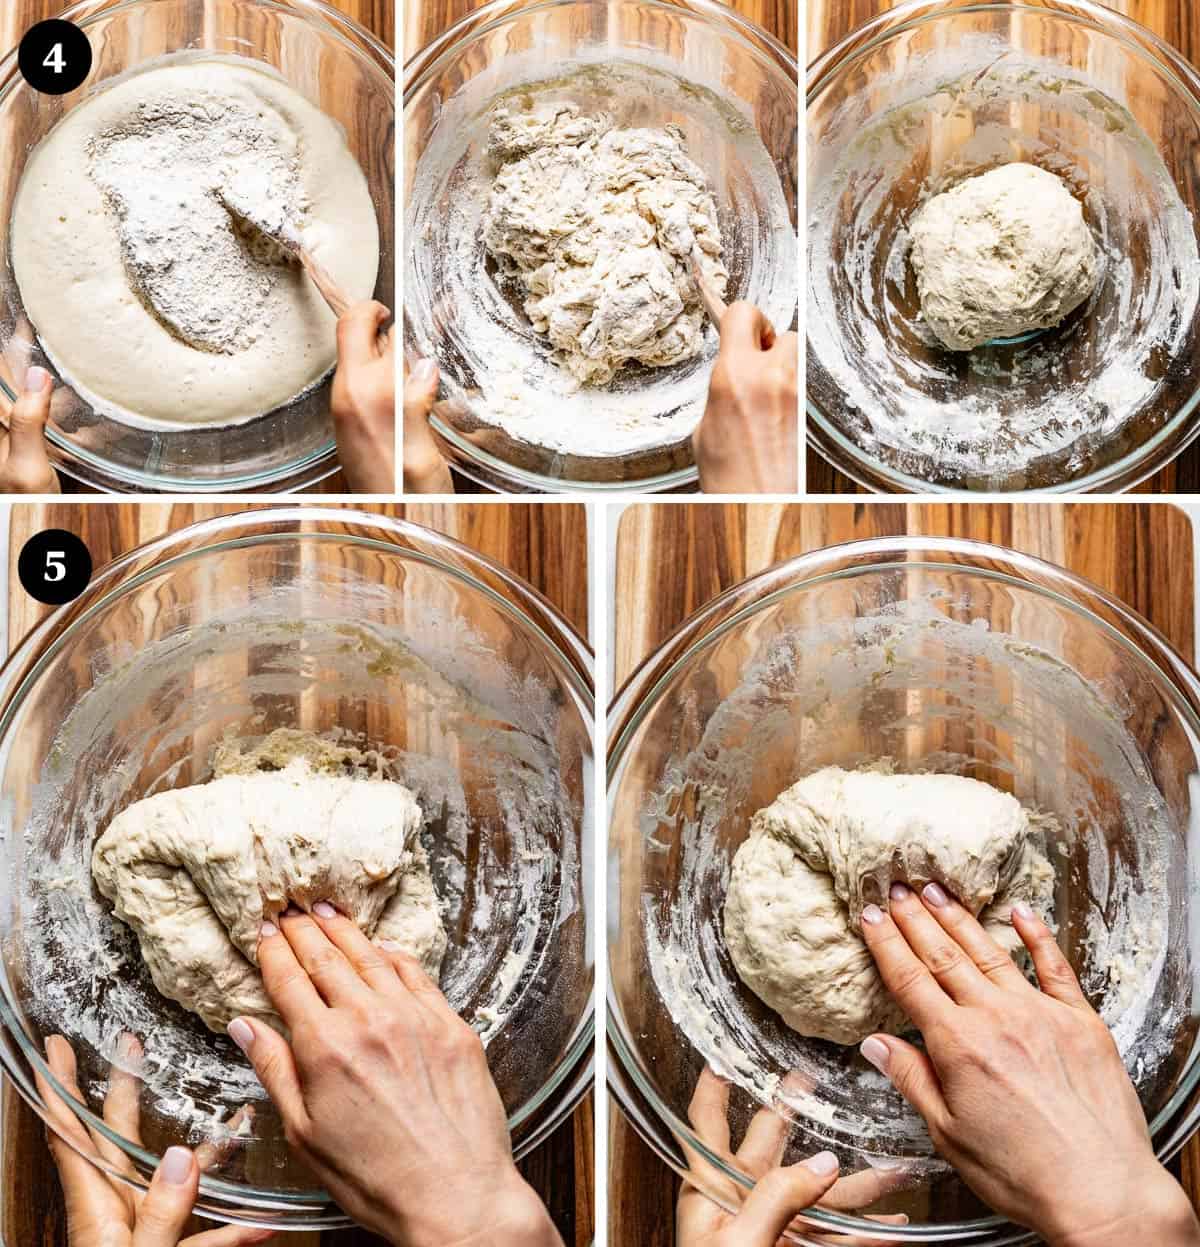
- Add the remaining ingredients: Add the remaining two cups (240 g.) of flour and the salt. Then, use a wooden spoon or clean hands to incorporate the dry ingredients until a sticky ball forms (approx. one minute). Cover the bowl with a clean kitchen towel, place it in a warm place, and let the pita bread dough rest for 30 minutes.
- Fold the dough: Hold one edge of the dough with your fingertips, then fold it halfway towards the middle of the ball. Turn the bowl 45 degrees and repeat this step until you complete a full turn. In the end, your dough should be smooth and elastic.
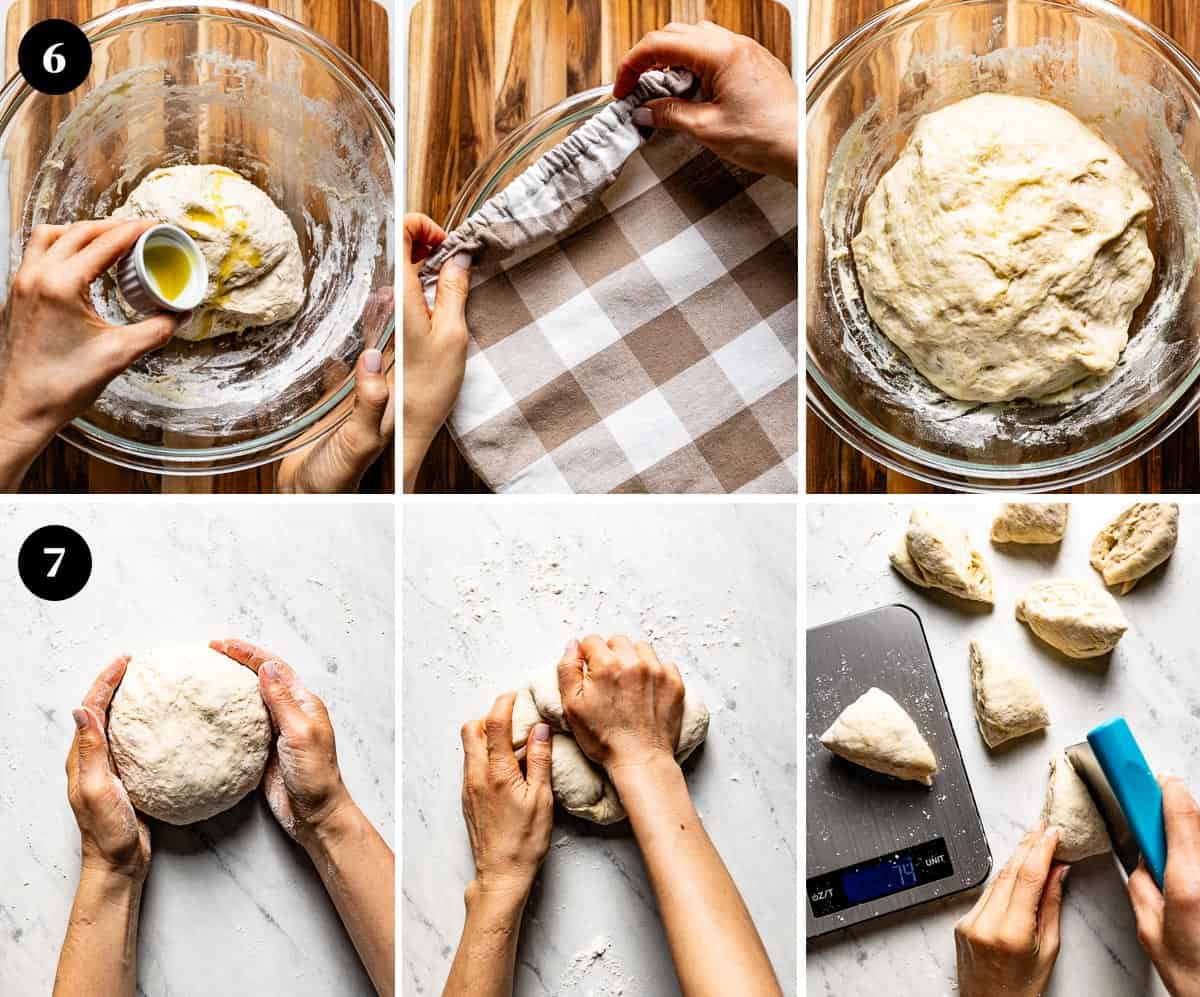
- Add the olive oil: Drizzle one teaspoon of olive oil over the ball, rotating the dough and spreading the oil until the entire surface has an even coating. Cover the dough again and let it rest in a warm place until it doubles in size—about one hour.
- Separate the dough: Dust your work area with 3-4 tablespoons of flour, transfer the dough to the floured surface, and knead it until it forms a smooth ball (30-40 seconds). Then, use a bench scraper or sharp knife to divide the dough into eight equal pieces, with each piece weighing about 71 g.
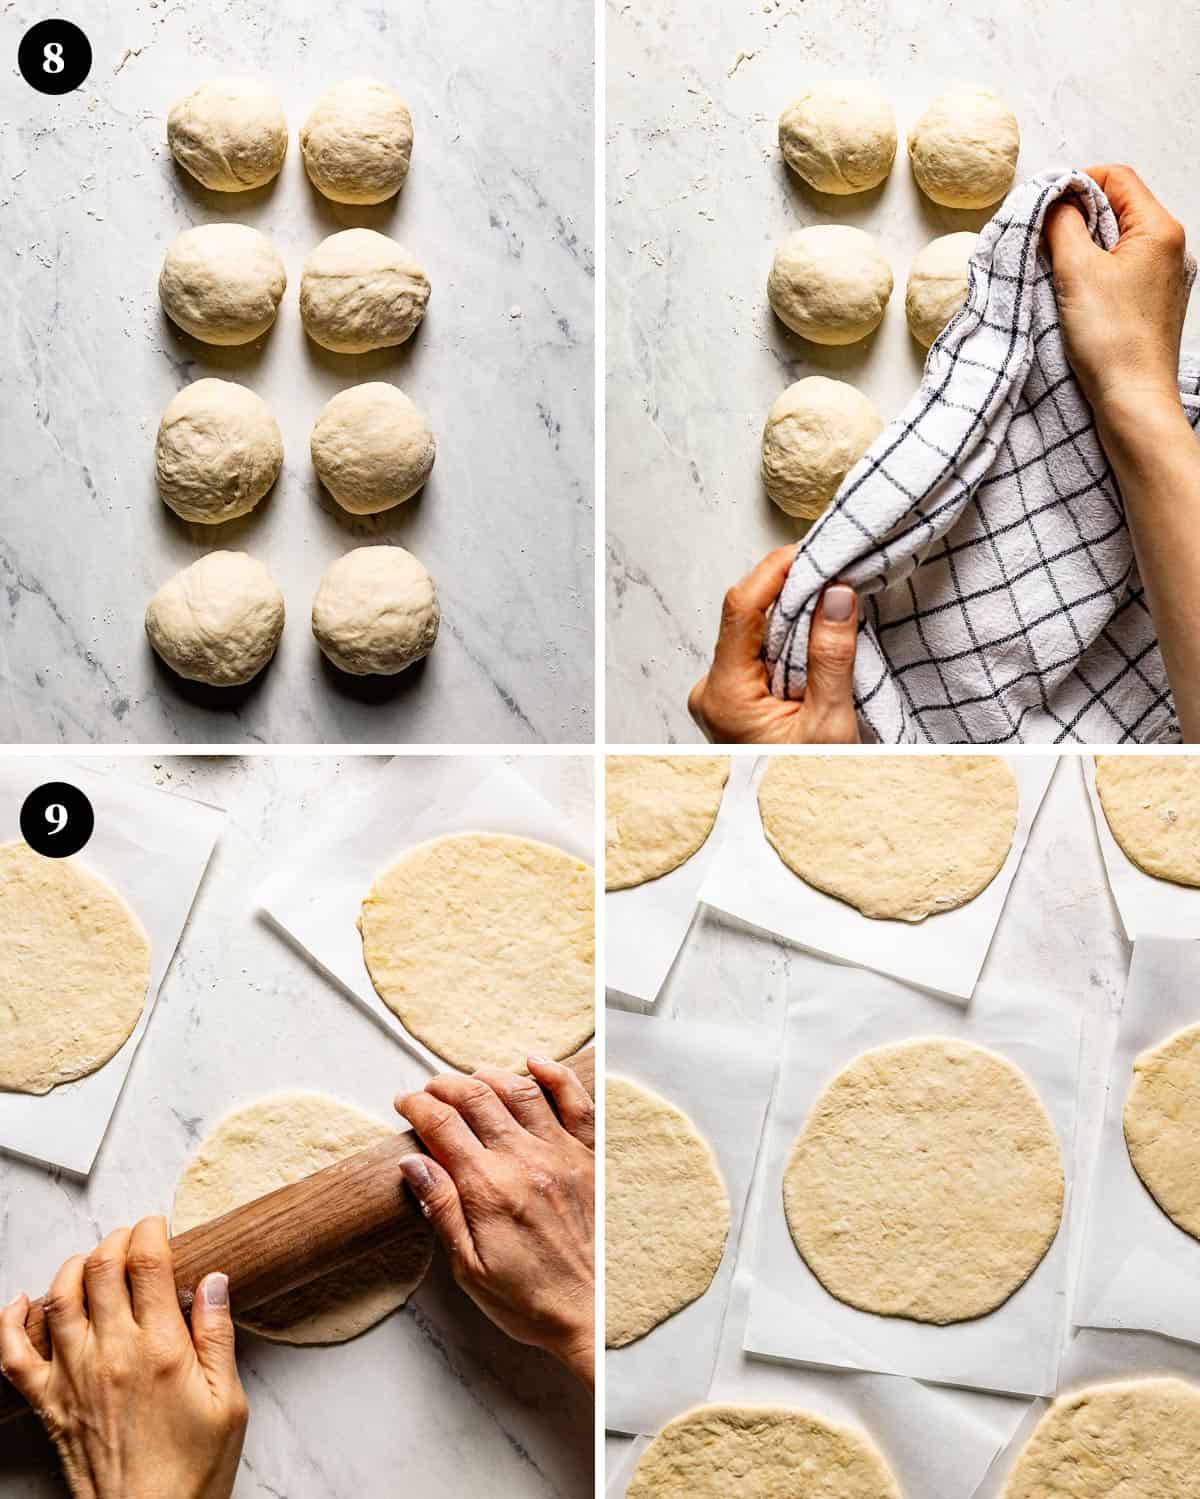
- Form the pita balls: Form each of the eight pieces into a ball, then place them on your work surface with their seam sides facing down. Cover the dough balls and let them rest for 20 minutes. They will slightly grow in size.
- Roll the pita bread rounds: Use a floured rolling pin to gently flatten each dough ball into a 6-inch circle, ensuring you don’t press so hard that the air bubbles flatten. Brush any excess flour off of your pita rounds and let them rest, uncovered, for 15 minutes.
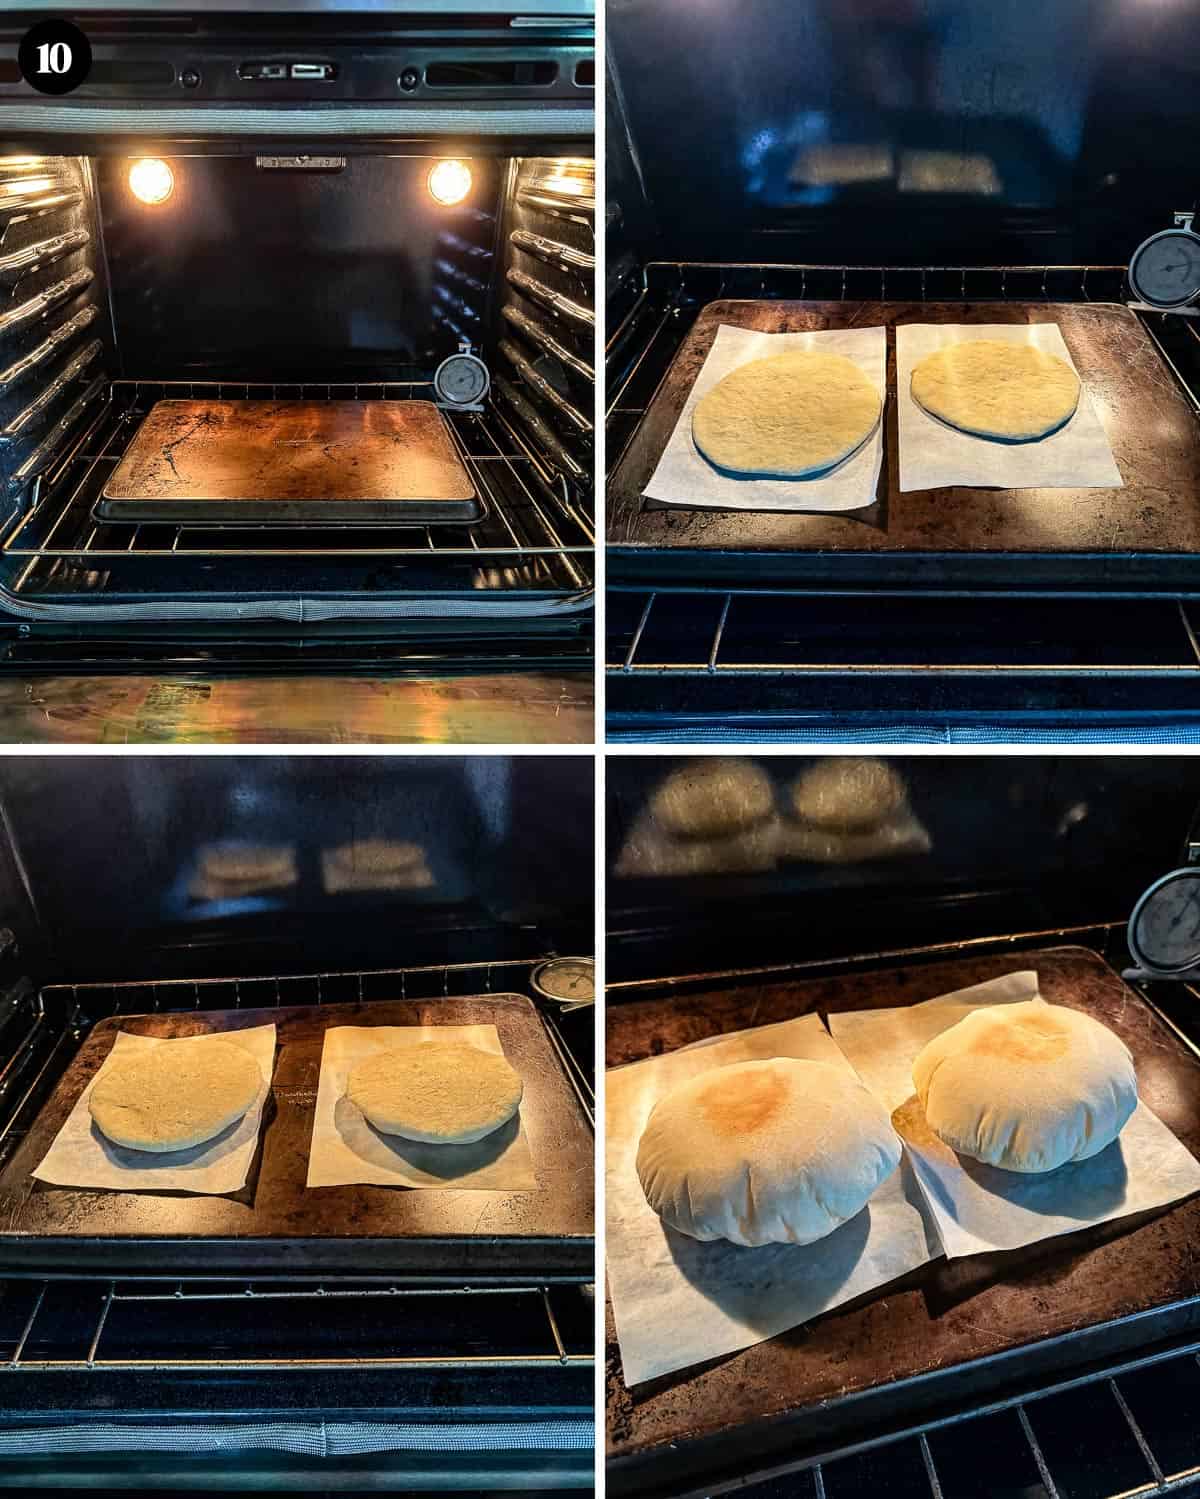
- Cook the pita dough:
- Bake the pita bread: Adjust your oven’s rack to the lowest position, place an upside-down baking sheet or pizza stone on top, and preheat the oven to 500 degrees F. Then, cut a large sheet of parchment paper into eight 6 x 8-inch squares and place each pita on its own sheet. Working with two rounds at a time, place the loaves and their parchment paper squares on the hot baking sheet. Bake the dough for 2.5 minutes, flip it over, and cook for another 2.5 minutes or until it puffs and is lightly browned. Remove the baked pitas from the oven and repeat the process with the remaining dough.
- Make a pan pita recipe: Heat a cast iron skillet on medium-high heat for ten minutes or it is super hot. It is imperative that your skillet is hot for the pita to puff. Then, lightly coat the bottom of the skillet with one teaspoon of olive oil. Place the dough onto the hot skillet one pita round at a time and cook it until bubbles form (about one minute). Then, flip the pita, cook it for one minute, and flip it one more time. Cook the bread for a final 30 seconds before removing it from the heat. Repeat this process until you cook all of the remaining loaves.
- Enjoy: Serve your fresh pita bread warm or store it for later use.
How to Store, Freeze, Thaw, and Reheat Pita Bread?
Making pita bread is a rewarding experience that doesn’t end when it’s fresh out of the oven! Not only is this recipe delicious right out of the oven, but it’s also a fantastic recipe for storage and freezing—just the thing for anyone who loves easy meal prep.
- Make ahead: Want to turn this dough into an overnight pita recipe? Simply make your pita dough one day in advance and store the raw dough in the refrigerator until you are ready to bake. Take it out an hour before you are prepared to turn it into balls, and follow the recipe as written.
- Storage: To store cooked pita bread, let it come to room temperature and place it in an air-tight container. The bread will then stay fresh in the refrigerator for 3-4 days.
- Freezing: When freezing your DIY pita bread, begin by letting the loaves cool to room temperature. Then, wrap them in plastic film and transfer them to a freezer-safe Ziploc bag with as much air removed as possible. Your pita will stay fresh in the freezer for up to three months.
- Thawing and reheating: You don’t need to thaw your frozen pitas before reheating. Instead, place them directly into a toaster or low-heat oven (300 degrees F.) for 3-4 minutes or until heated.
FAQs
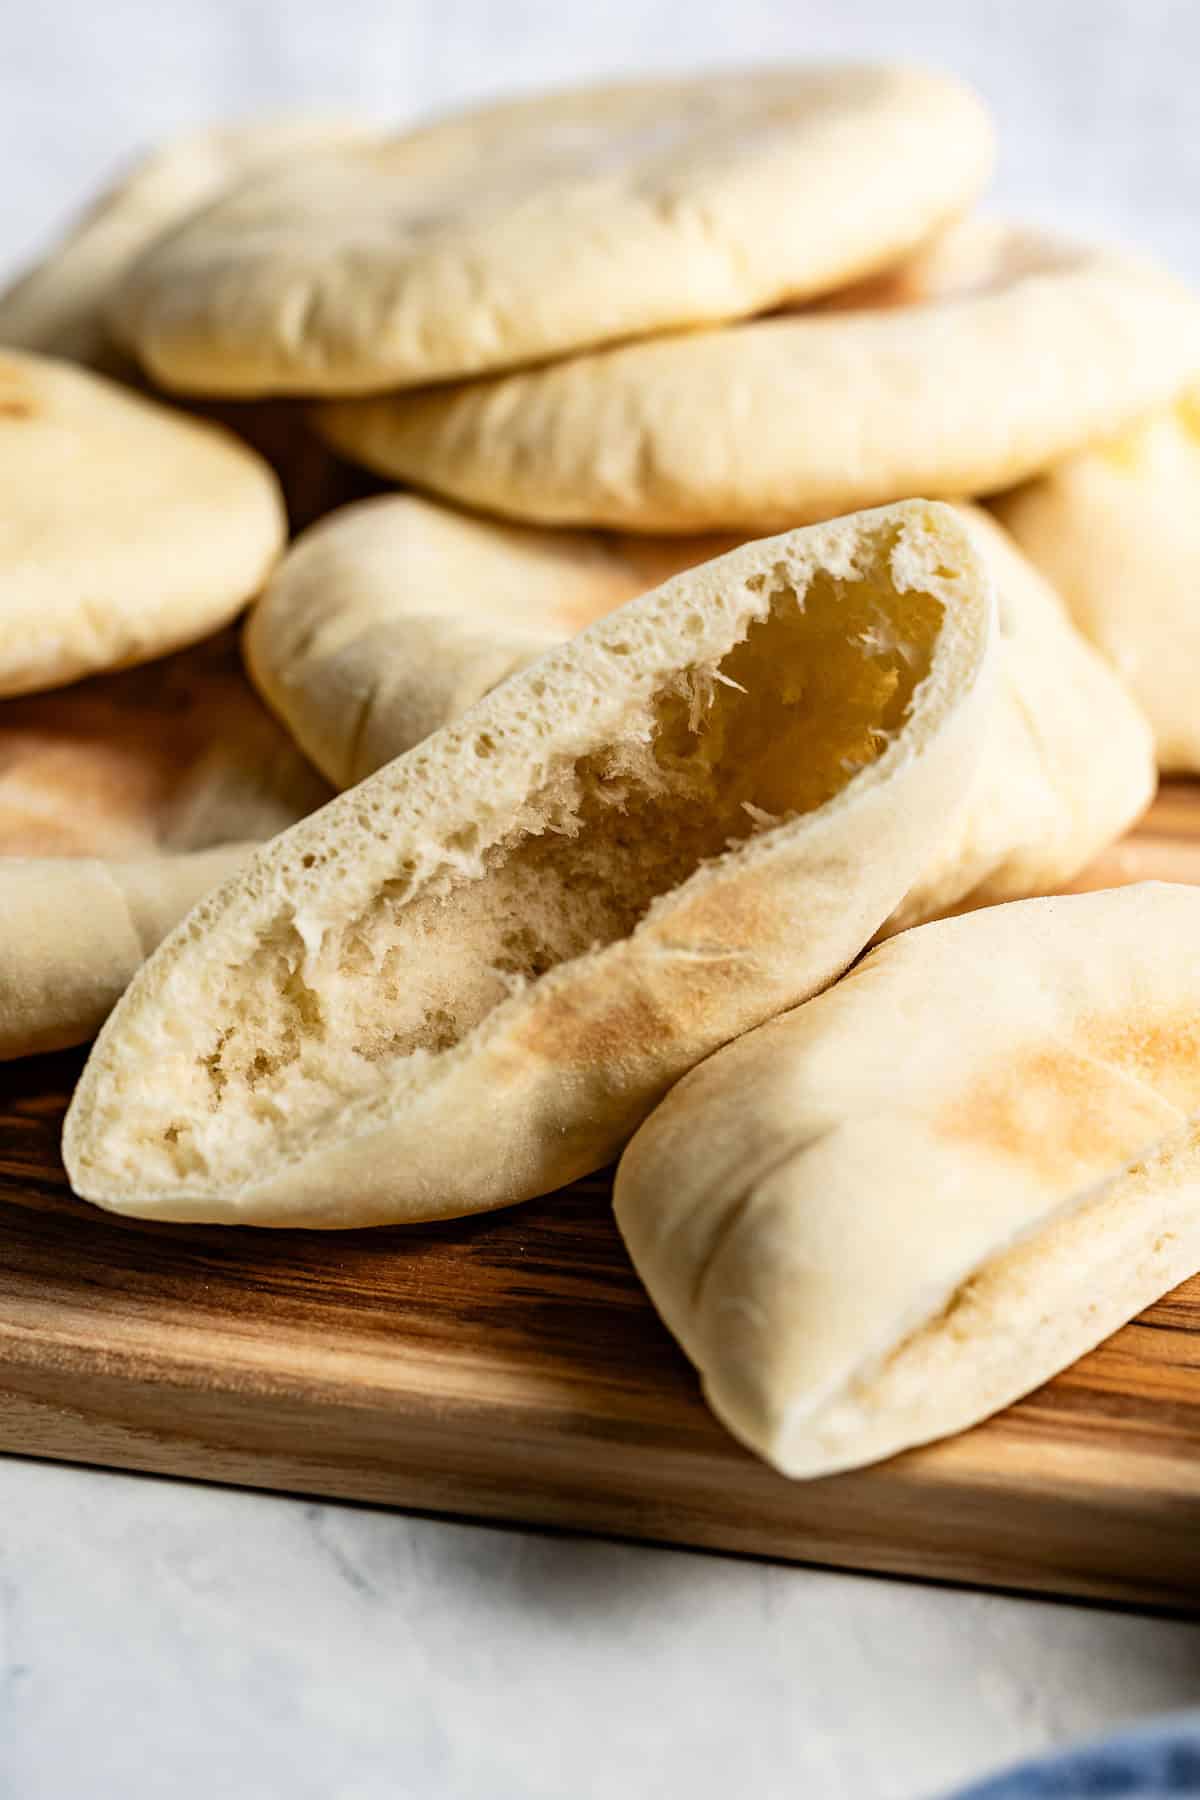
Pita bread is a soft, light, and puffy bread with roots in the Middle East. In particular, this bread is known for its hollow, “pocket”-like center, which makes it a classic bread for savory fillings like shawarma, doner kebabs, and gyros.
Pita bread originates in the Middle East—particularly in the area of ancient Mesopotamia. Since then, however, this recipe has become a staple in many different countries’ cuisines, leading to a wide variety of names—“Middle Eastern bread,” “Mediterranean bread,” and “Syrian bread,” just to name a few.
Yes, traditional pita bread recipes need yeast to help the bread rise and give it its iconic “pocket”—where many fill it with savory additions, like shawarma, gyros, or other cooked meats.
If your cooked pita bread ever becomes “hard” or “stale,” you can restore its softness by wrapping it in a damp cloth and placing it in a microwave or low-heat oven until warm. You can also help prolong your bread’s soft texture by placing your loaves in a plastic bag right after they’ve cooled from the oven.
Pita bread typically doesn’t contain eggs. Instead, it traditionally includes a mixture of water, yeast, flour, and salt—a great recipe for those who are looking for a vegan bread option.
Not quite. Pita bread is native to Middle Eastern regions, but it has since become popular in Greek cuisine—especially as a “gyro bread”—which leads many to think that it comes from Mediterranean areas.
Aysegul’s Helpful Tips
I might be biased, but I believe I shared the best way to make a homemade pita recipe here. However, there are a few things that I’d like to bring to your attention for succeeding on your first try. In this section, you’ll find everything you need to achieve the fluffiest, tastiest, and most authentic taste.
- Digital scale: If you have a digital scale, I highly recommend using it for this quick pita bread recipe. It is especially helpful when dividing the dough into small bowls, helping you achieve evenly sized pita pockets.
- Lukewarm water: Water temperature is the key to letting your yeast work its magic. Be sure to use lukewarm water (about 105-110 degrees F.), as too-hot water will kill the yeast, and too-cold water will keep the yeast from blooming.
- Bottom rack vs. top rack: Direct heat is necessary when developing beautifully browned pocket bread. Therefore, you should always bake your pita on the bottom rack of your oven—not the top—and be sure to place parchment paper under each of your pita rounds while baking.
- Maintaining the oven temperature: The best way to make fluffy pita bread with an open pocket is to keep the oven consistently hot. Be sure to set your oven to 500 degrees F. (or 450 degrees F., depending on how hot your oven can get). I also recommend baking two pita rounds at a time to avoid overcrowding the baking sheet (or pizza stone).
- A word on browning: When we tested this recipe, we tried to achieve a golden brown color during baking. However, regardless of how many times we tried, increasing the amount of oil and sugar or even the baking time resulted in a light golden-yellow color. So, in short, the color you see in the photos is true to what you will end up with when you make this recipe.
- Using whole wheat flour: To make a whole wheat pita bread recipe, mix one cup of whole wheat with two cups of all-purpose flour. Whole wheat flour is heavier, and using too much will prevent your pita bread from rising or developing its signature “puff.”
- Gluten-free: To make this pita recipe for gluten-free diets, substitute the all-purpose flour with an equal amount of gluten-free flour. Here in the US, Bob’s Red Mill’s gluten-free 1-1 baking flour (affiliate link) is a good brand you can use.
What to Do With Pita Bread
A staple in my house, pita bread is one of the most versatile ingredients in my pantry. Below are a few of my favorite recipes with pita bread—from hand-held pockets to party-ready flatbreads.
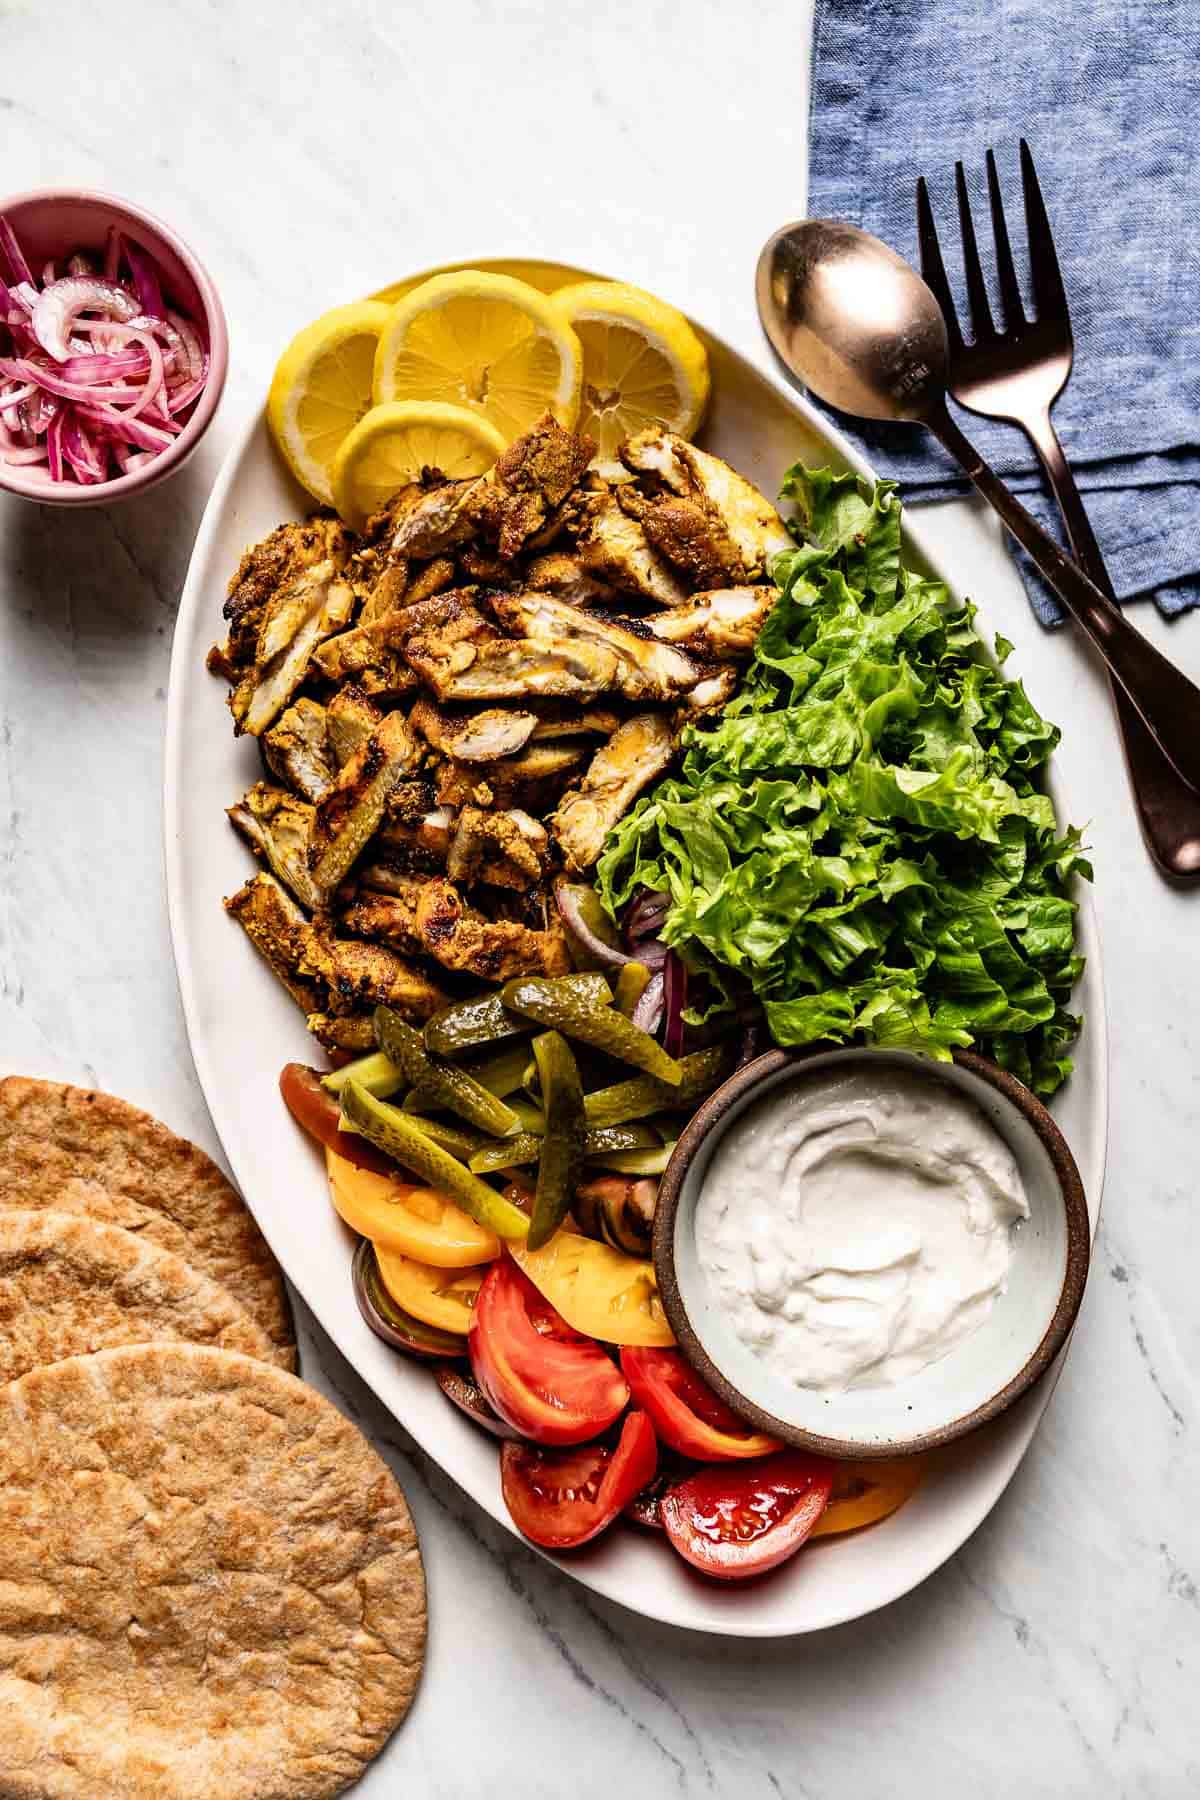
- Fill the pockets: It goes without saying that making pita pockets is one of the most classic uses of pita bread—especially when packed with authentic Middle Eastern flavors! I love filling my pita with succulent, savory meats, like Beef Shawarma, Chicken Shawarma, and gyros. Or, you can make a tender, light lunch by using one of my favorite easy pita bread fillings: my Chickpea and Tuna Sandwich recipe!
- Make a wrap: Making a pita wrap is another one of my go-to meals using pita bread. Tasty, customizable, and portable, this serving option is excellent for on-the-go lunches and weeknight dinners alike. I especially like to use freshly baked pitas to make Pita Wraps with Chicken—a succulent, flavorful dish you can dress up with my Tzatziki or Tahini Lemon Sauce.
- Make chips: You can easily transform this pita bread bake into appetizer-ready pita chips by drizzling the loaves with olive oil, seasoning them with salt and pepper, and baking them until crispy—just like I do in my Mediterranean Nachos Recipe. Or, you can use it as a crunchy-soft addition to your favorite homemade Cava bowl recipes.
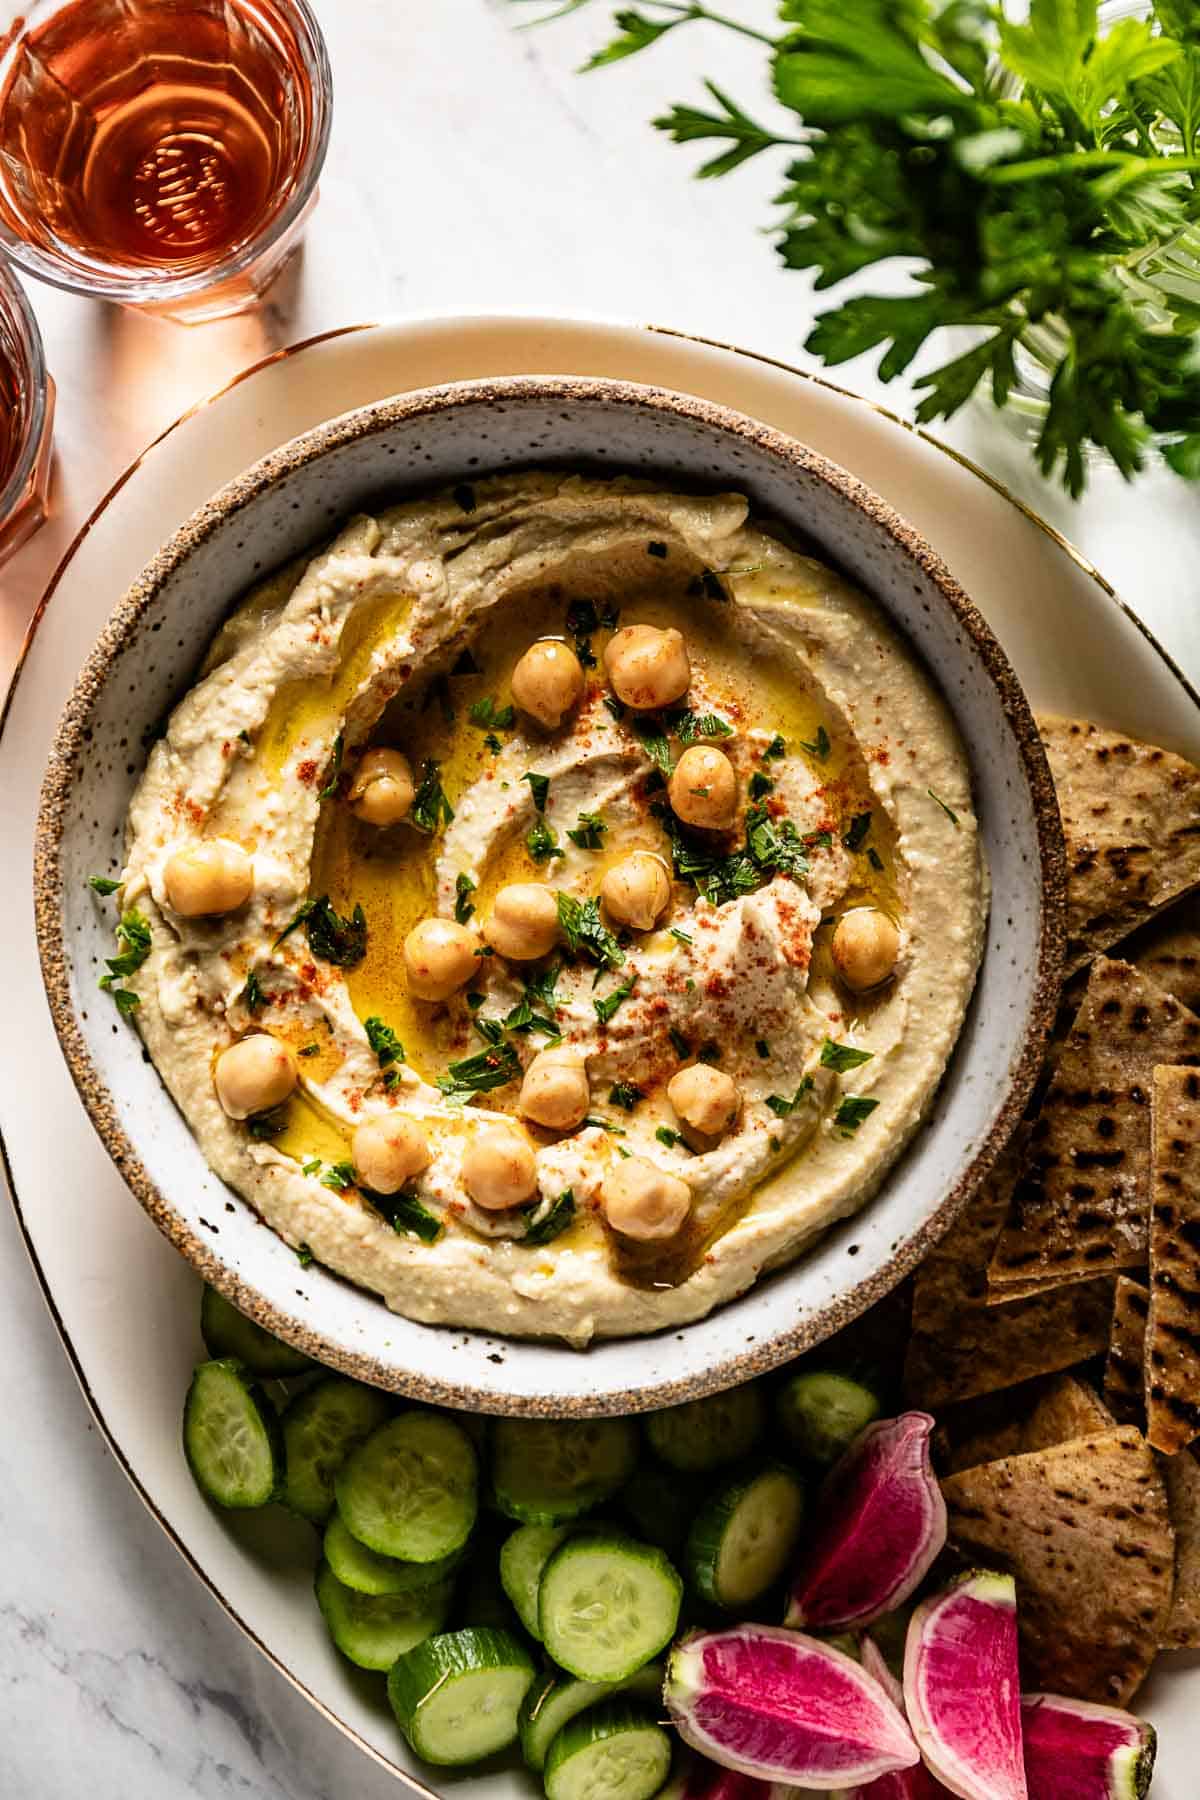
- Serve with dips: Light, tasty, and versatile, this easy homemade pita bread is just what you need to fill out a dip platter. This Middle Eastern bread is especially delectable when paired with classics like my smoky Baba ganoush, creamy Hummus, tangy CAVA Feta dip, or savory-sweet Muhammara.
- Serve it as bread: Fluffy, light, and fully dip-able, pita bread makes an excellent accompaniment to saucy dishes, soups, and stews. You can make a gourmet Indian meal with ease by serving your pita along with curry dishes, like Chicken Chickpea Curry, or you can use it to sop up every last drop of internet-famous Alison Roman’s Stew.
- Make pizza: You don’t need to deal with complicated pizza dough when you have this simple pita recipe on hand. With a few simple toppings, you can make a pita flatbread to rival any carryout pizza.
More Bread Recipes
Bread Recipes
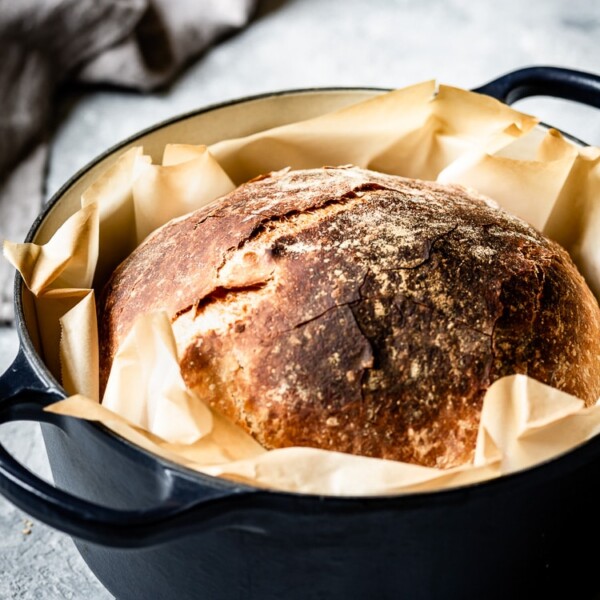
No Knead Artisan Bread
Bread Recipes
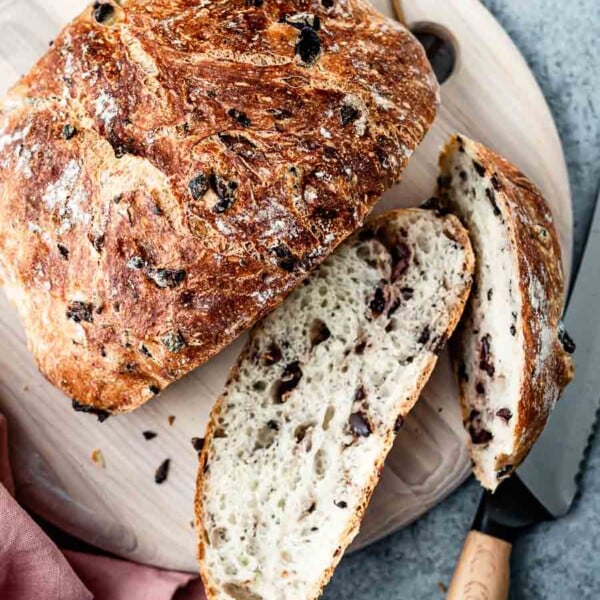
Homemade No-Knead Olive Bread Recipe
Bread Recipes
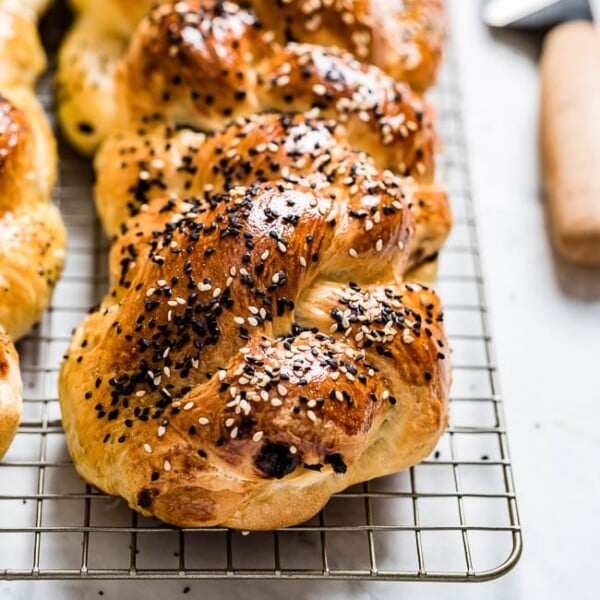
Best Challah Bread Recipe
Diet Key
This Recipe is:
If you make this Homemade Pita Bread recipe, I would greatly appreciate it if you could take a minute to rate it and leave a comment below. It is a great way to support this website and help those planning to make it. Also, if you took pictures, I’d love to see them. Share your creations on Instagram using #foolproofeats so I can share them with the Foolproof Living community.

Homemade Pita Bread Recipe
Ingredients
- 1 cup luke-warm water , 240 ml. (105-110 degrees F.)
- 1 packet active dry yeast, 7 g.
- 1 teaspoon granulated sugar, 4 g.
- 3 cups all-purpose flour, 360 g., divided, plus more for dusting
- 1 tablespoon olive oil, plus 1 teaspoon to coat
- 1 teaspoon kosher salt
Instructions
- To make the dough, stir together water, yeast, and sugar in a large bowl until combined.
- In the same bowl, stir in 1 cup (120 g.) of flour and olive oil until smooth, breaking up most of the flour crumbs and scraping down the sides of the bowl as needed. Cover with a kitchen towel and let it rest for 15 minutes or until it starts to form bubbles.
- Add the other 2 cups (240 g.) of flour and salt. Using a wooden spoon (or clean hands), mix to incorporate until a sticky ball forms, approximately 1 minute.
- Cover the bowl with a clean kitchen towel and let the dough rest in a warm place for 30 minutes.
- Holding the edge of the dough with your fingertips, fold it over halfway towards the middle. Turn the bowl at 45 degrees and repeat the same process until you complete a full turn. The dough should be smooth and elastic.
- Drizzle a teaspoon of olive oil on top, rotate the dough ball, and spread the olive oil to cover the whole thing. Cover and let the dough rest in a warm place until it doubles in size, about an hour.
- To prepare the dough balls, dust your work area with a small amount (3-4 tablespoons) of flour.
- Transfer the dough and knead it for 30-40 seconds or until it forms a smooth ball.
- Using a bench scraper (or a sharp knife), divide the dough into eight equal pieces, about 71 to 74 g. each.
- Form each piece into a ball and place them on the lightly floured work surface with the seam sides down. Cover the balls and let them rest for 20 minutes.
- To prepare the oven, adjust your oven rack to the lowest position. Place a baking sheet upside down (or a pizza stone) on the wire rack. Preheat the oven to 500 degrees F.*
- Cut a large sheet of parchment paper into eight 6 by 8-inch squares.
- Using a floured rolling pin, gently flatten each ball into a 6-inch circle. Do not press down too hard so you retain the air bubbles.
- Brush any excess flour off before placing them on a square piece of parchment paper. Let them rest, uncovered, for 15 minutes.
- You can bake it in the oven or cook it on a cast iron skillet:Using the oven method: To bake the pita, work with two pita rounds at a time, and place the pita loaves with the parchment paper on the hot baking sheet. It is important to work quickly to maintain the oven temperature and allow the pita to “steam” open and create a pocket. Bake for 2 minutes and 30 seconds, flip over, and cook for another 2 minutes and 30 seconds, until lightly golden brown. Remove and repeat this process with the remaining dough.Cooking it in a skillet: Heat a cast iron skillet on medium-high heat for 10 minutes. It should be very hot. Using a brush or paper towel, lightly coat the bottom of the skillet with 1 teaspoon olive oil. Place a pita dough loaf onto the skillet and cook for 1 minute or until bubbles form. Flip and cook for an additional minute. Flip one more time and cook for an additional 30 seconds. Remove from the skillet and repeat until all loaves are cooked. You don't need to add more oil each time, but if the pan starts to look dry, you can add just a little bit more.
- Serve while they are still warm.
Video
Notes
- Yields: This recipe makes 8 loaves of pita. The nutritional values below are per pita.
- Using a standing mixer: You can make this recipe using a stand mixer fitted with a dough hook attachment. Instead of working the dough with your hands, simply follow this recipe with your mixer set at low speed, scraping down the sides of the bowl as necessary. Begin by mixing the water, yeast, and sugar for one minute. Then, mix in one cup of flour and olive oil until the dough becomes smooth (approximately one minute). After letting the dough rest for 15 minutes, add the remaining two cups of flour and salt and mix the dough until it forms a ball. When the dough separates from the bowl and begins attaching to the dough hook (in about a minute or so), you can remove it from the mixer’s attachment and let it rest for 30 minutes or until ready to fold.
- Gluten free: You can use a 1-1 gluten-free flour to make this recipe. We tested it with Bob’s Red Mills brand, and it worked well.
- Fluffy pita pockets (troubleshooting): Two main factors to getting fluffy, soft pita bread are kneading and your oven’s temperature. Firstly, don’t skip on the last kneading, and don’t overwork your dough. If you press it too hard when rolling it, you may deflate the dough’s bubbles, leading to flat pita loaves. Secondly, keep your oven as hot as possible while baking, moving quickly to avoid any temperature decreases. Though these steps should ensure fluffy pita pockets, they’ll still be delicious even if they don’t puff up.
- High-temperature oven: Knowing that not all ovens can reach 500 degrees F., we tested this recipe at 450 degrees F. The timing was slightly longer, with about 30 seconds more cooking time on each side of the pita bread.
- Storage: Leftover pita can be stored in an airtight container (or a plastic bag) in the fridge for 3-4 days. Be sure to bring it to room temperature first.
- Freezing: Wrap cooled pita loaves in plastic film and transfer them to a freezer-safe bag with as much air removed as possible. Your pita will stay fresh in the freezer for up to three months.
- Thawing and reheating: No need to thaw frozen pita. You can reheat in a low-heat oven (or toaster oven) until warmed to your liking.
Nutrition
Nutrition information is automatically calculated, so should only be used as an approximation.



You were right. I will never buy pita from the store again. As always your instructions helped me make a delicious recipe, one that I thought I could never make. Thanks for such detailed instructions. It is so helpful for beginner cooks like me.
This is music to my ears Delanda. Thanks so much for coming by and taking the time to review the recipe.