In this easy recipe, I use aluminum foil to wrap garlic bulbs. If you are not a fan, check out my post on Roasting Garlic without Foil. And if you are short on time, be sure to also get my foolproof recipe for Garlic in the Air Fryer.
Recipe Ingredients
To make this roasted garlic recipe, you will need two simple ingredients: garlic and olive oil.
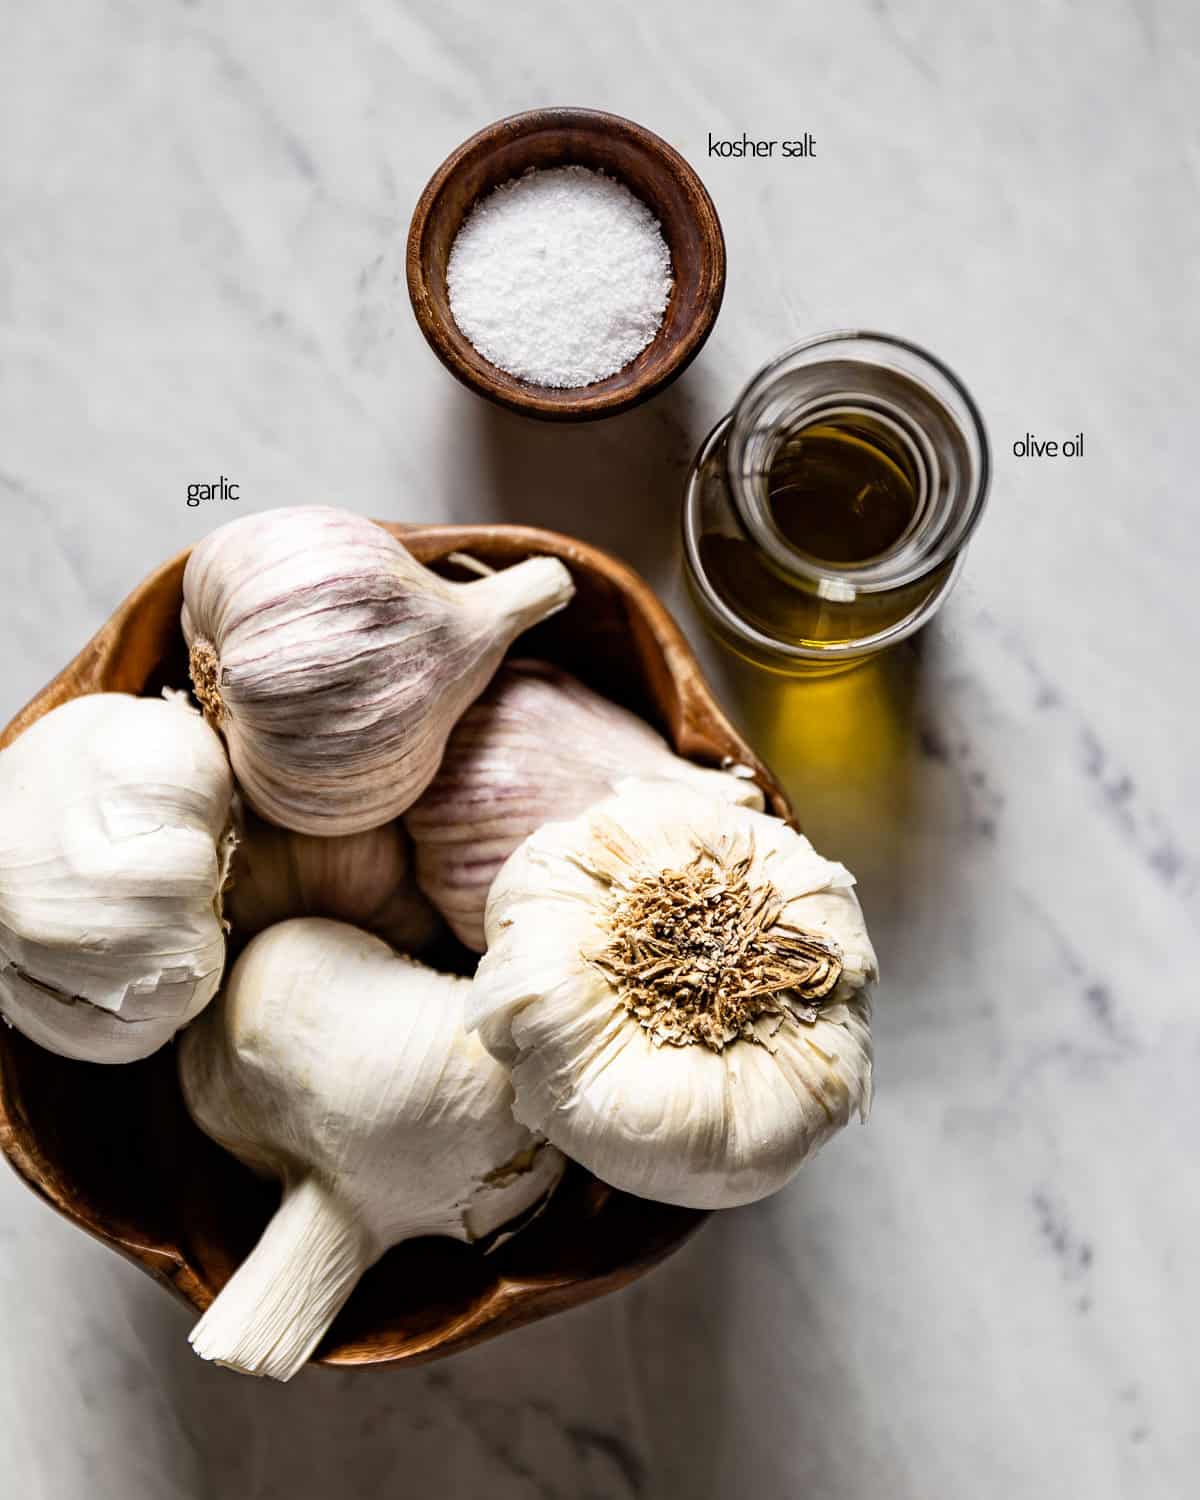
You can follow the recipe below to roast one whole garlic bulb or more. You may also add salt for additional flavor, but it is optional.
When selecting heads of garlic, look for firm, fresh bulbs that don’t have any soft spots or mold. Avoid old garlic that is dried out or has green shoots growing inside.
Best Garlic For Roasting:
This recipe will work with any type of garlic, but I think the best garlic for roasting is artichoke garlic. Artichoke garlic, or “soft neck garlic,” is the most common variety in grocery stores and has a delectably mild taste.
For a sweeter, more full-bodied variety, you can also use rocambole garlic (also known as “hard neck garlic”). You can also use this recipe for baked elephant garlic—a much larger variety of garlic that tastes similar to an onion. However, oven-roasted elephant garlic will require more cooking time due to its size.
Though I use olive oil in this recipe, any neutral oil, such as avocado oil and ghee, would work.
Optional Add-Ins & Variations
Whether you are roasting a whole head of garlic or individual cloves, these optional add-ins are an easy way to change up the flavors of roasted garlic cloves.
- Seasonings: Adding a pinch of salt and black pepper is the easiest way to enhance the flavors when baking garlic in olive oil. While it is optional, if you are using the roasted garlic on its own, I would recommend seasoning it before roasting.
- Fresh herbs: Nothing balances the bold taste of oven-roasted garlic cloves better than fresh herbs. Chopped rosemary, fresh thyme, and parsley are just a few of my favorites.
- Butter: To enhance the rich flavor of your whole roasted garlic cloves, try using butter instead of olive oil.
How to Make Roasted Garlic
Roasting garlic in the oven is an easy yet vital tool for any chef who likes bold flavors. Below are two simple methods for making homemade roasted garlic like a pro:
Method 1: Roasting Whole Garlic Heads
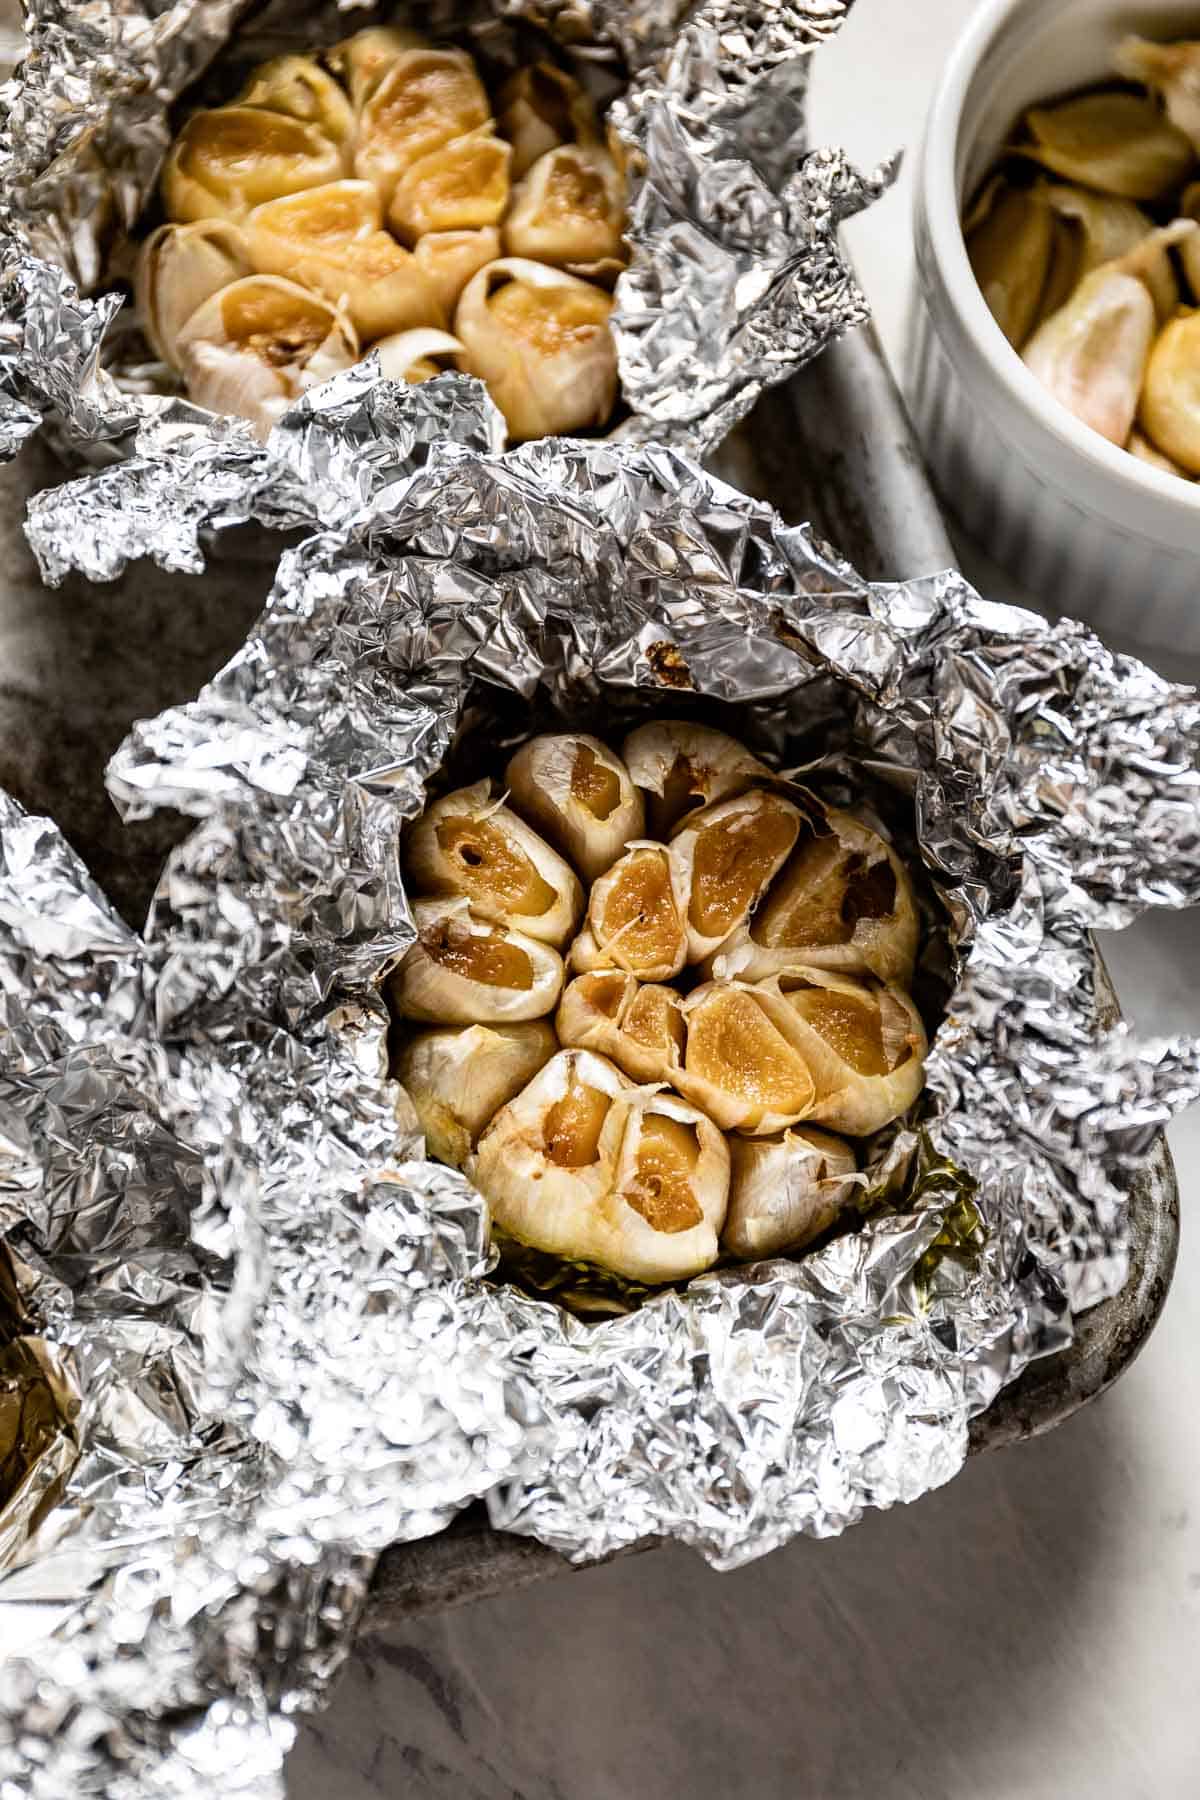
Here is my hands-free method for making roasted garlic in aluminum foil. The recipe below can be made with one head of garlic or more.
- Preheat the oven: Set your oven temperature to 400 degrees F.
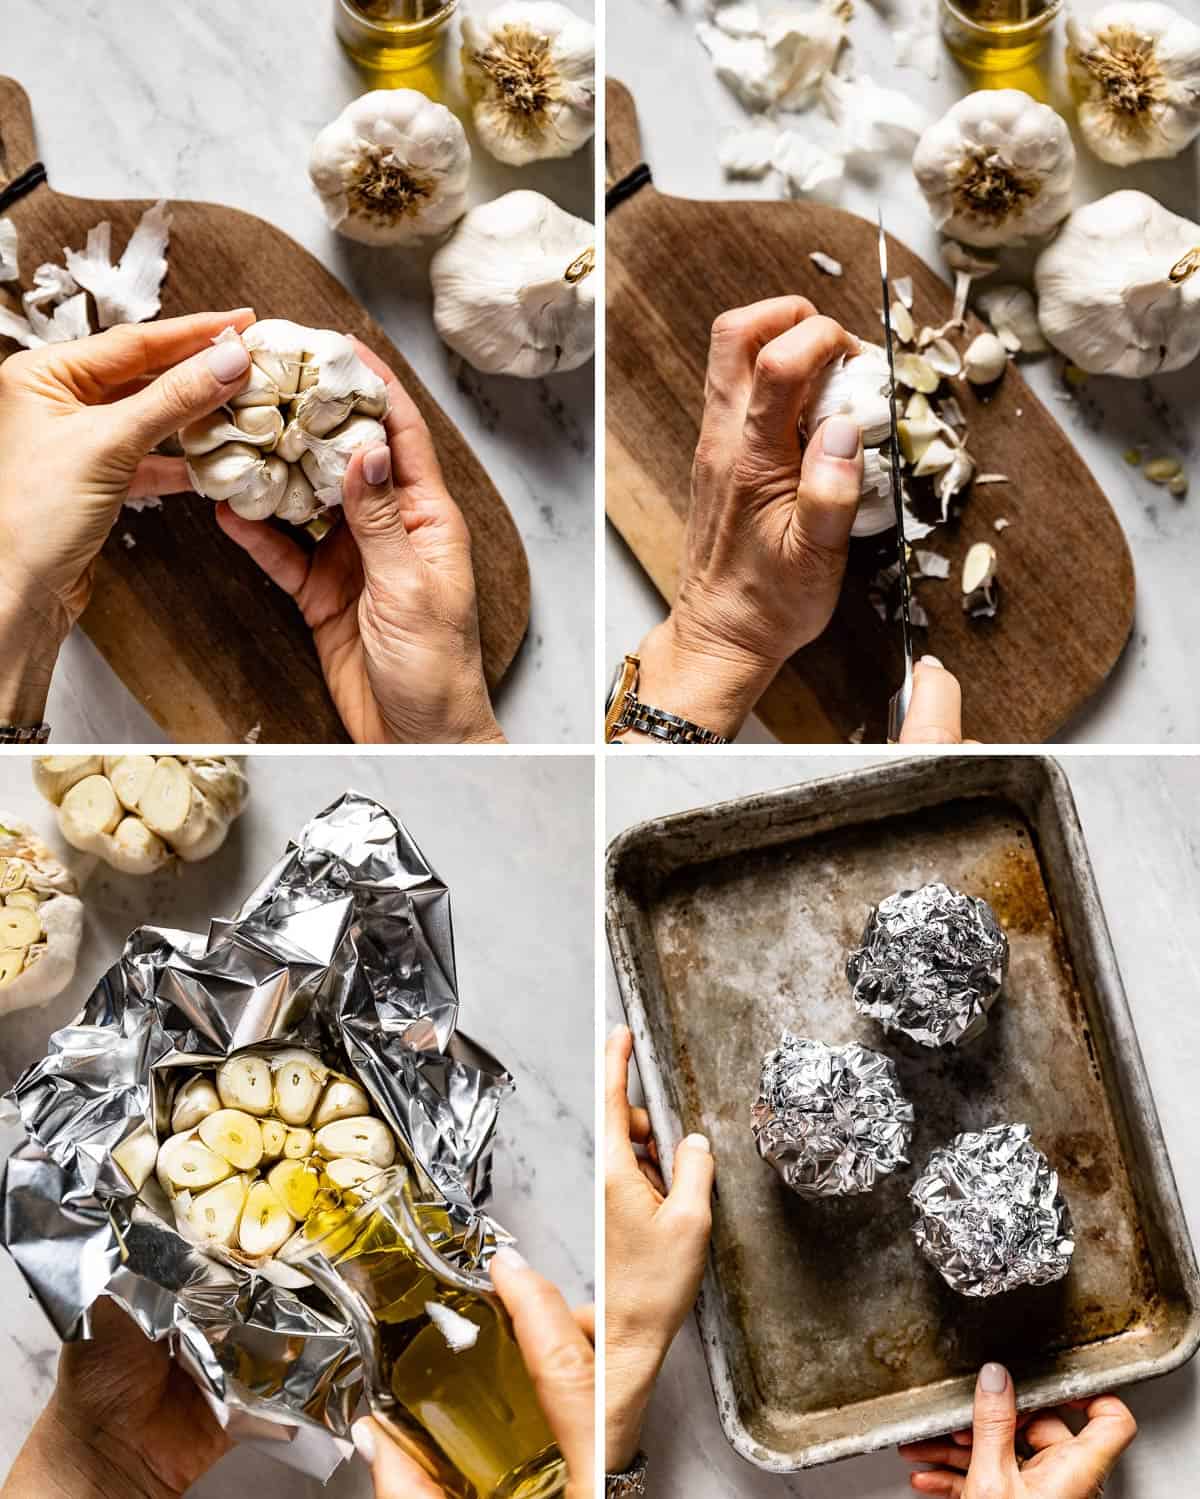
- Peel the garlic: Peel off the outermost layer of each garlic bulb. Be sure to keep the bulb intact so that each clove connects to the base.
- Trim the bulbs: Use a sharp knife to slice ¼-inch off the head of each garlic bulb. This cut should expose the tops of the cloves.
- Place garlic on aluminum foil: Take out several pieces of aluminum foil and place each of the whole garlic bulbs on its own sheet. Then, drizzle each bulb with 1-2 teaspoons of olive oil, ensuring that the oil touches the individual garlic cloves.
- Wrap the foil: If desired, sprinkle your garlic with a pinch of salt and pepper. Then, wrap each garlic head in its piece of foil.
- Roast the garlic: Place the aluminum-wrapped garlic cloves onto a baking sheet and roast them for 40 minutes in the hot oven.
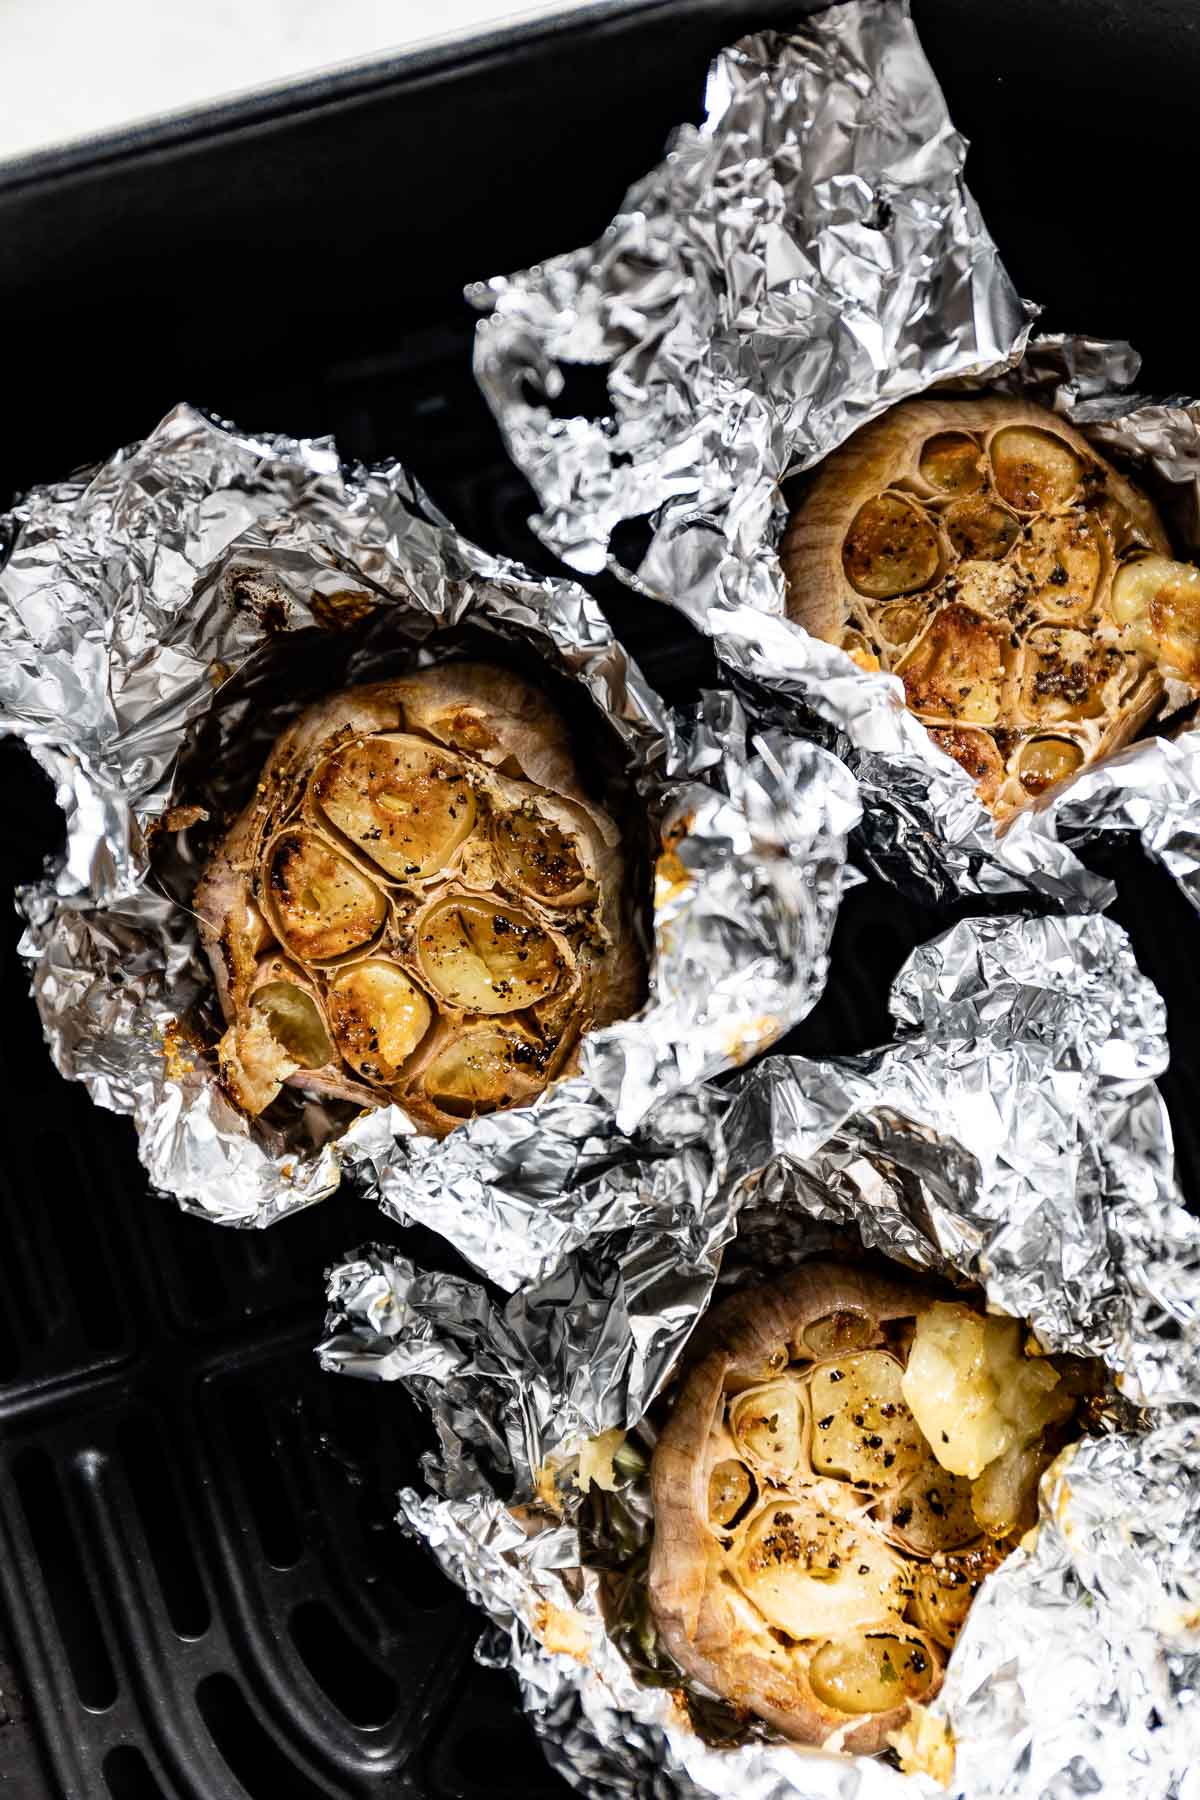
- Check for doneness: Remove the foil-wrapped cloves from the oven. Cautiously open the foil, being careful not to burn yourself with trapped steam. Then, insert a paring knife into a garlic clove. If the clove is soft, remove it from the oven. If the clove is still hard, re-wrap it in its aluminum sheet and roast it for 5-10 more minutes.
- Caramelize the garlic (optional): If you want to caramelize your garlic even further, unwrap your soft garlic and roast it for 5-7 more minutes. Just be sure to keep an eye on your garlic during this step, so it doesn’t burn.
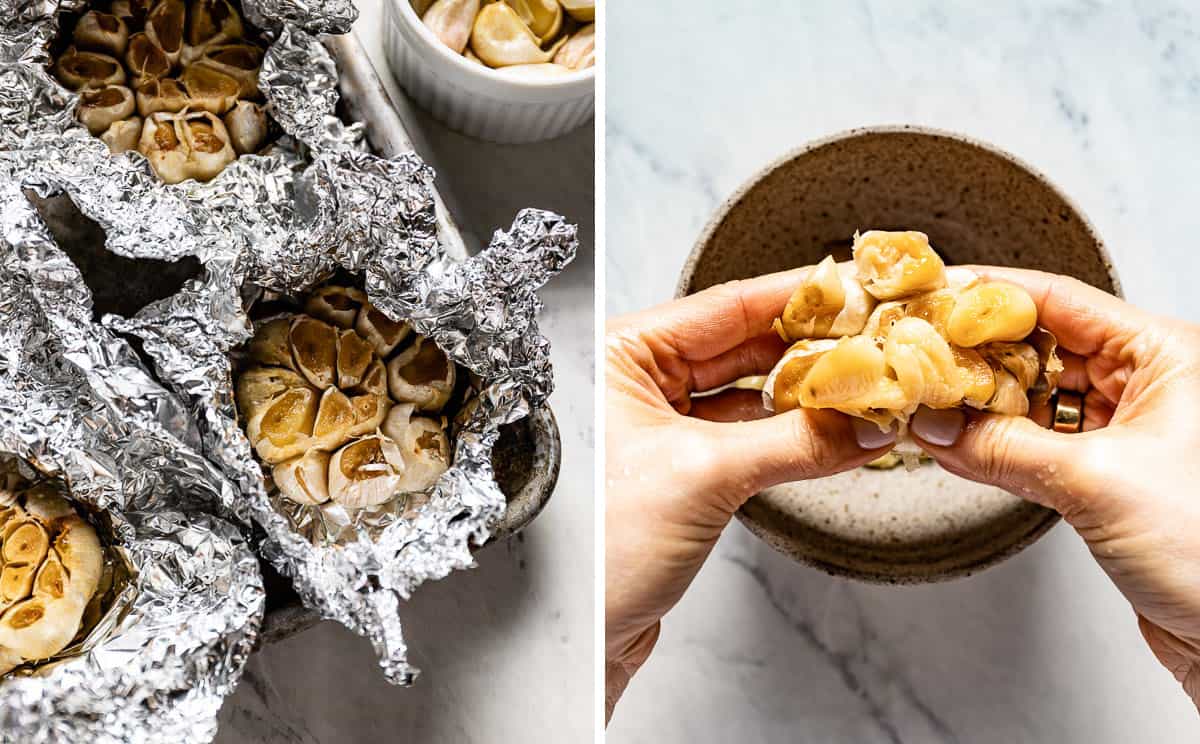
- Let the garlic cool: Rest your roasted garlic cloves on the counter and let them cool for 5-10 minutes. When ready, remove the aluminum foil carefully and let out any trapped steam.
- Remove the roasted garlic: To remove the garlic from their cloves, squeeze the whole head of garlic or remove each clove individually with a teaspoon or cocktail fork.
Method 2: Roasting Individual Garlic Cloves
If you’re on a time crunch, a faster way to roast garlic is to roast individual garlic cloves. Follow the steps below to cut your roasting garlic time in half.
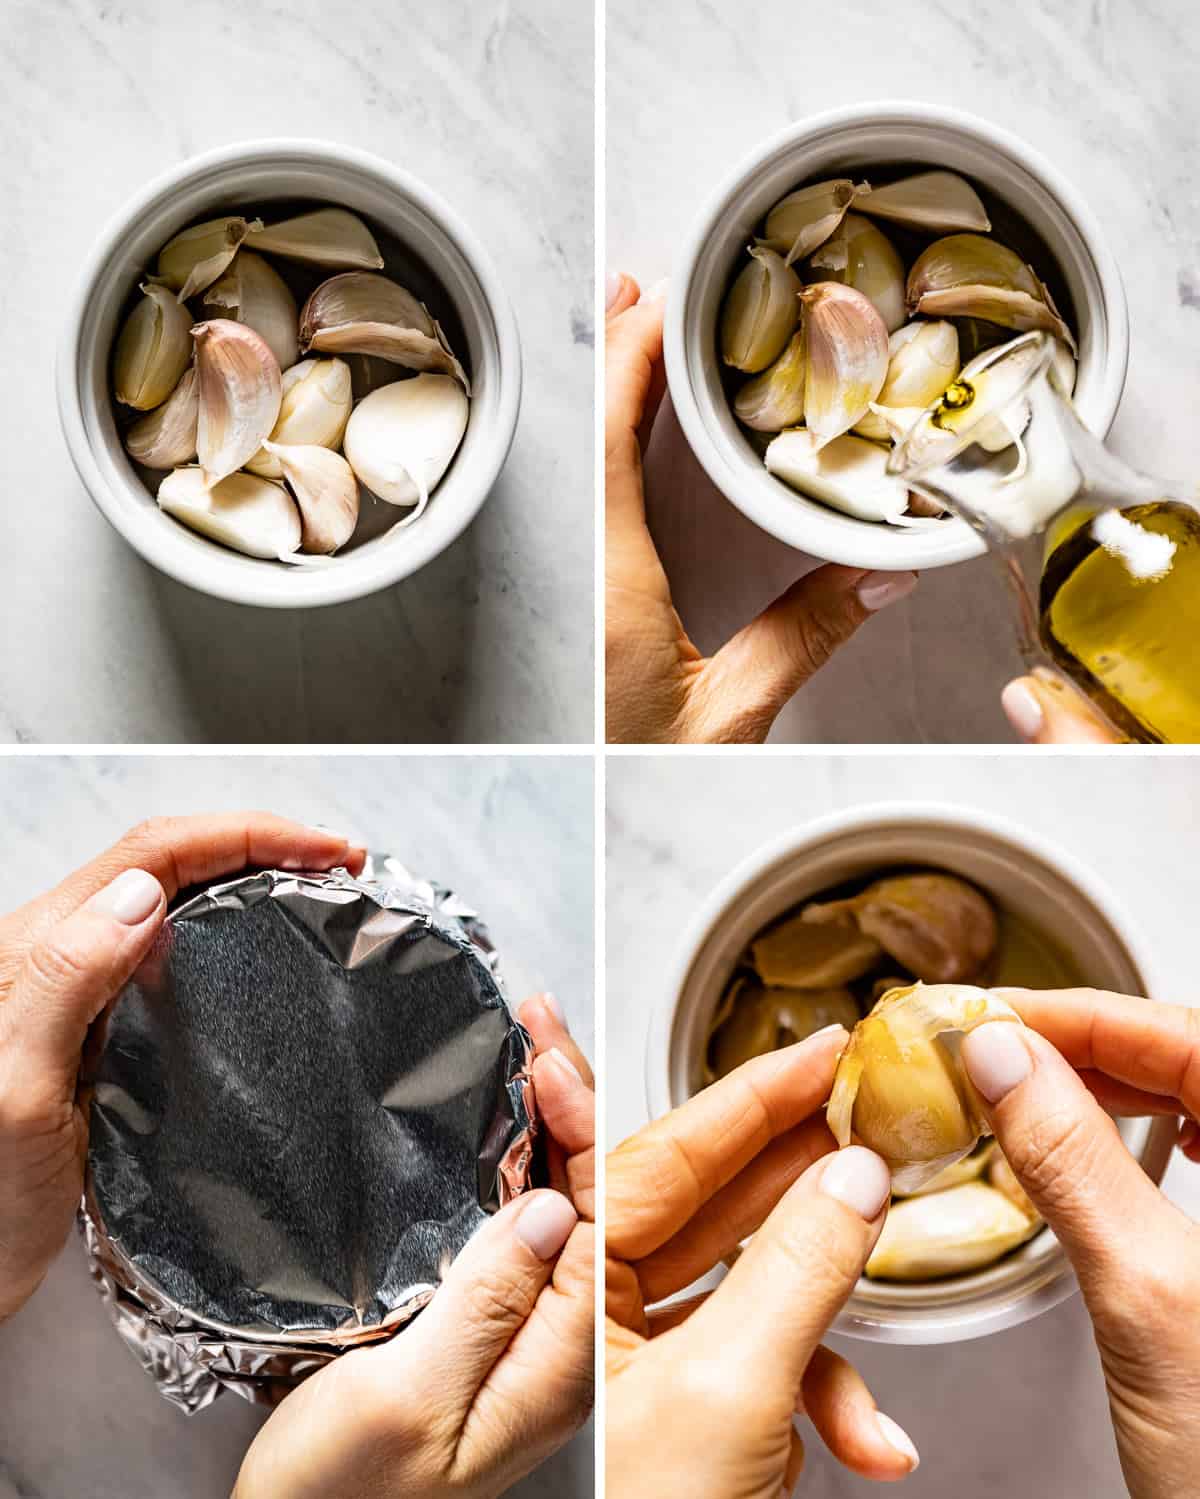
- Arrange the cloves: Preheat the oven to 400 degrees F and place the individual garlic cloves in a medium-size ramekin or an oven-safe container.
- Bake: Drizzle the cloves with olive oil, cover the ramekin with aluminum foil, and bake until the garlic cloves are tender. However, remember that individual cloves roast faster than whole garlic heads. Therefore, I recommend checking for doneness after the first 15 minutes of baking.
- Roast until finished: You are good to go if the cloves are soft and lightly browned. If not, return the ramekin back to the oven and check every 4-5 minutes to prevent them from burning.
How Long Does it Take to Roast Garlic?
When roasting a head of garlic, I recommend setting your oven to 400 degrees F and baking the bulbs for 40-50 minutes. However, roasting time may vary depending on your garlic’s size, variety, and age.
You can also change what temperature you use to roast garlic. For instance, if you prefer slow-roasted garlic, you can bake your cloves at 350 degrees F for about 70-90 minutes.
How to Keep it
If roasting garlic cloves (or bulbs) is a part of your weekly meal prep, follow the storage steps below to have them ready throughout the week:
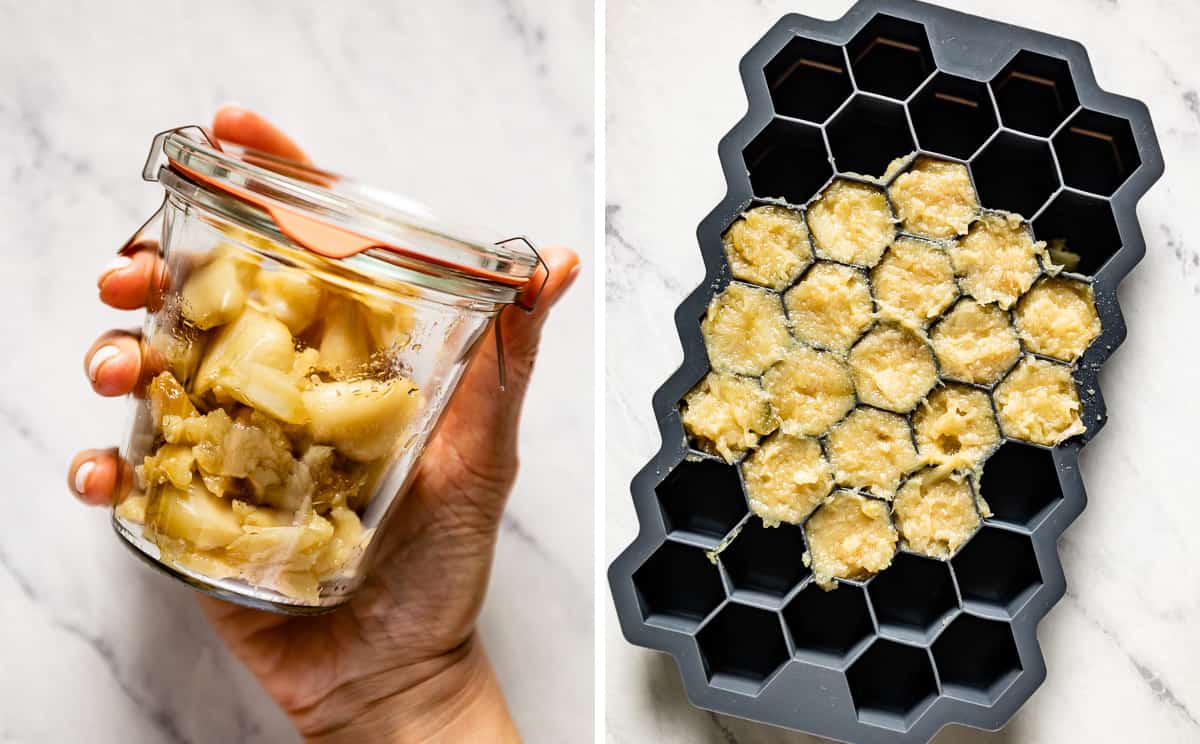
- Store: Place leftover roasted cloves in an airtight container (or a small jar) and keep it in the fridge for up to 5 days. If preferred, you can drizzle the cloves with a little bit of olive oil and use the garlic-infused olive oil in homemade salad dressings. However, make sure you store it in an airtight container and consume it within 5 days.
- Freeze: First, make a roasted garlic paste by mashing your garlic cloves. Then, divide the paste into the empty slots of an ice tray. After squeezing out the garlic, freeze the ice tray overnight, then transfer the garlic cubes to a Ziploc bag. Remove as much air from the bag as possible before placing it back in the freezer.
How to Use Roasted Garlic?
Wondering what to do with roasted garlic? This mouthwatering collection includes dozens of uses for roasted garlic, from making garlic bread to a simple baked garlic appetizer.
- Anywhere you use fresh garlic: If you are not a fan of the taste of raw garlic (or find it too overpowering), use roasted garlic. I find that the roasted version offers more of a mild garlic flavor with added caramelized flavors.
- Make roasted garlic paste (aka spread): Roasted garlic spread is just what you need to make a quick appetizer that can feed a crowd. Simply spread it on a slice of my No-Knead Artisan Bread, mix it with butter to air fry garlic bread, or use it as the base layer to take your avocado toast to the next level.
- Salad dressings: Give any salad a rich, roasted garlic taste with one simple addition. Olive oil roasted garlic is a fantastic addition to any salad recipe that uses my Lemon Vinaigrette, Maple Dijon Dressing, and Lemon Balsamic Vinaigrette.
- Your favorite dips: Instead of using raw garlic, roast fresh garlic and add it to dips like Muhammara, Hummus, Carrot Hummus, Guacamole, and Bread Dipping Oil. The robust, earthy taste of roasted garlic will make your dishes irresistible.
- Make garlic butter: There’s no better way to enjoy a fresh slice of bread than to smother it with homemade Roasted Garlic Butter. Garlic butter is super easy to make and pairs beautifully with a number of your favorite bread recipes. So, next time you make your own Focaccia Bread, Olive Bread or Brioche, or even Garlic Bread, don’t forget to whip up a batch of roasted garlic butter.
- Blend into soups & stews: You can easily incorporate roasted garlic into any of your favorite recipes. And if you need suggestions, vegetable-packed soups like Ginger Carrot Soup, Red Lentil Soup, Broccoli Feta Soup, and Sweet Potato Soup are a good place to start.
- Sautéed or Roasted Vegetables: Add it to any vegetable side dishes like rosemary mashed potatoes, roasted asparagus, and baked portobello mushrooms.
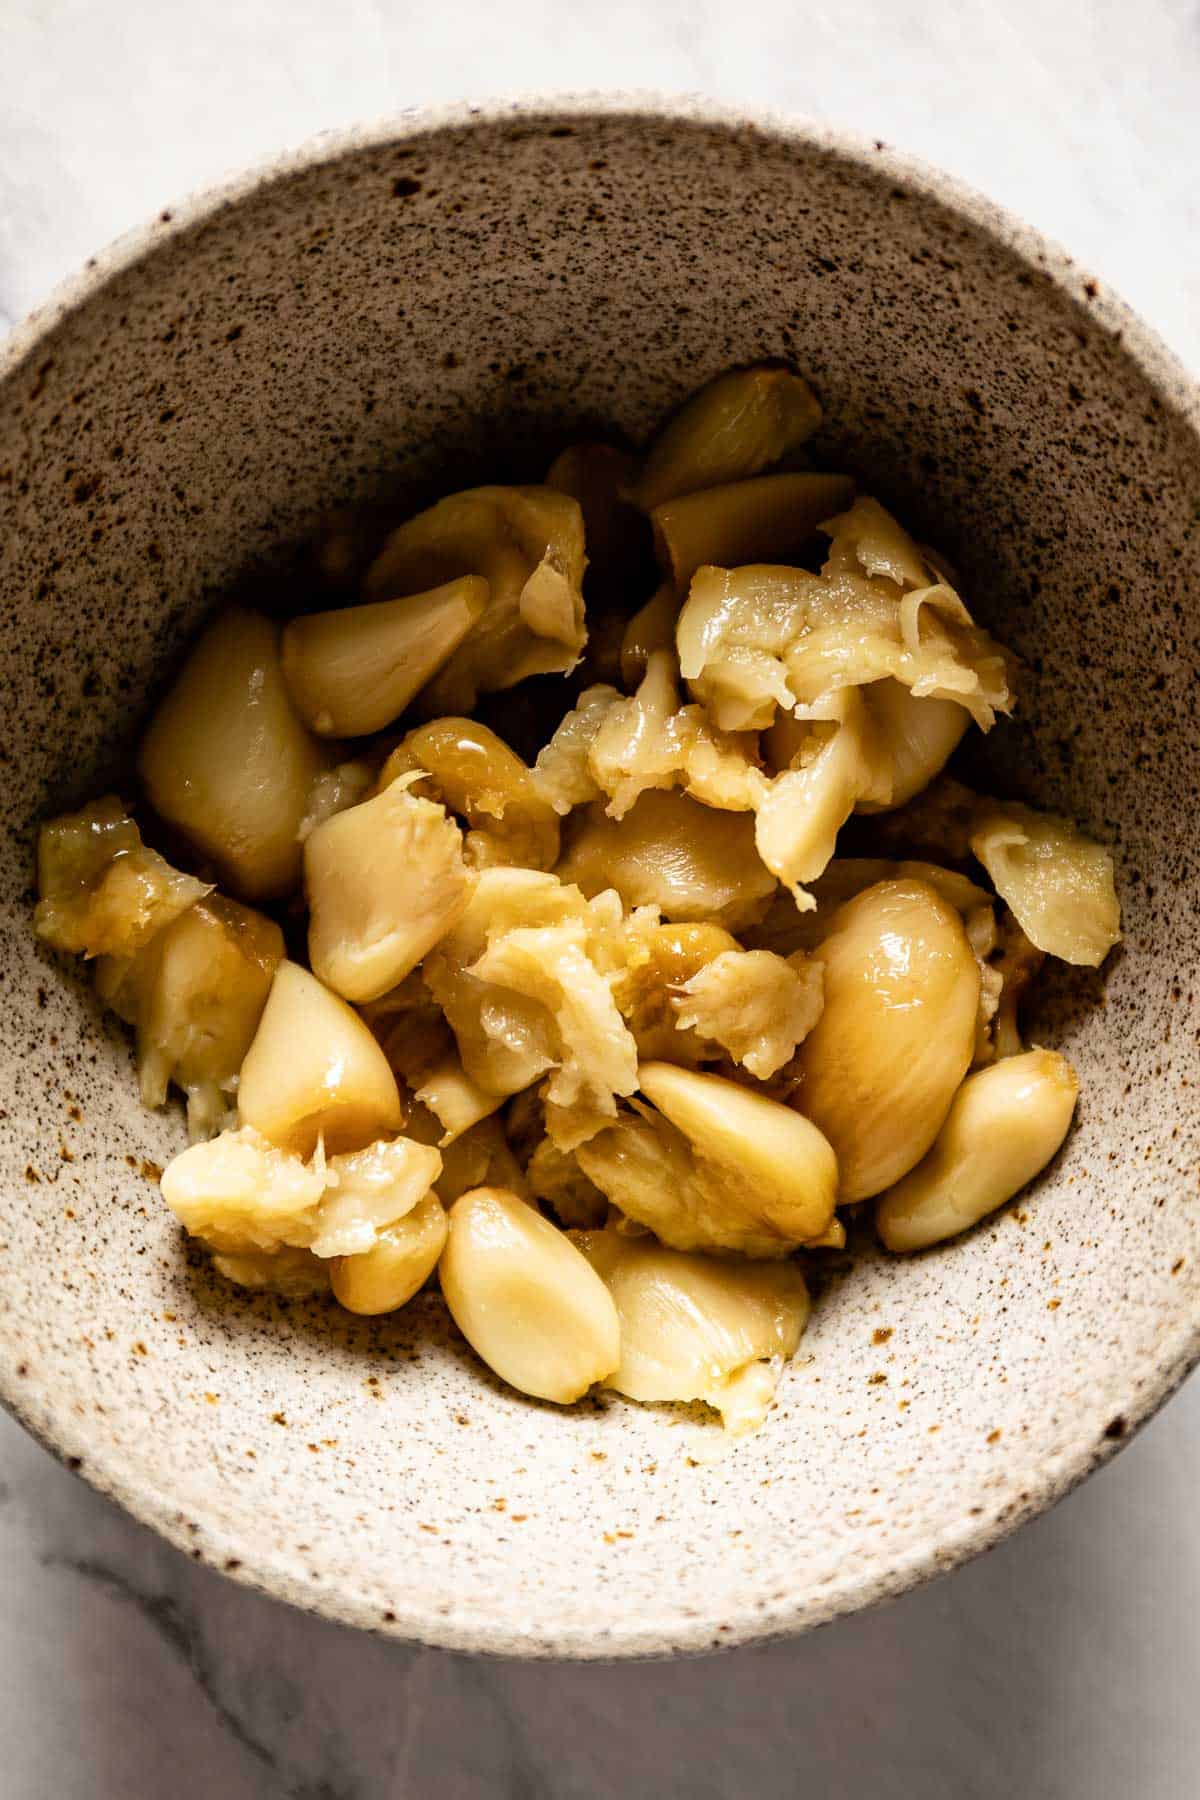
Expert Tips
- Meal prep: Since a whole head of garlic wrapped in foil doesn’t take up much space in the oven, I always throw in a head or two whenever I’m roasting another dish. And because my weekly meal prep always includes roasted vegetables, it’s easy to roast garlic at the same time.
- Eliminate bitter taste: If your roasted garlic tastes bitter, it may be because it is old. However, because garlic is also sensitive to high heat, its bitterness may also be a result of over or undercooking. Therefore, if it tastes bitter, try reducing the temperature. I recommend setting your oven to 350 degrees F. and cooking your garlic for 70-90 minutes.
- Roast and freeze garlic in bulk: If you’re a fan of advanced meal prep, roasting and freezing garlic in bulk is a great way to reduce waste. This is especially useful if you are growing your own garlic.
FAQs
The head of the garlic refers to the large bulb of papery skin that contains individual cloves.
Roasted garlic will keep fresh for up to one week when stored in an airtight container in the fridge.
To roast garlic cloves that are peeled, place the cloves in a ramekin and drizzle them with olive oil. Then, cover the ramekin with aluminum foil and bake at 400 degrees F. for 10-12 minutes.
Preheat your oven to 325 degrees F. Then, place minced garlic on a sheet pan, drizzle it with 1-2 teaspoons of olive oil, and bake for 10 minutes. Be sure to toss the garlic halfway through to ensure even cooking.
The fastest way to roast garlic is by roasting peeled cloves in the oven in a ramekin covered with aluminum foil. This process takes about 15 minutes. The other way to roast garlic quickly is to roast it in the air fryer. The air fryer roasted garlic also takes about 15 minutes from start to finish.
Other Garlic-Related Posts You Might Like:
Garlic lovers rejoice! Because it doesn’t end here. As a self-proclaimed garlic aficionado, I have so many more garlic recipes for you. Below are a few more garlic recipes to help you put our favorite ingredient to good use:
- Roasting Garlic No Foil Method: While I think the best way to roast garlic is in the oven wrapped in tin foil, I know some people don’t like using aluminum foil in their cooking. This post shows you 4 different ways of roasting garlic without foil, including how to roast garlic in a garlic roaster and a cast iron skillet.
- Air Fryer Garlic: It takes only 25 minutes to roast garlic if you have an air fryer. In the recipe post, I made sure to cover the instructions for roasting garlic with or without foil using your air fryer.
- Roasted Garlic Compound Butter: While roasted garlic tastes wonderful by itself, mixing it with butter and fresh herbs is yet another great way to use it in your recipes.
If you find this guide on Roasted Garlic Recipe or any one of our other How-To Guides on Foolproof Living helpful, please take a minute to leave a rating and a review. Doing so helps others who are planning to follow the processes outlined in this post. Thank you!
How to Roast Garlic in Oven
Ingredients
- 1 head of garlic, or more
- 1 teaspoon Olive oil
- Pinch of Salt, optional
Instructions
Method 1: Roasting Garlic Cloves As A Whole:
- Preheat the oven to 400 F (205 C) degrees.
- Peel the outer layer (aka papery skin) off each garlic bulb, making sure to leave the whole bulb intact with all of the cloves still connected.
- Slice 1/4 -inch top off the head of each garlic bulb, exposing the tops of the garlic cloves.
- Place each garlic bulb in the middle of a piece of aluminum foil, drizzle with 1-2 teaspoons of olive oil (depending on the side of your garlic) and make sure that the oil sinks all the way down into the individual garlic cloves.
- If preferred, sprinkle it with a pinch of salt. Wrap the whole garlic head in foil and repeat the same process with the rest of your garlic bulbs.
- Place them onto a baking sheet and roast for 40 minutes.
- To check doneness, remove foil packets from the oven. Carefully open the foil (being careful not to let the hot built-up steam burn your fingers) and insert a paring knife into a garlic clove. If it is soft, it should be ready. If not, wrap it up and put it back in the oven for 5-10 more minutes.
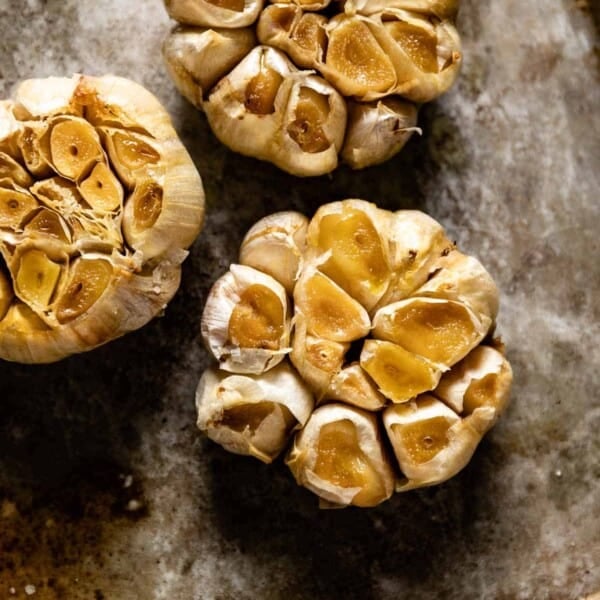
- If you want it to get even more browned and caramelized, you can unwrap it and let it roast for another 5-7 minutes after it is fully softened. Though I would keep a close eye on them during this step as you do not want them to burn.
- Let roasted garlic cool for 5-10 minutes on the counter. When ready, carefully let the steam out as you remove the aluminum foil.
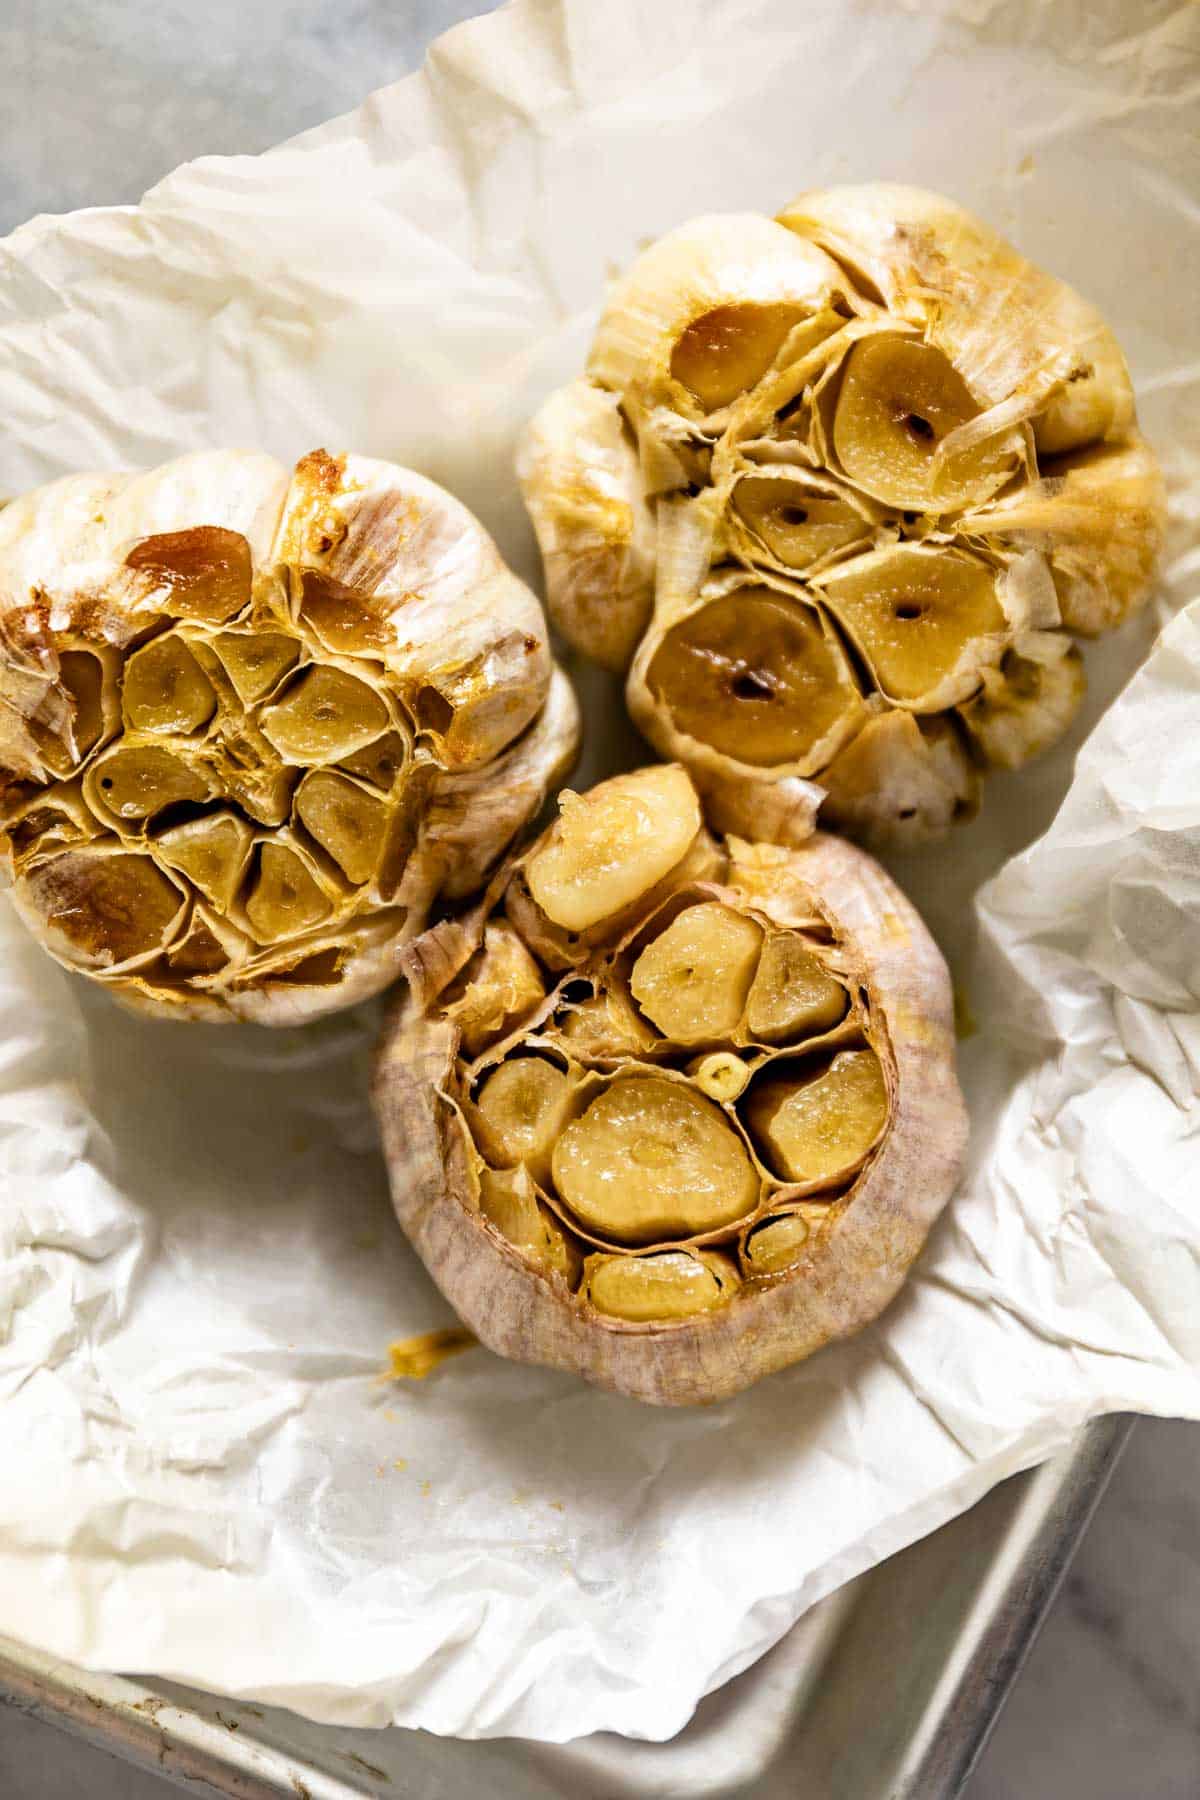
- To remove the now-roasted garlic from cloves, you can either squeeze the whole head of garlic or remove each clove one by one with a teaspoon or cocktail fork.
Method 2: Roasting Individual Garlic Cloves:
- If you prefer to roast garlic cloves individually, you can place them in a large ramekin. Drizzle them with olive oil, cover the ramekin tightly with foil and bake until tender.
- Please keep in mind that individual garlic cloves roast faster than whole garlic heads. So, be sure to check for doneness after the first 15-minute mark.
- If they are not fully roasted, place them back in the oven and continue to bake, checking every 5 minutes to make sure they are not burning.
Notes
- This recipe can be multiplied as many times as you want.
- The exact roasting time will depend on each garlic bulb’s variety, size, and age. During my recipe testing, I found that it is best to check the garlic bulbs after the first 40-45 minute mark. In most cases, they were done by then, but if yours are not, feel free to keep them in the oven longer but be sure to check them every 5-10 minutes.
- To Store: Place leftover roasted garlic in an airtight container and keep it in the fridge for up to 5 days. If preferred, you can drizzle the cloves with a little bit of olive oil and use the garlic-infused olive oil in homemade salad dressings. However, make sure you store it in an airtight container and consume it within 5 days.
- Freeze: First, make a roasted garlic paste by mashing your garlic cloves. Then, divide the paste into the empty slots of an ice tray. After squeezing out the garlic, freeze the ice tray overnight, then transfer the garlic cubes to a freezer-safe plastic bag. Remove as much air from the bag as possible before placing it back in the freezer.
Nutrition
Nutrition information is automatically calculated, so should only be used as an approximation.


I’m not a very confident , or practiced, cook, so I approached this and another recipe with some trepidation. I tried the Roasted Red Pepper Dip and the roasted garlic. THANK YOU!!! Easy to follow directions, and common ingredients, made the process virtually stressless. And the results? I want to eat the dip with a spoon, it’s so good! I used 3 cloves of the roasted garlic as I love my garlic. Fantastic! And just in time for our family get-together.
Oh Shannon! This is such a nice note. I am so happy that this recipe worked for you. I too am a huge fan of garlic and usually put more than the recipe calls for.
Thank you so much for letting me know. Happy holidays to you and yours.
Love your presentation here, Aysegul…. I just want to reach into the screen, pluck a bulb and much on the sweetness inside! Thank you for this!
Thank you Traci.
ohh we LOVE oven rosted galic. It’s the best with sweet potatoes or roasted cauliflower!! <3
Oh my! Sweet potatoes and roasted cauliflower sounds wonderful! Thanks guys!
1 photo post, so what?!?! If THE photo is gorgeous, I say who cares?
Love it, Aysegul 🙂
This looks absolutely delightful, Aysegul!! I love mixing roasted garlic into my mashed potatoes 😀
I love it Beeta. It really adds a sweet creaminess to any recipe.
And mashed potatoes.. I am so making mashed potatoes tomorrow.. :))