
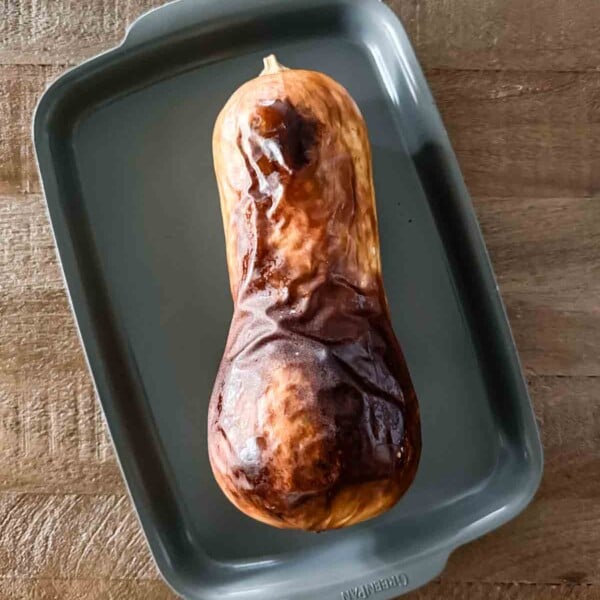
Put Down The Chef’s Knife

I know the struggle of standing in front of a huge butternut squash, worried the knife will get stuck or slip halfway through, especially when you only need the flesh for mashed or cubed squash to use in a recipe.
For this method, you only need a whole butternut squash and a sheet pan. Yes, you still need to cut and deseed it after it comes out of the oven, but by then it will be soft and fork-tender, so you will not have to cut through a raw skin.
In fall, I usually roast some over the weekend and keep it in the fridge. The roasted flesh holds its shape, so I can mash it or cut it into cubes for any recipe that calls for cooked butternut squash during the week.
This method gives you soft, tender flesh rather than browned, caramelized edges. When I want those, I roast butternut squash in cubes or roast it halved.
How to Roast Butternut Squash Whole
Roasting a butternut squash whole takes only a few steps, and most of it is hands-off. Here is how I do it:
Step 1 – Preheat the oven: Heat your oven to 400°F (204°C).
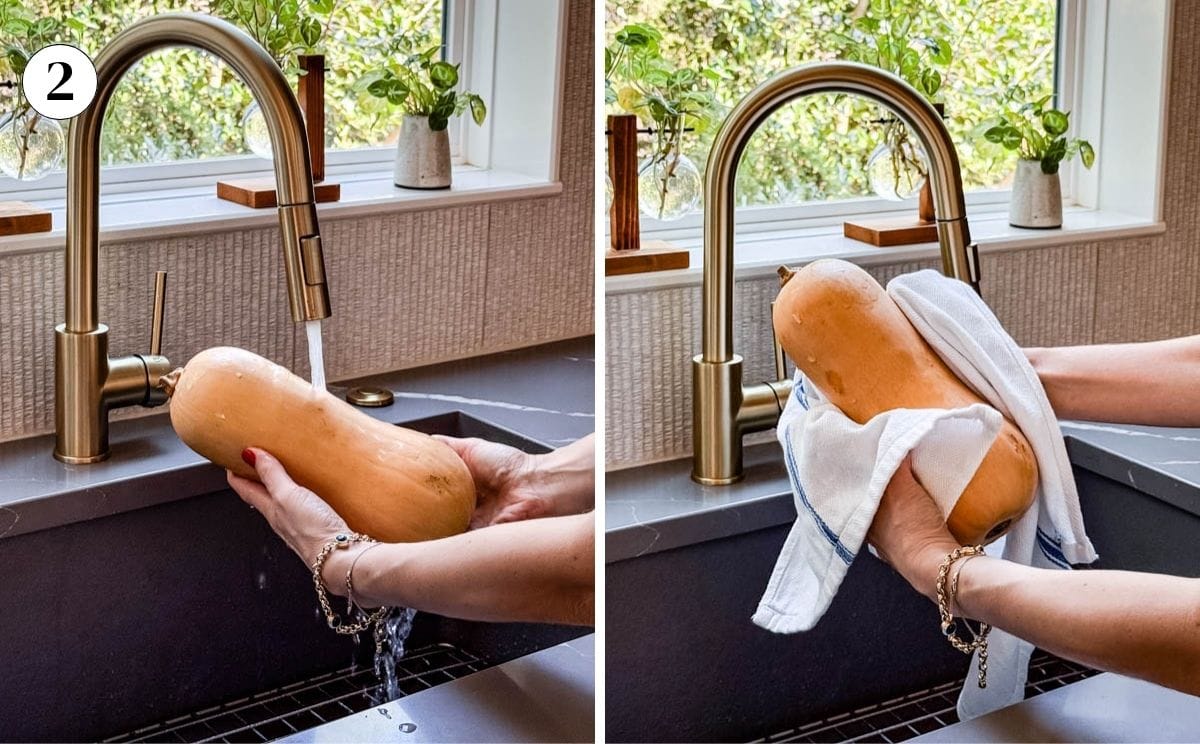
Step 2 – Prepare the squash: Wash the squash under running water to remove any debris. If there is a sticker, remove it. Dry it well with a kitchen towel.
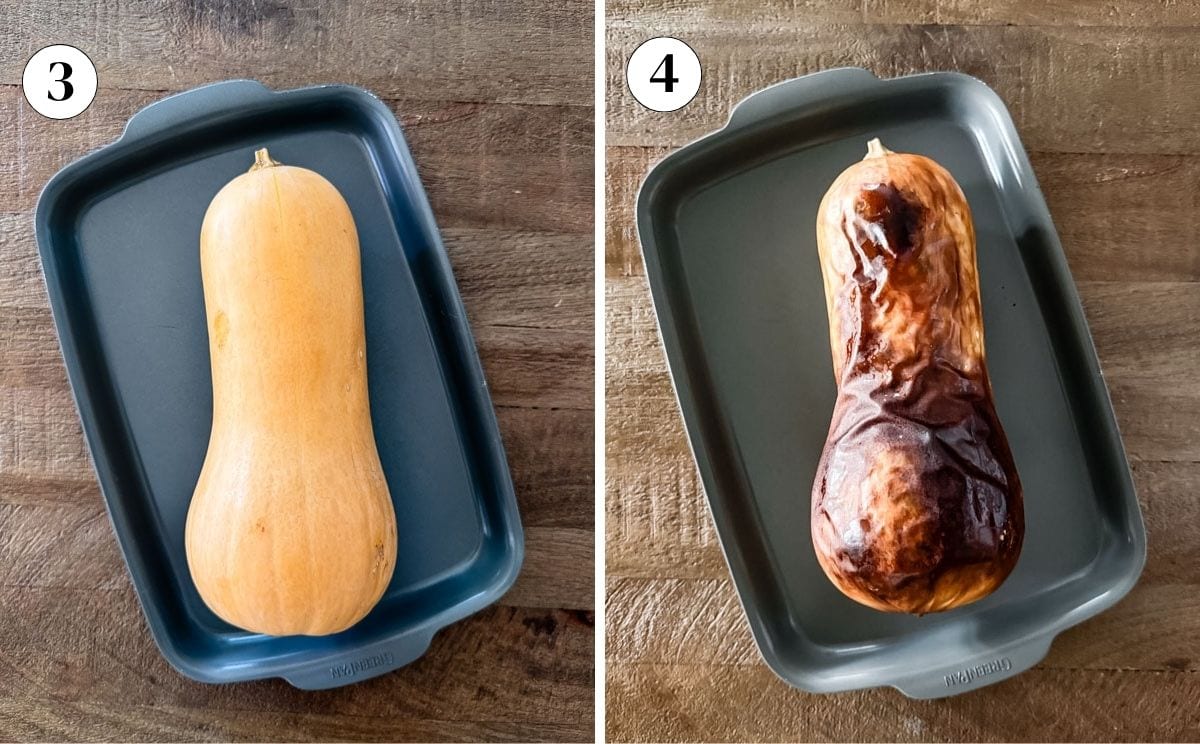
Step 3 – Place it on a sheet pan: Place the whole butternut squash on a sheet pan (or in a casserole dish) and transfer it to the oven. No need to cut, peel, or poke holes.
Will it burst (or explode) if I do not pierce it? No, it will not. I tested this recipe four times, and none of the squash split or burst. No juices leaked onto the pan either. With its thick, hard skin and dense flesh, the squash held its shape during roasting and did not need piercing.
Step 4 – Roast: I used a medium (~3 lbs) butternut squash, and 1 hour of roasting time was the sweet spot. You do not need to rotate it while it roasts.
Keep in mind that the larger and heavier your squash, the longer it will take to cook. A smaller one will be done sooner, which is why the knife test below is the best way to check.
Checking doneness: Around the 45-minute mark, the skin starts to brown and may even collapse slightly, but that visual cue is not enough to tell you it is done.
During my testing, I learned that the center of “the neck” (the long, narrow part) cooks last, and even if the outside looks done, the inside can still be hard.
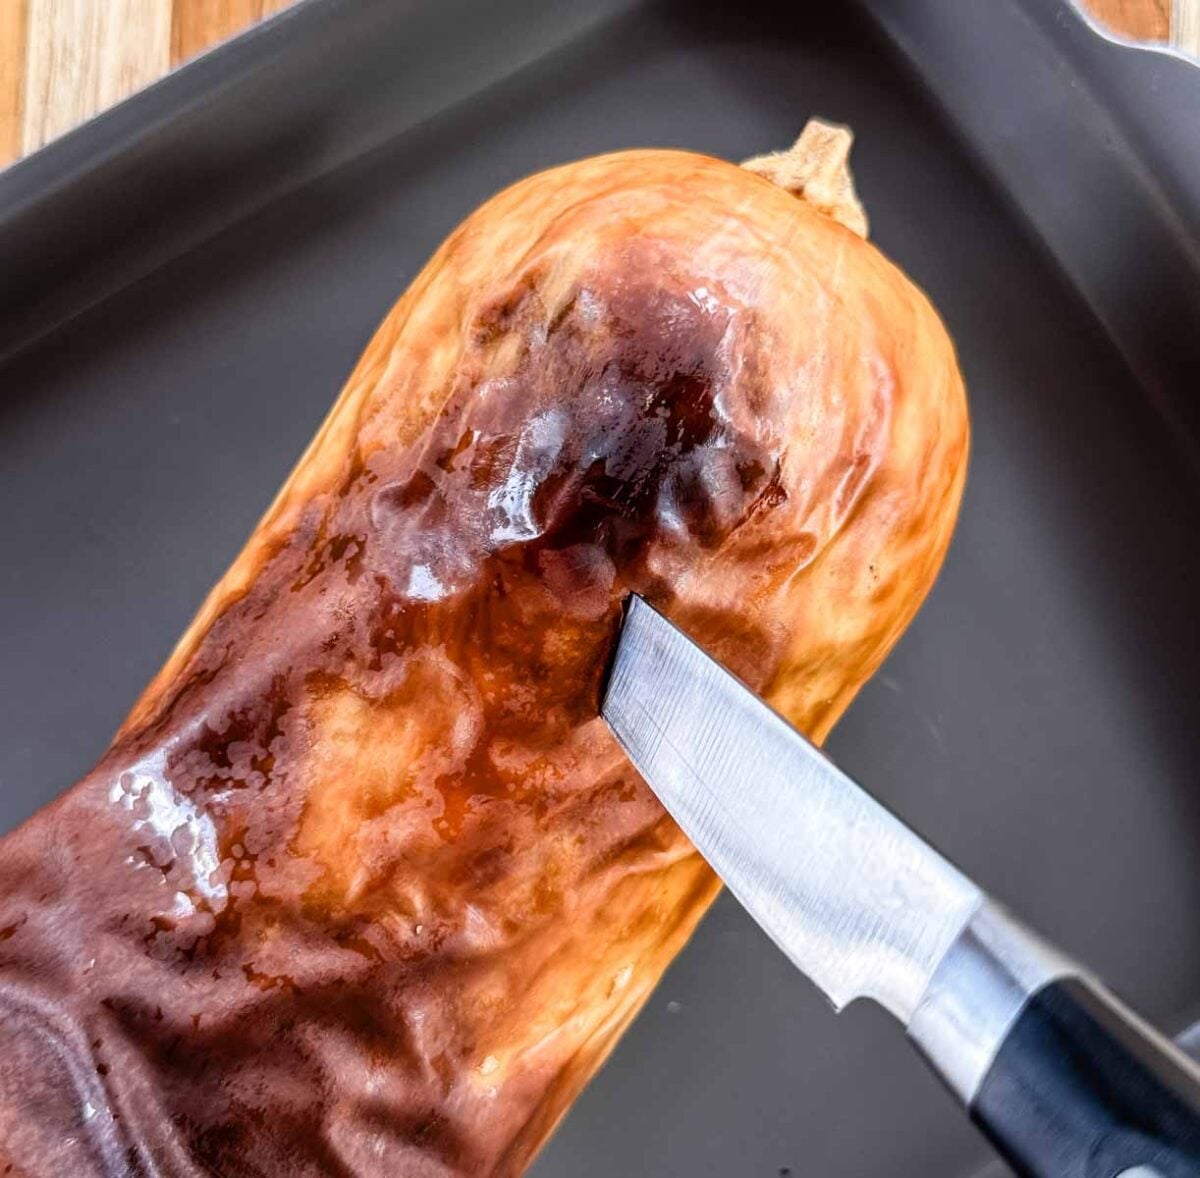
So when you check, insert a knife all the way through the center of the neck. If it resists, cook for another 10- 15 minutes, checking often.
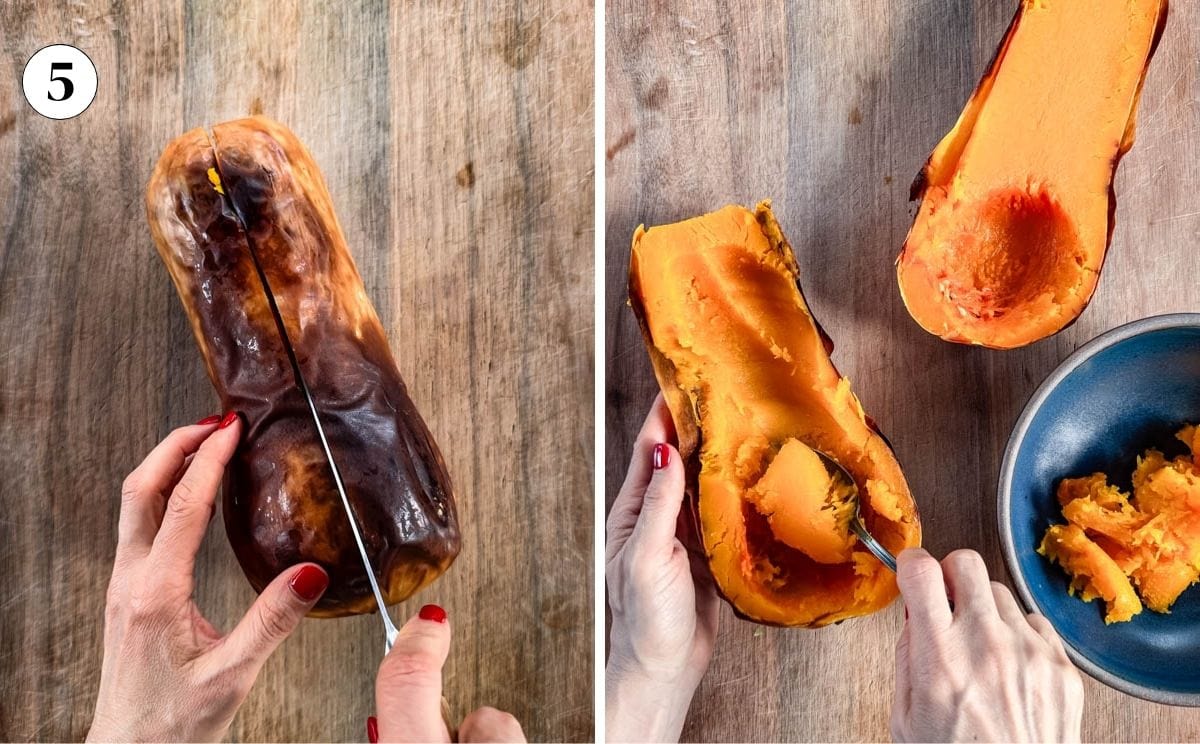
Step 5 – Cool and cut: Let it cool on the counter for 20 to 30 minutes before handling. Then, cut off the stem, then cut the squash in half lengthwise. Scoop out the seeds and discard them.
From there, depending on how you plan to use it, scoop the flesh out of the skin or peel the skin off if you prefer to keep it whole.

Roasted Whole Butternut Squash (No Peel)
Ingredients
- 1 butternut squash, medium-sized, about 3 lbs.
Instructions
- Preheat the oven to 400°F (204°C).
- Wash the squash under cold running water, scrubbing gently to remove any debris. Peel the sticker (if any) and dry it well with a kitchen towel.
- Place the whole butternut squash on a sheet pan (or in a casserole dish) and transfer it to the oven.
- Roast for 45 minutes. At this point, the skin will start to brown (especially where it touches the pan). Check doneness by inserting a knife into the squash’s “neck,” toward the center. At first, it will feel soft, but toward the center, it may still feel hard. If so, roast for another 10 to 15 minutes, checking often.
- Let it cool on the counter for 20 to 30 minutes.
- Once cool enough to handle, cut off the stem end and cut the squash lengthwise. Scoop out the seeds and discard them. Then, depending on your recipe, scoop out the flesh or peel the skin off to keep the halves intact.
Notes
Nutrition
Nutrition information is automatically calculated, so should only be used as an approximation.












I’ve been toasting whole butternut squash in oven for years. You can actually keep in airtight container for 4 or 5 days without problem. I normally make a real big one or 2 or 3 smaller ones, scoop out inside and store in fridge. My favorite way of fixing is to take a serving or 2 out and heat on my dinner plate in microwave and then add a pat of real butter and a spoonful of brown sugar. I’ll season with just a little shake of salt and a couple of shakes of pepper!!
You are way ahead of me on this one, Kelley. I love that you bake a few at once and add butter and brown sugar.
It is such a great fall side dish idea. Thanks for sharing.
Made your roasted butternut squash recipe as written and worked out perfectly. Thanks.
I am happy to hear that Stephanie. Thanks for coming by and taking the time to leave a review.
I was relieved to see your roasting times. Other recipes don’t allot nearly enough time and my squash wasn’t done. Thank you! 🙂
I am happy to hear that Katz. Thanks for coming back and leaving a review.
Cheers!