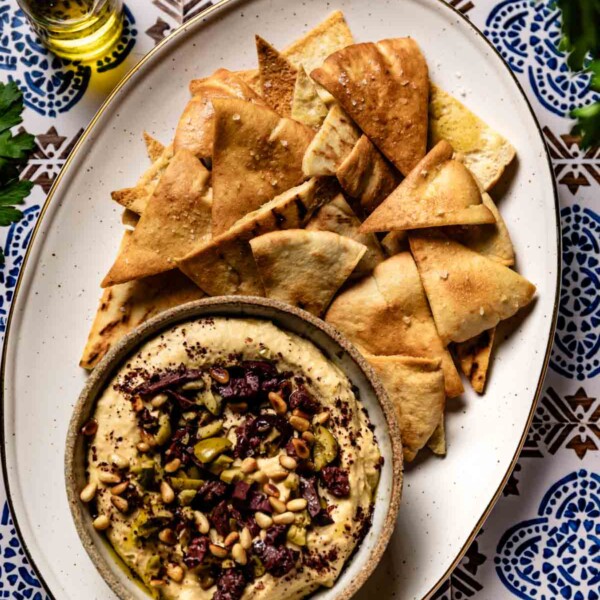

Growing up in Türkiye, pita bread has always been a staple in our house, and to this day, I make it weekly in my own kitchen. But when life gets in the way, I buy it from the store. Either way, when it starts to go stale, I make these chips.
I know most people reach for the store-bought, expensive, bagged version. But whenever I put these out for friends, they assume they came from a bag, and then I get to tell them I made them from the leftover pita from the night before.
Over the years, I have made these enough times to work out what actually matters, from the pita you start with, to the temperature that keeps them from burning, to how to season them so they go with whatever you are putting out.
The Best Pita Bread for Pita Chips
I have tested this recipe with store-bought, bakery-style, and homemade pita, and they all work. It comes down to what you are serving and what you have on hand.
Store-bought pita, like Toufayan, is thinner, so it bakes up into thin, crispy chips. Bakery-style and homemade pita are thicker, making sturdier chips that hold up to heavier dips but need a few extra minutes in the oven.
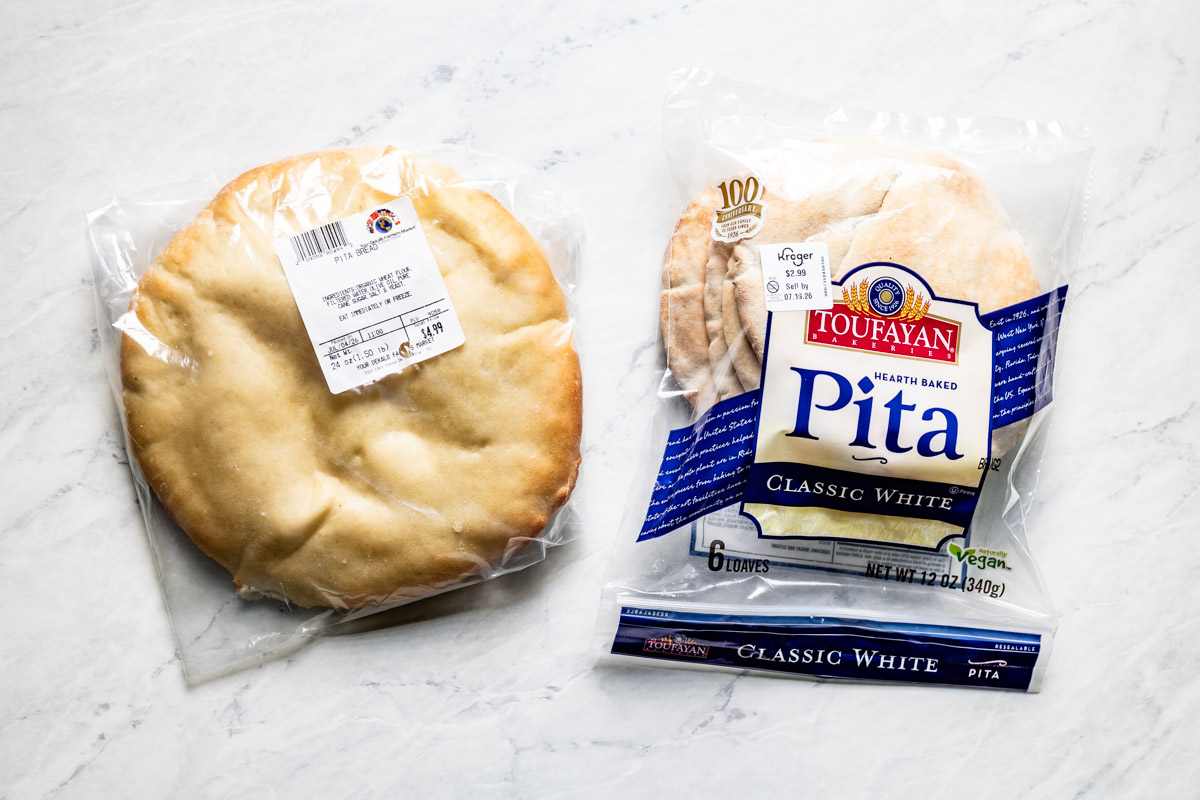
For the photos here, I used pocket-style Toufayan, since it is the most widely available and it splits cleanly at the seam.
Regular, whole wheat, and gluten-free pita all work too, so use whatever fits. Gluten-free pita is easy to find at most stores now, and these chips are only as gluten-free as the pita you start with.
Can I make pita chips without splitting the pita? Yes. If you leave the pocket whole, you get a sturdier chip that holds up to thick dips. I split mine when I want them thinner and crispier, since a thinner round crisps faster and more evenly. Both work, so it comes down to what you are dipping.
How to Make Pita Chips
This baked pita chips recipe is simple enough to get right on your first try: all it takes is splitting and slicing the pita, seasoning, and baking.
Follow the steps below to get perfectly golden and crunchy pita chips every time:
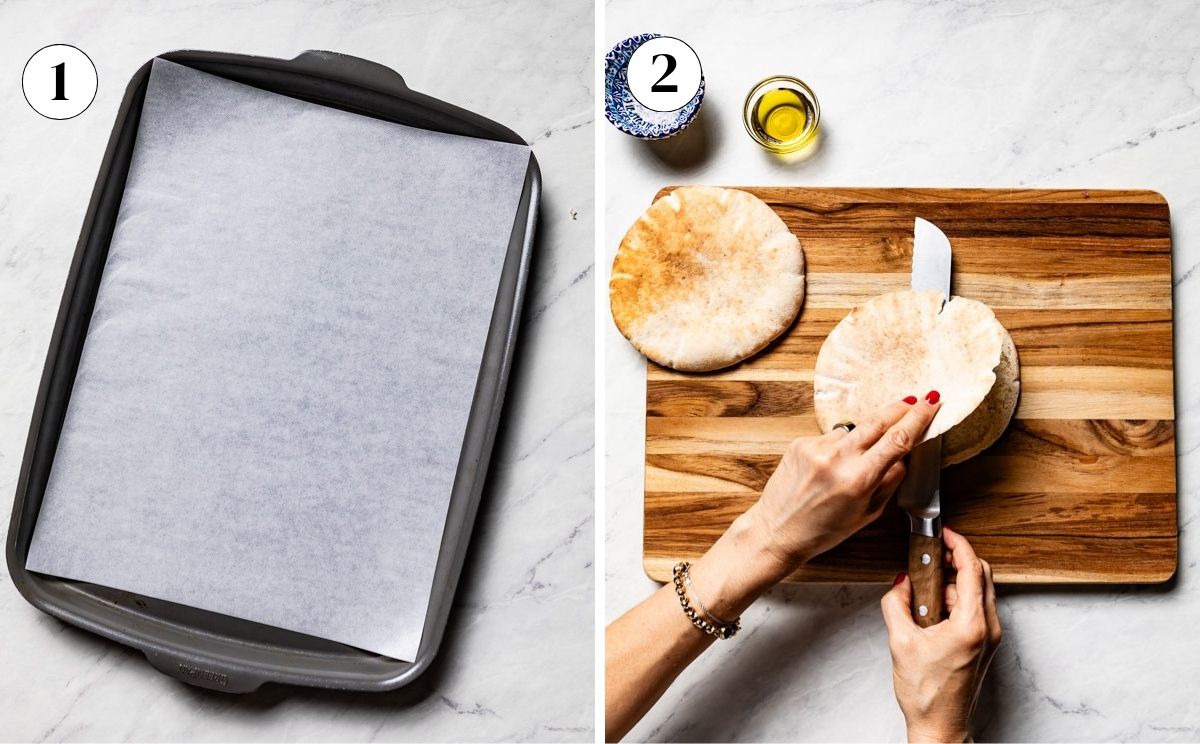
Step 1 – Preheat the oven to 400°F (204°C): Line a baking sheet with parchment paper, and set it aside while you prepare the bread.
Some recipes skip the parchment, but in my testing, it did two things: it made cleanup easier, and it protected the bottoms from scorching.
You can still bake pita chips directly on a sheet pan, but it is best to keep a close eye on them as they bake.
Step 2 – Prepare the pita bread: Start by splitting the pita bread in half with a chef’s knife or kitchen scissors to make two thin rounds.
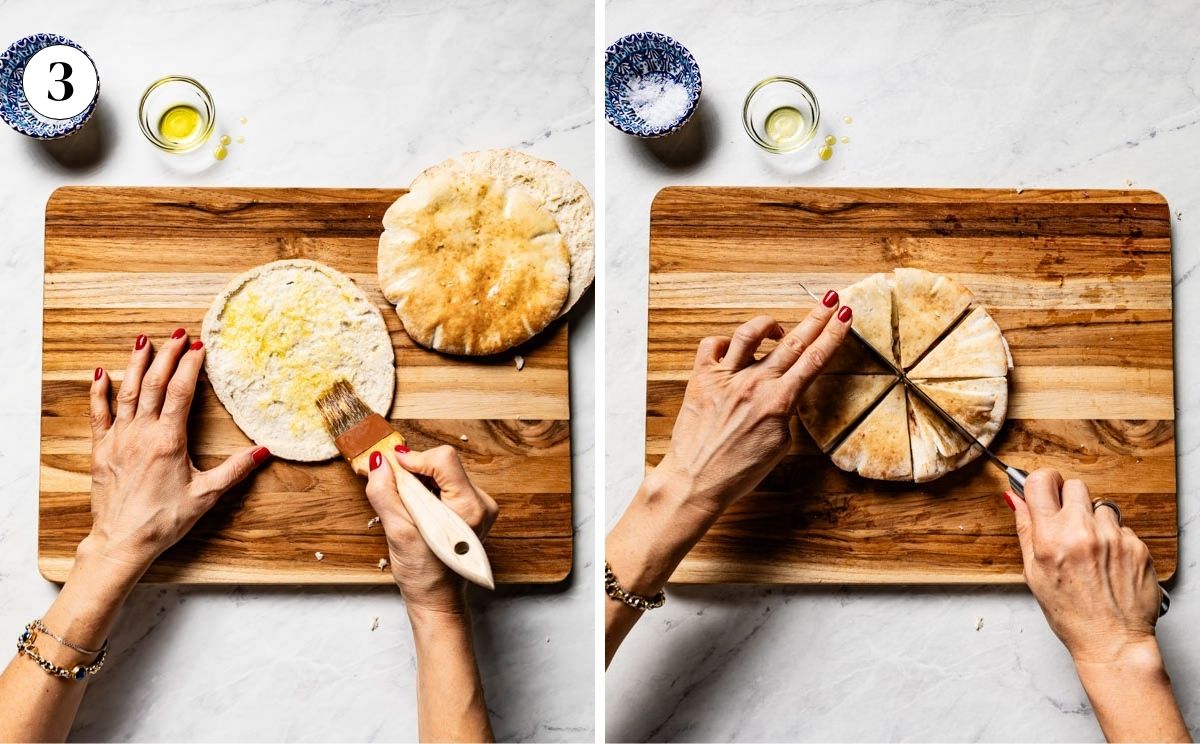
Step 3 – Brush with olive oil: Using a pastry brush, coat each piece on both sides with olive oil, then sprinkle them generously with salt.
Pro Tip: If you have it, use coarse salt, like kosher or sea salt, because it does not melt into the chip, so you get bursts of saltiness in every bite.
Then stack the pieces and cut into 8 triangles.
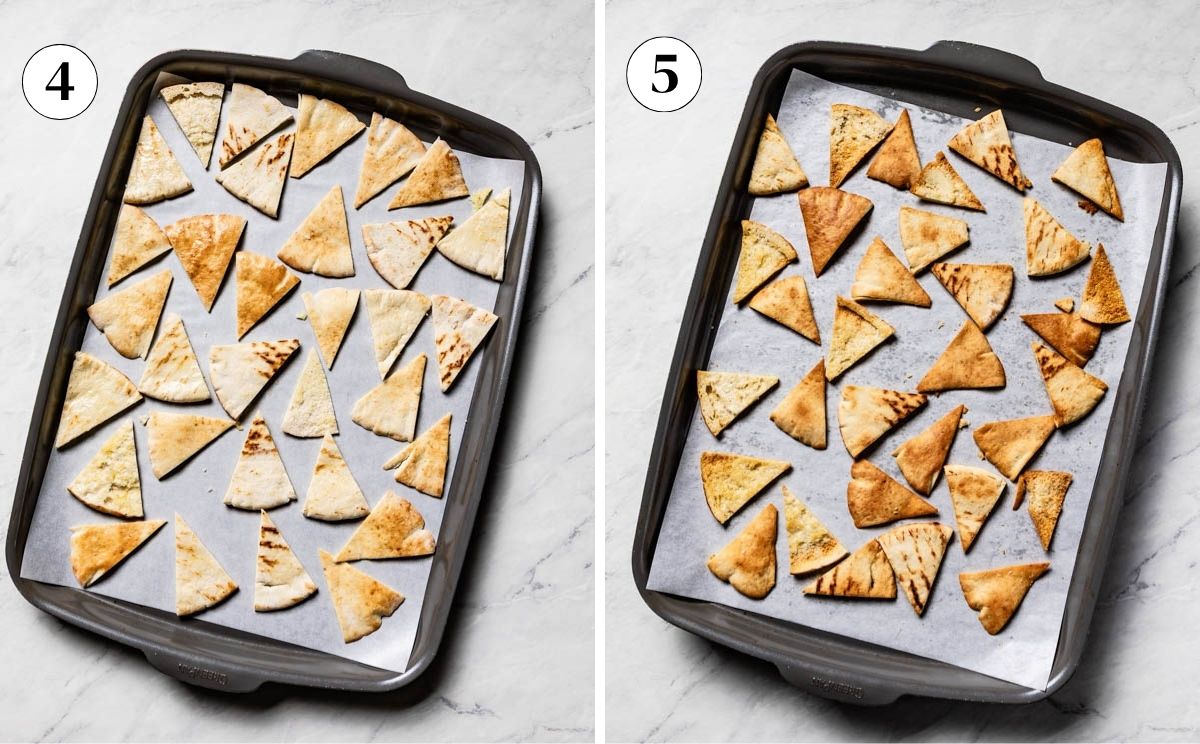
Step 4 – Bake: Spread the pita triangles on the prepared baking sheet in a single layer, making sure they do not overlap.
Bake for 8 minutes, or until golden brown, flipping the chips halfway through. If you are using a thicker bakery-style or homemade pita bread, add about 2 extra minutes to the bake time.
Pro Tip: Flipping does double duty here. It helps them bake evenly on both sides, and it gives you a chance to catch any early darkening before they burn, since ovens do not all run at exactly the same temperature.
Step 5 – Cool and serve: Let the chips cool for 10 minutes before serving. Keep in mind that they crisp up even further as they cool.
Seasoning Ideas
Customizing your homemade pita chips is the fun part for me. Here are a few of the ways I go:
- Middle Eastern/Mediterranean spices: If you enjoy making your own spice mix, try my Mediterranean Seasoning, Baharat, and Harissa Powder. I recommend starting with 1 to 2 teaspoons for 2 pitas, but you can adjust it to your taste.
- CAVA-style pita chips: If you tried the pita chips at CAVA and want that flavor, pick up some za’atar seasoning from the store and use about 1 to 2 teaspoons for a similar result. While you are at it, make a batch of my Homemade CAVA Bowl.
- Garlic and herbs: For an everyday savory option, a mix of ½ teaspoon of garlic powder and ½ teaspoon of your choice of dried or fresh herbs, such as oregano, thyme, dill, and parsley, works well.
- Parmesan and garlic: For a cheesy flavor, try garlic Parmesan instead. I like using 1 tablespoon of grated Parmesan with 1 teaspoon of garlic powder per batch, tossing it right after brushing with olive oil so the cheese sticks before baking.
- Sweet: Go with cinnamon sugar for a sweet twist. You can still use olive oil, but if you have some melted butter, that is a better choice. Mix 1 teaspoon of sugar with ¼ teaspoon of ground cinnamon, then sprinkle it evenly over the pita before baking.
What to Serve With Pita Chips
Pita chips are good on their own as a snack, but they work with so many dishes. Here are some of my favorite ways to serve them:
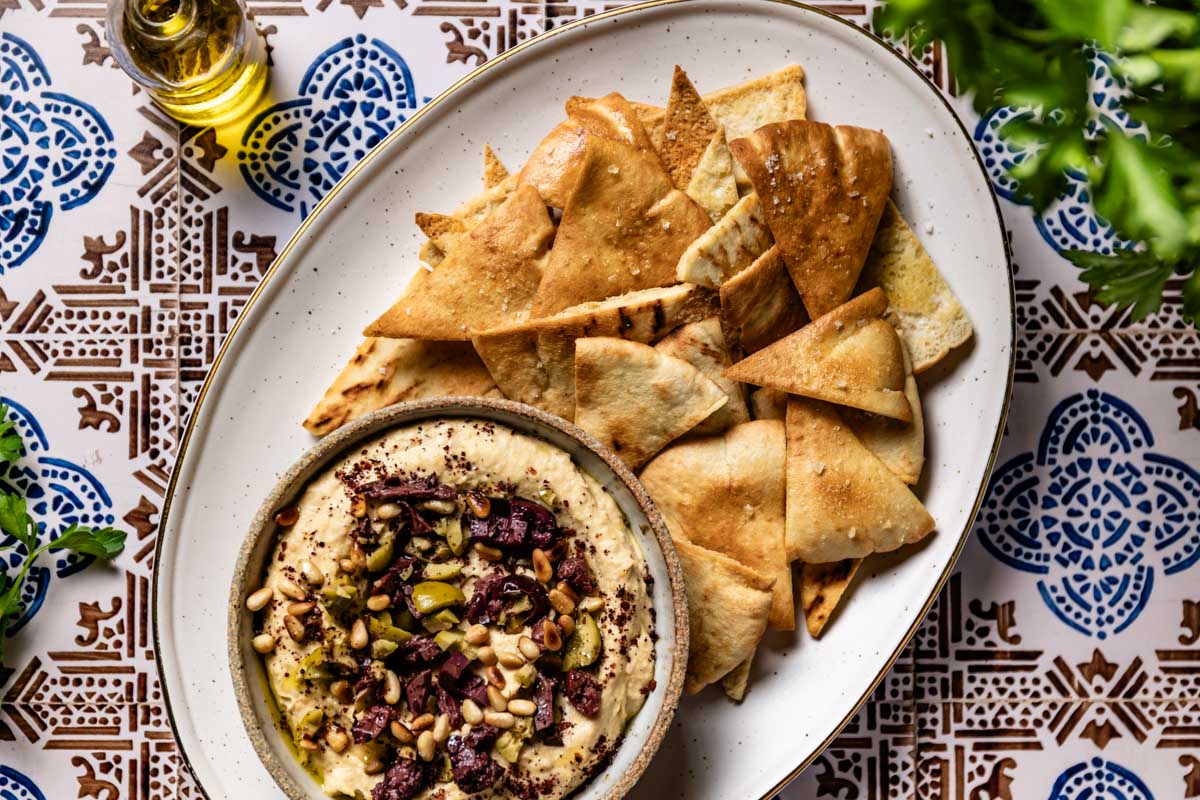
With dips: Add them to a mezze spread with Hummus (as shown in the image above), Baba Ghanoush, Muhammara, and Whipped Feta Dip, all excellent for scooping.
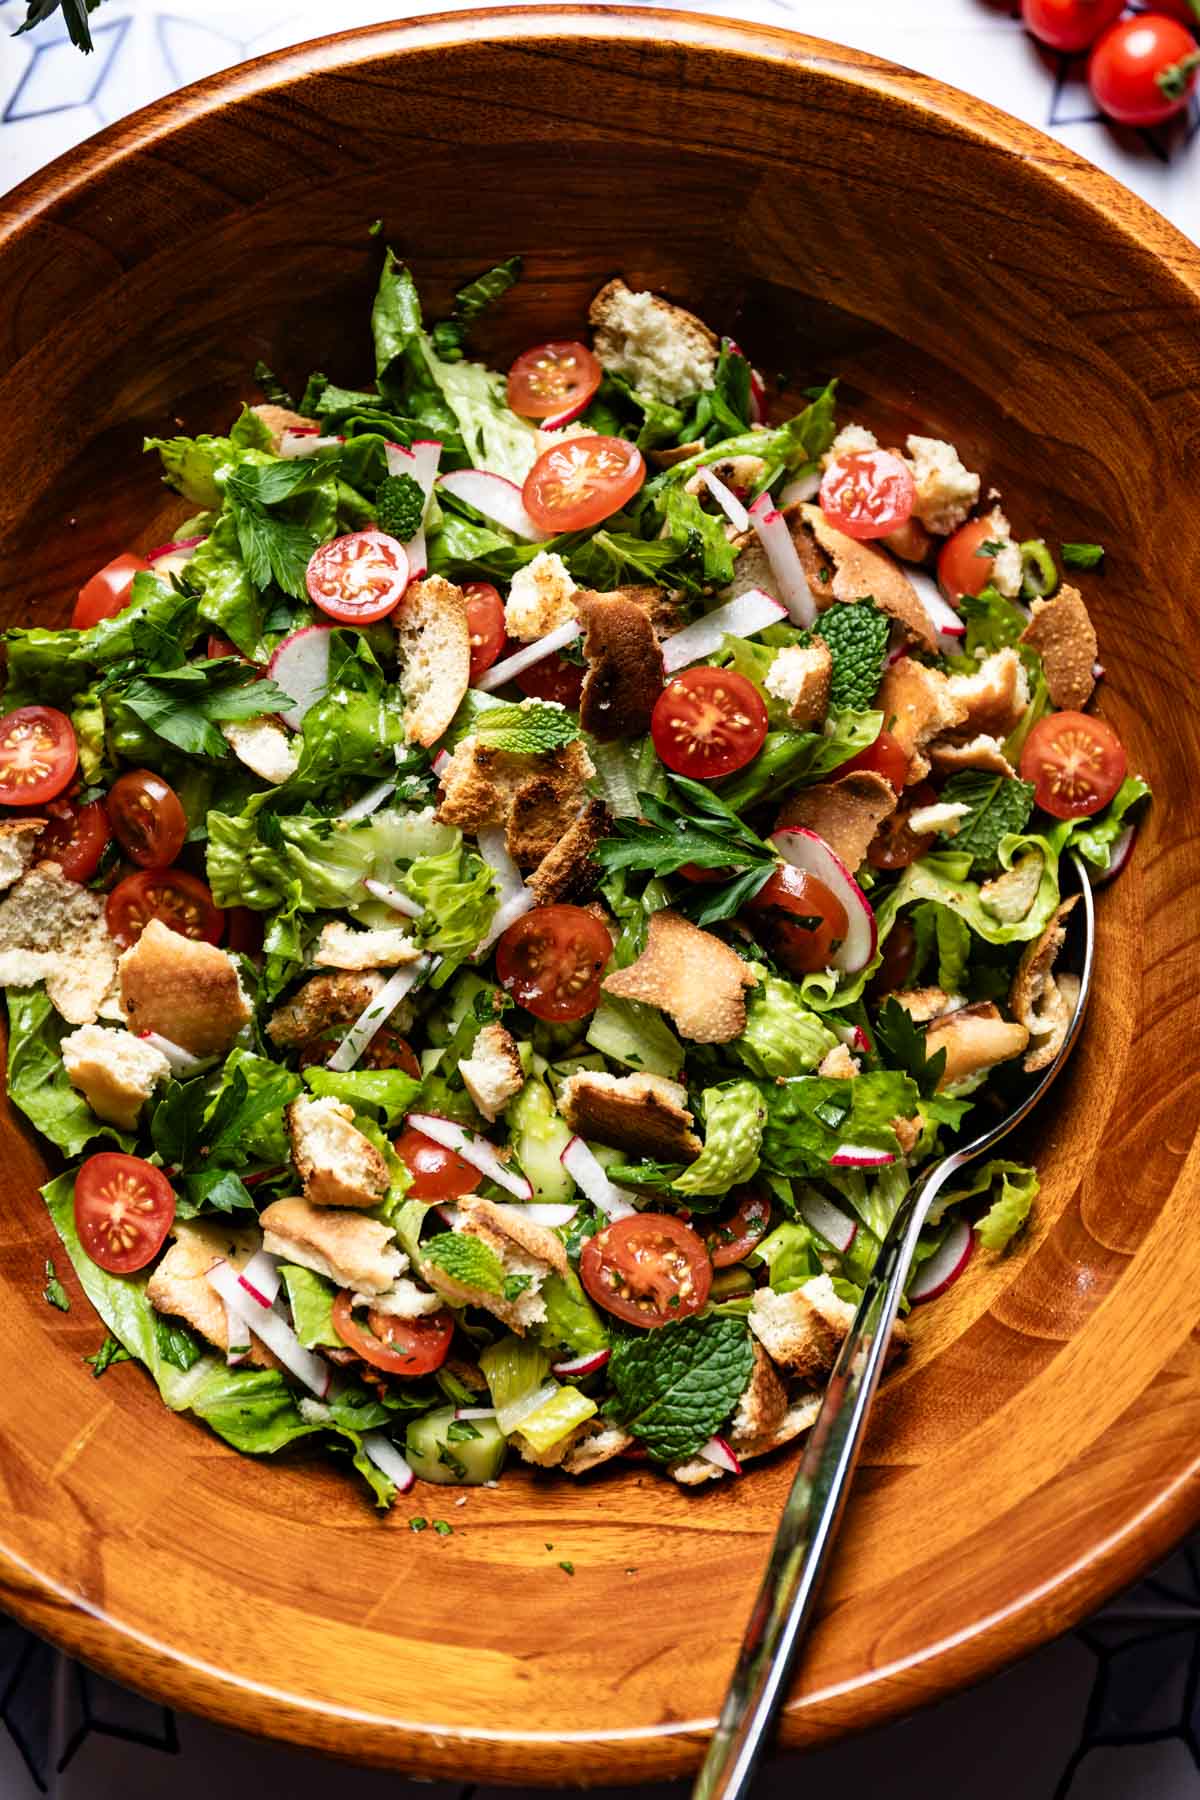
In salads: Crumble them over Fattoush Salad, for a crunch that holds up even as the salad sits.
Mediterranean-style: Pile them on as the sturdy base for my Mediterranean Nachos, where the chip becomes the dish instead of the side.
Topping for soups: Use them in place of croutons, like in my Sweet Potato Soup or Butternut Squash Soup.
How to Store Pita Chips
Storing leftovers: Let the chips cool completely to room temperature before storing. Place them in an airtight container or sealed bag on the counter, and they will stay fresh for up to 3 days.
Freezing: I do not recommend freezing these chips. They lose their crunchy texture when thawed.
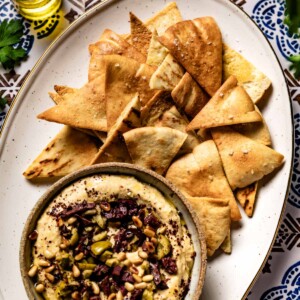
Homemade Pita Chips
Ingredients
- 2 pita bread, pocket-style pita bread (such as Toufayan)*
- 2 tablespoons extra virgin olive oil
- ½ teaspoon sea salt , or kosher salt
Instructions
- Preheat oven to 400 °F (204 °C). Line a baking sheet with parchment paper and set it aside.
- Using a pair of kitchen scissors or a sharp chef’s knife, split each pita open along the pocket seam into two thin rounds.
- Brush each piece with olive oil and sprinkle it with salt on both sides. I used about 1 tablespoon of olive oil and ¼ teaspoon of salt per pita.
- Stack them on top of each other and cut into 8 triangles.
- Spread them on the prepared baking sheet in a single layer, ensuring that they don’t overlap.
- Bake 8 to 10 minutes, flipping them halfway through to ensure even baking.
- Let them cool for 10 minutes before serving.
Notes
- Yields: This recipe makes 32 chips, ideal for serving 4 adults. If serving a larger crowd, you can double the recipe. The nutritional values below are per serving.
- Type of pita: I used the thin, pocket-style pita I bought at the store. If you use homemade pita or bakery-style pita (which are usually thicker), you may have to extend the baking time by 2-3 minutes.
- Storage: Store leftovers in an airtight container on the counter for up to 3 days.
Nutrition
Nutrition information is automatically calculated, so should only be used as an approximation.